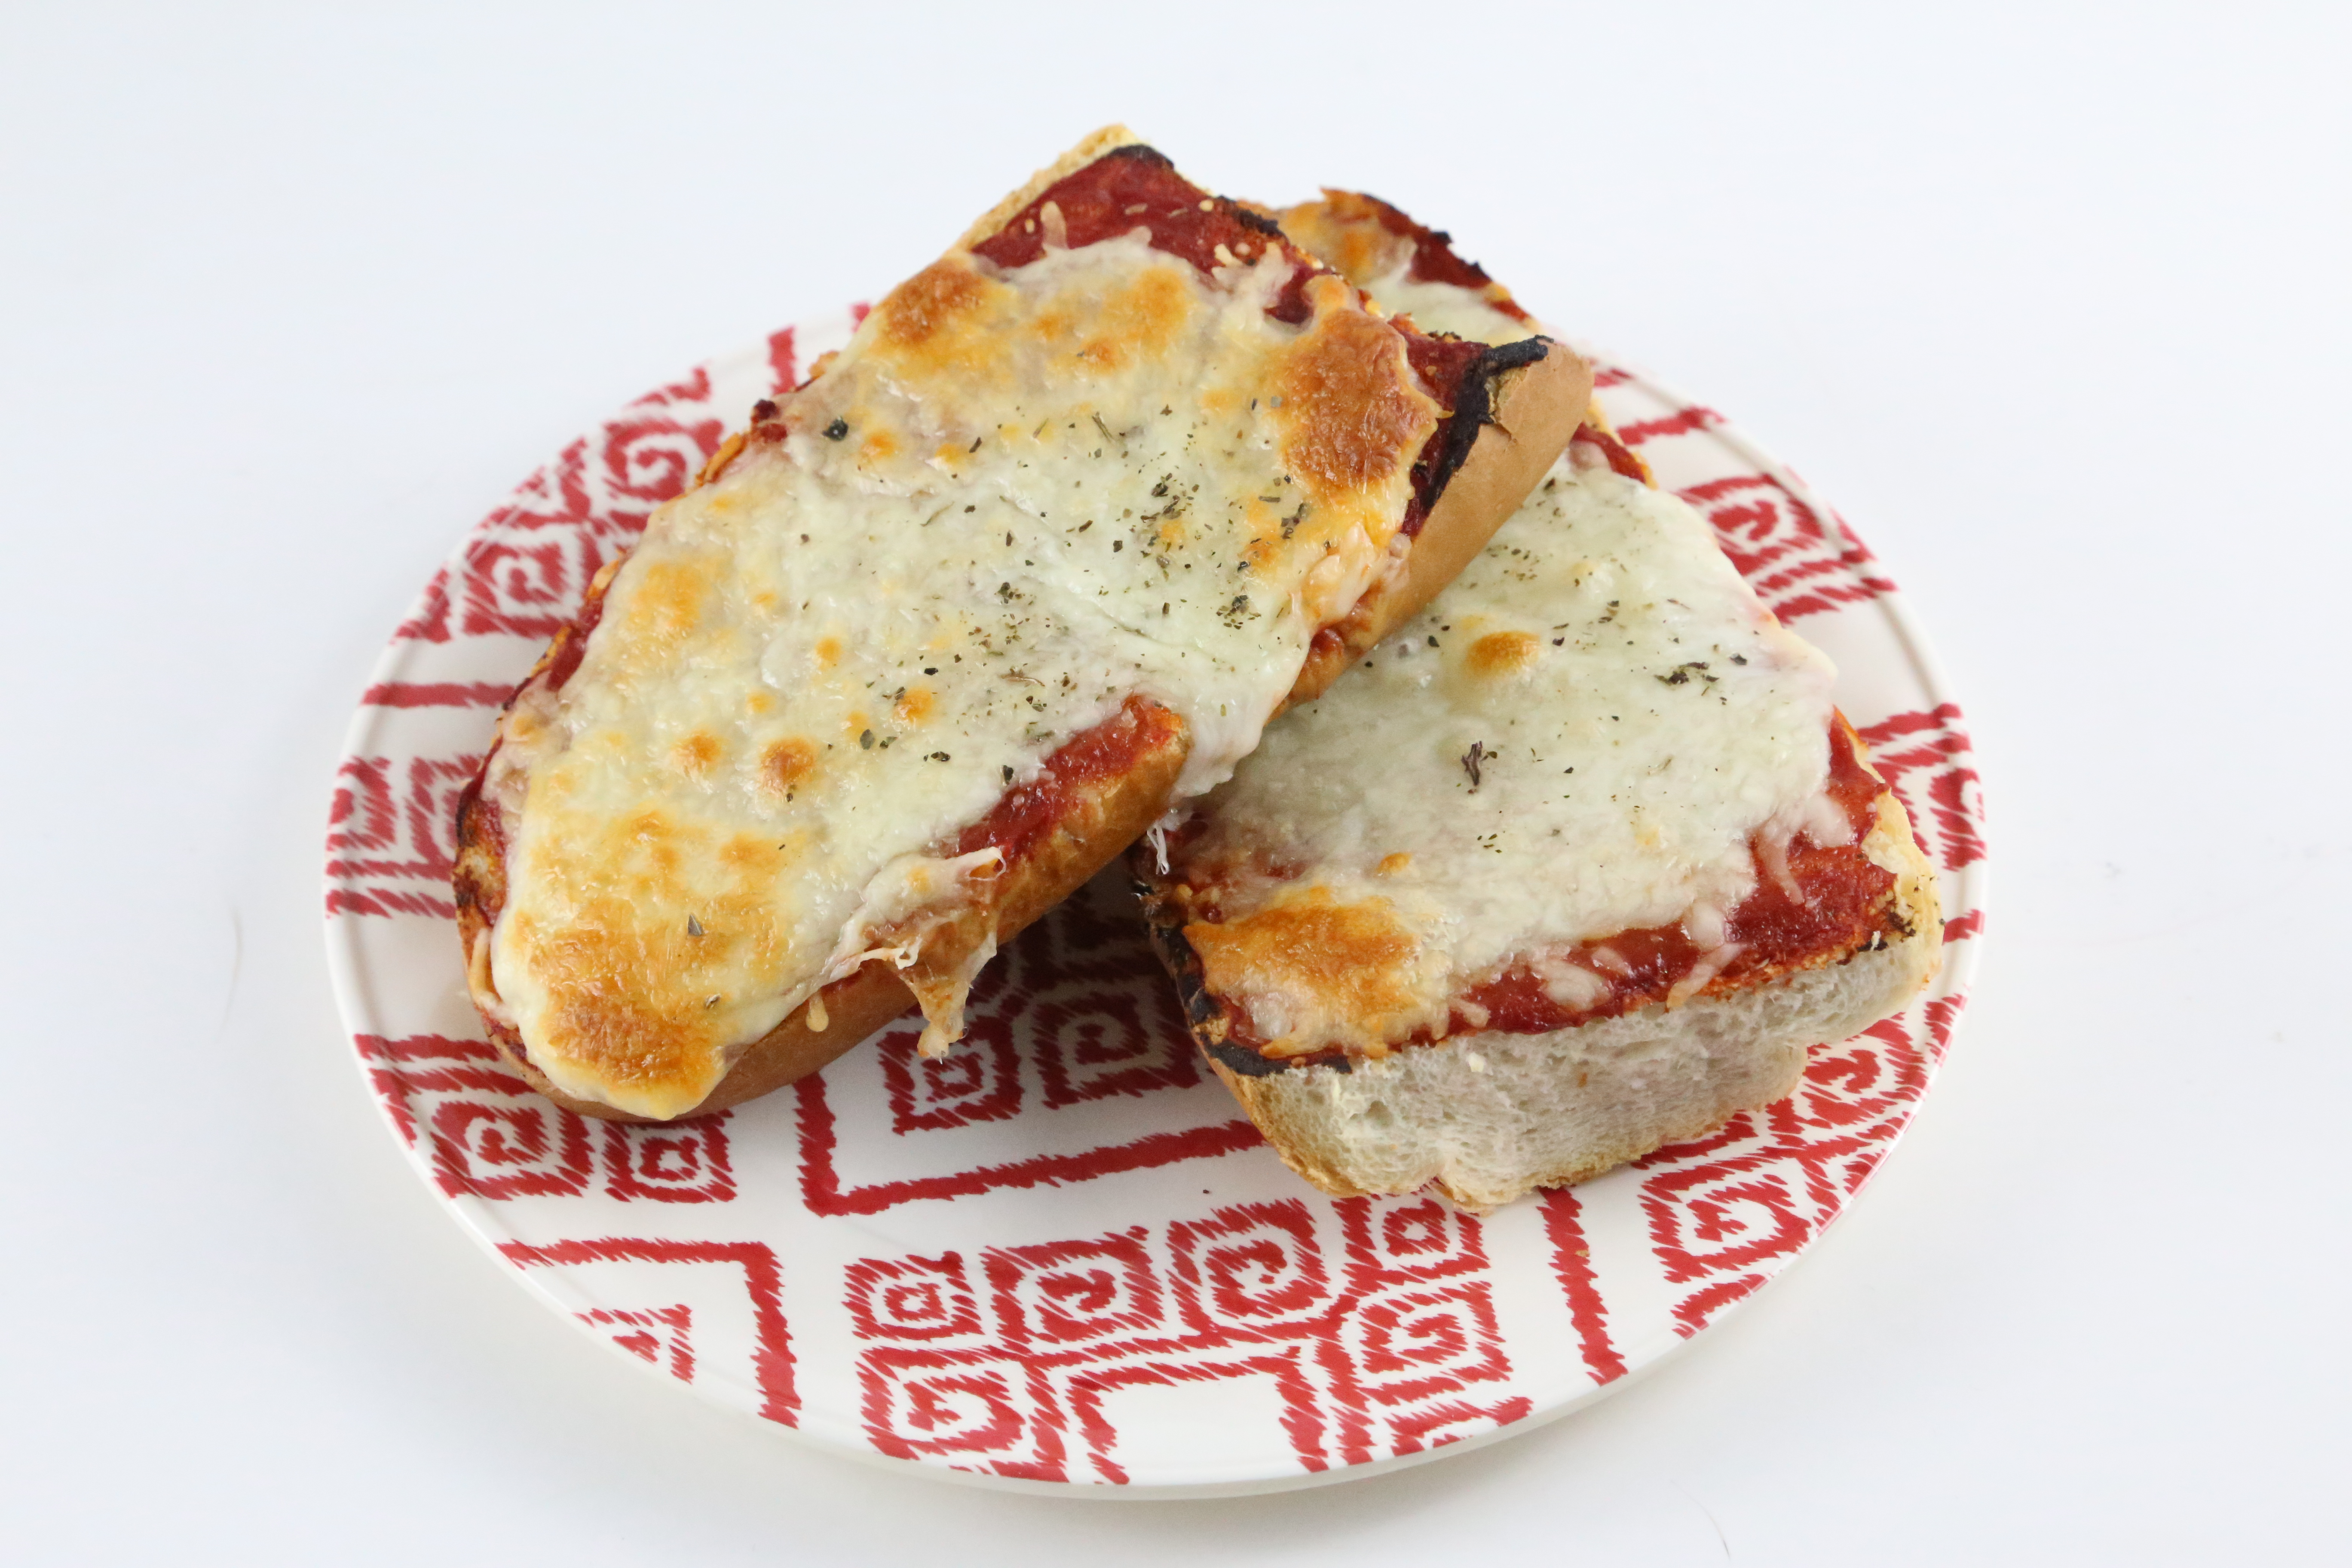
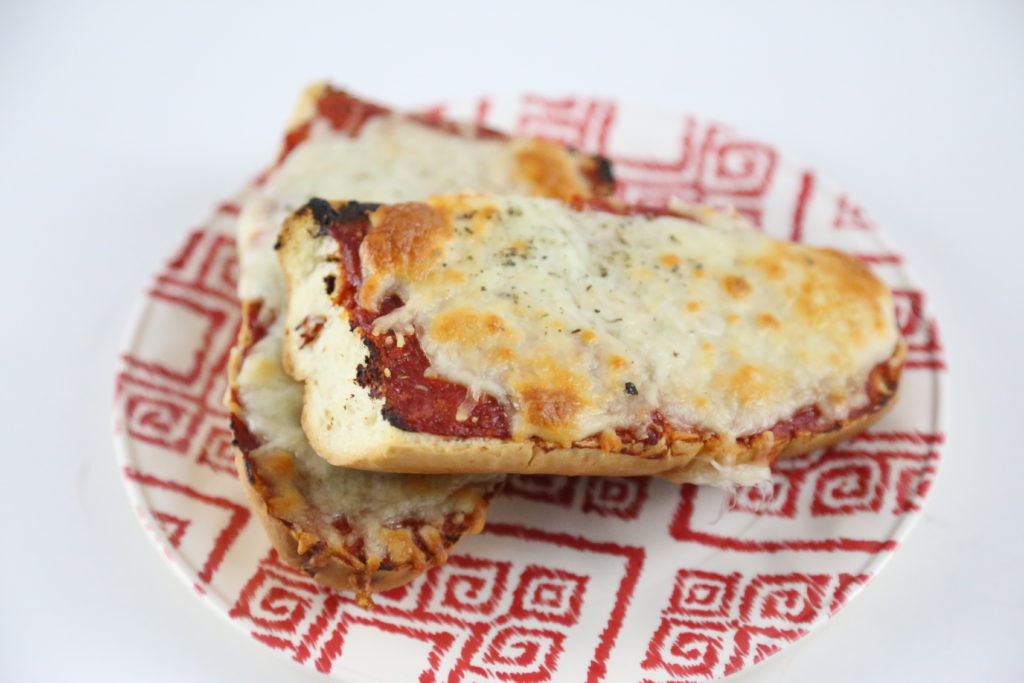
Pizza is always a family favorite. Kids love it because it’s bread and cheese. Moms love it because it doesn’t cost much and everyone loves it because it is super fast to make. This is the easiest recipe for pizza bread I’ve ever seen. This is the pizza bread recipe my mom used to make our big family of five kids that got everyone happy to sit at the dinner table. Now, this is the recipe that I make for parties or when I am scrambling for a last minute dinner idea. I mean, it’s not hard at all and only has four ingredients – winning.
You seriously can’t go wrong with this 4-ingredient pizza bread recipe. It’s the best last minute option if you’re scrambling for dinner, but you can also get fancy with it! Replace the bread with cauliflower dough or even zucchini boats and you’ve also got a healthier, gluten-free option making it a real crowd pleaser.
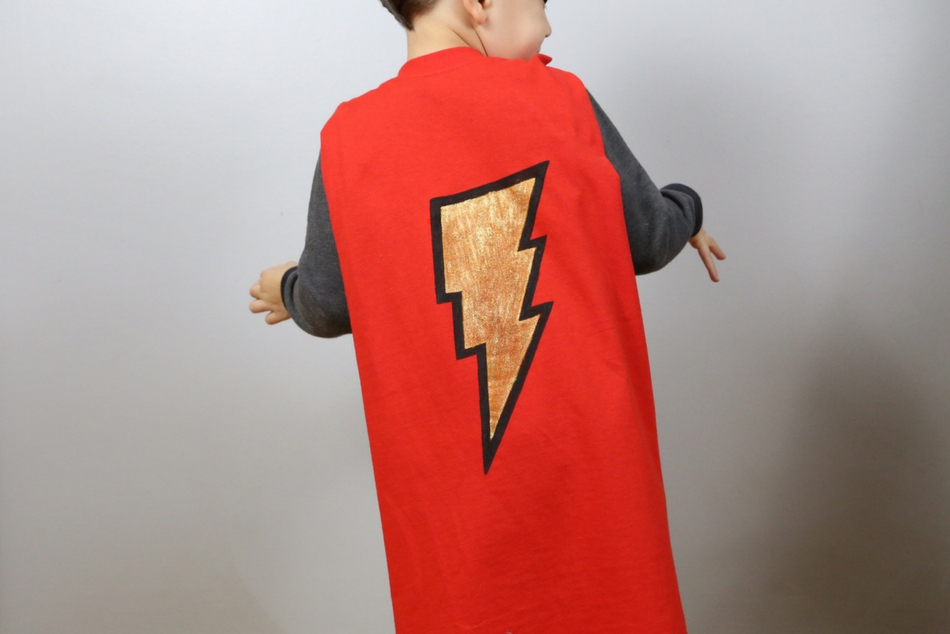
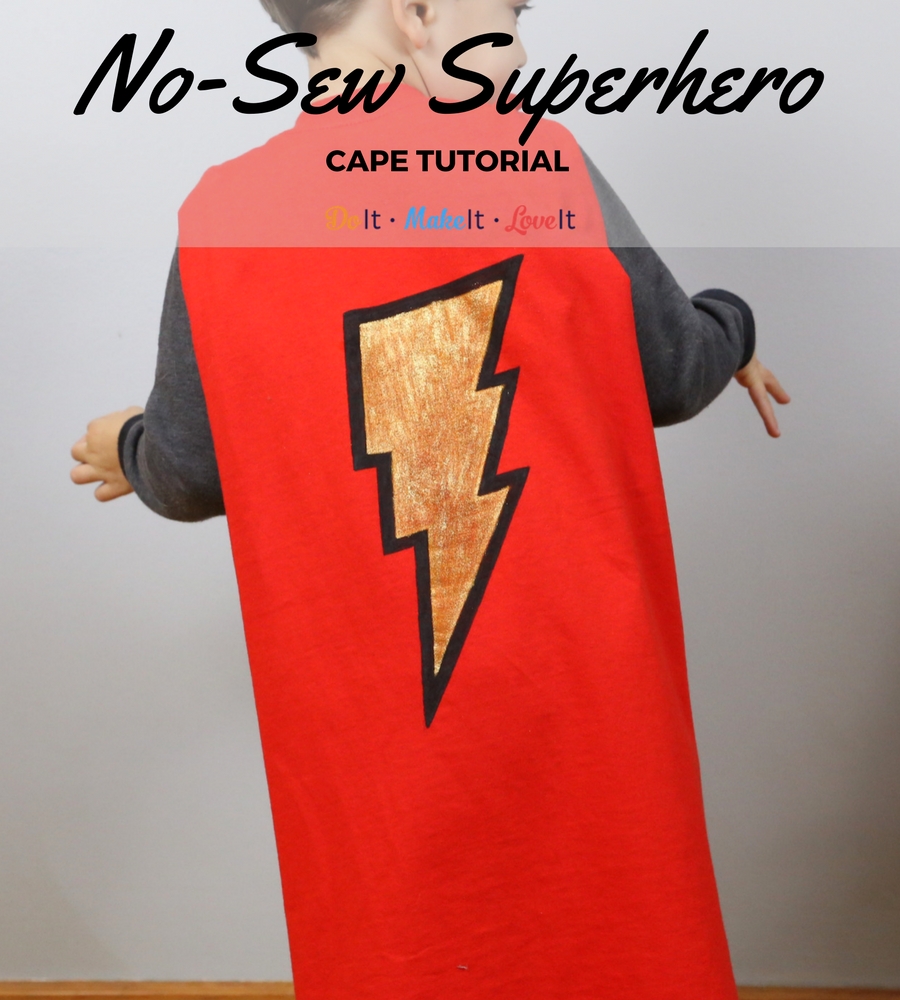
Looking for a quick way to make your little one feel like a superhero? This DIY no-sew cape is the perfect quick and easy craft that will make your kids feel awesome and make you look like the superhero. This project happened because my little guy loves superheroes, but his favorite change all the time. It’s impossible to keep up. With the no-sew toddler cap project, I can just whip up the superhero of the moment as long as I’ve stocked up on a few solid colored t-shirts. This is a great toddler craft too since you’re using fabric markers! It’s less messy than paint and they can fill in the lines you draw.
No-Sew Toddler Superhero Cape
We’ve included links to some of our favorite supplies to make crafting easier for you! If you use these links to shop, we’ll make a little kickback to help support our blog. You can take a look at our disclosure policy and privacy statement here.
Pre-wash your t-shirt. Do not use fabric softener.
Cut off the sleeves of the t-shirt. Remove the entire front of the t-shirt.
Fold the remaining collar and back of the t-shirt in half and lay on a large surface. Cut the fabric at a slight angle from the bottom to the collar to create a cape shape.
The remaining collar will go over the head and the back of the t-shirt will lay down the back as a cape. If the collar is too loose for a child, you can cut the collar in half and attach Velcro to adjust.
Place a piece of cardboard on your work surface and lay your cape on top. This will ensure that the ink will not transfer to the backside.You can use a pencil draw your design, but that isn’t necessary.
When using the DecoColor Fabric Marker and Deco Just Glitter Premium Marker, you should depress the tip of the marker on a piece of scrap paper first to get the ink started. Make sure to shake the marker well with the cap on. If you feel your marker getting dry while you are using it, you can depress again on a piece of scrap paper. While using with these markers, do not depress the tip.
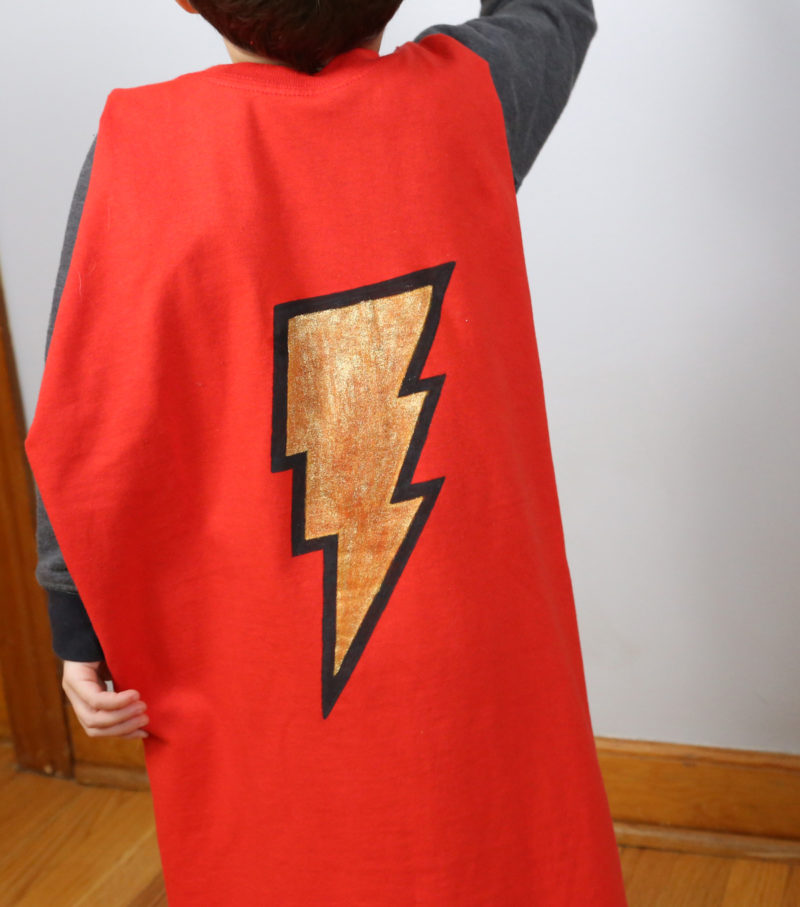
Using a ruler or tracing a pattern, draw a lightning bolt on the back of your cape.
Create an outline for the lightning bolt with DecoColor Fabric Marker in black. Allow to dry for 30 minutes.
Fill in the lightning bolt with a yellow DecoColor Fabric Marker. Allow to dry for 30 minutes.
See how easy that was? You can turn the whole family into cape-wearing superheroes in one afternoon! I love this craft because anything that’s no-sew Share your finished projects on our Facebook page so we can see how awesome they turned out!
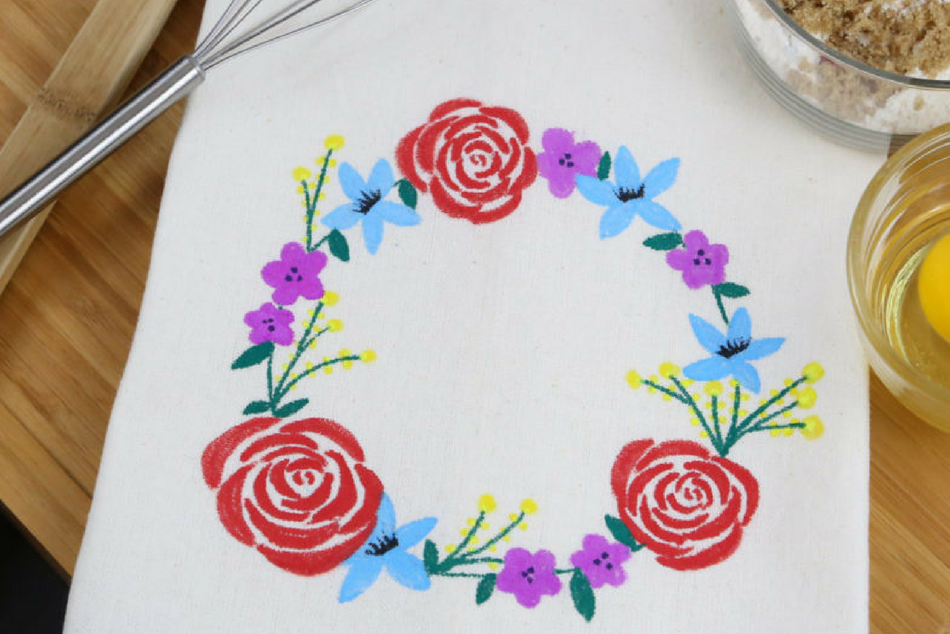
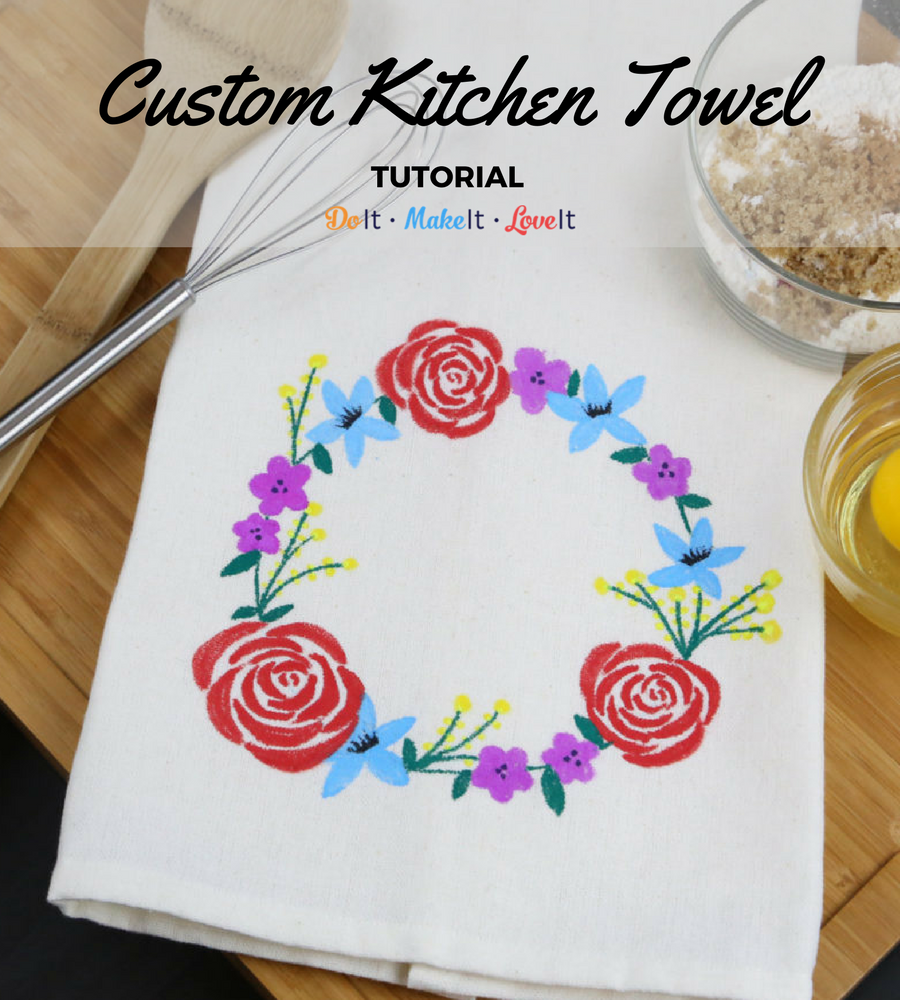
If you’re a home decor fiend who gets frustrated at not being able to find the right kitchen towel for a special event or season, this is the project for you. Create pretty floral wreath, hand drawn kitchen towel in your perfect color scheme! Custom kitchen towel not only make your home feel cozier, but no one else will have a set like yours. They’re the perfect way to start building in your own personal style to your home decor.
This tutorial we walk you through using our favorite fabric markers to create a pretty floral wreath for your kitchen towels, but you can use the same method for tote bags, napkins, and so many other fabrics. After the kitchen towel, I used the same design to make a matching placemat set for spring. Floral never fail for spring, right?
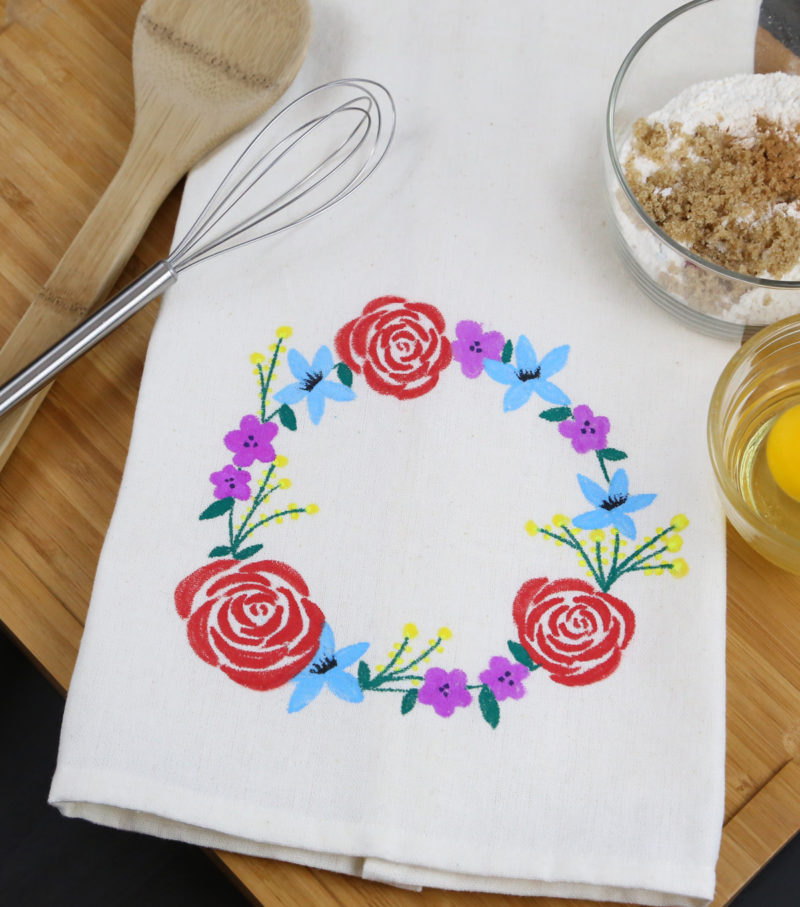
Using a bowl or template, draw a circle in the bottom, center of your towel using a pencil. This will be the guide for your wreath.
When using the DecoColor Fabric Marker, you should depress the tip of the marker on a piece of scrap paper first to get the ink started. Make sure to shake the marker well with the cap on. If you feel your marker getting dry while you are using it, you can depress again on a piece of scrap paper. While using with this marker, do not depress the tip.
Start with one type of flower and draw three of them around the circle guide. It is easiest to start with your largest flower designs.
Add more flowers, again working in threes of the same design around the wreath.
When you feel as though you have enough floral elements, using the green DecoColor Fabric Marker, go over any pencil lines that remain from your guide.
Fill in around the wreath with leaves where necessary.
Allow your towel to dry for an hour. Then heat set by placing a piece of cloth over your design and ironing it on a low setting.
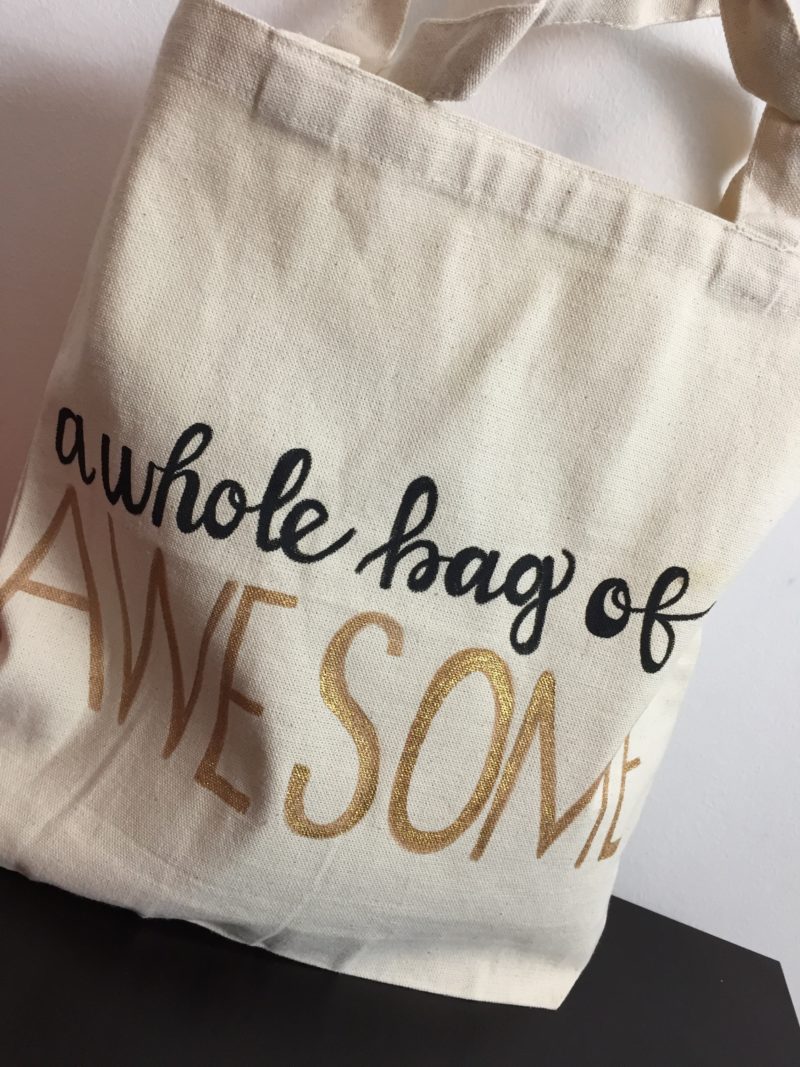
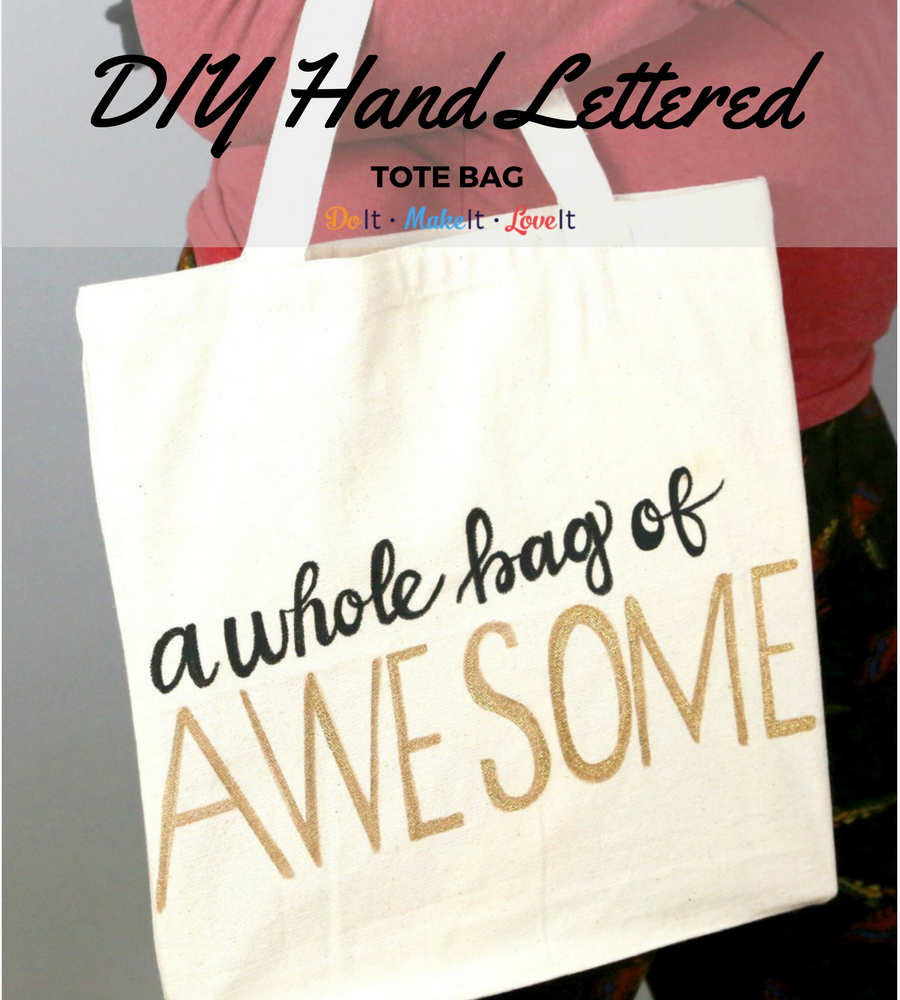
If you live in a big city, chances are there has been a recent crackdown on plastic bag usage which is great for the planet and tote lovers alike! Turn your plain canvas totes into awesome, custom DIY hand lettered tote bags with all your favorite sayings on them. All you need to create a DIY grocery store tote is a plain canvas bag and some markers. I bet you never thought being more environmentally friendly and cutting down on plastic could be so stylish?
We used a simple canvas tote for this DIY, but you can repeat this with any light colored bag that you already own or even a bigger canvas shopping bag. I take them to the grocery store with me all the time and even keep a few in my car at all times just so that I don’t forget to have a bag handy. It’s been really great in cutting down the amount of plastic that my family uses! Once I got into the habit, I can’t go anywhere without my grocery bag.
Pre-wash your tote bag. Do not use fabric softener.
Insert a piece of cardboard inside the bag. This will ensure that the ink will not transfer to the backside
You can use a pencil write out your message first, but that isn’t necessary. When using the DecoColor Fabric Marker and Deco Just Glitter Premium Marker, you should depress the tip of the marker on a piece of scrap paper first to get the ink started. Make sure to shake the marker well with the cap on. If you feel your marker getting dry while you are using it, you can depress again on a piece of scrap paper. While using with these markers, do not depress the tip.
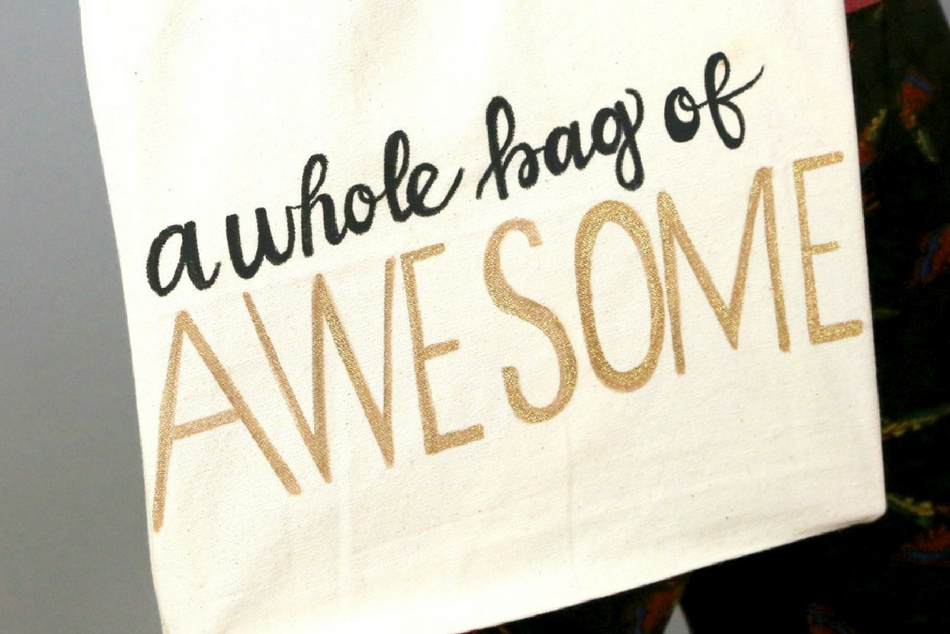
Write out the word “Awesome” in all caps first using the Deco Just Glitter Premium Marker. I like to lay a ruler on my bag where the bottom of the letters should line up. This will keep your wording straight. Tip: If you want to ensure that your word is centered, start the word with the middle letter, in this case ‘S’. Then write the rest.
Once you’ve written the word once. Go over the lettering a second time to add additional glitter, optional.
Using the DecoColor Fabric Marker, write out the rest of the phrase above “Awesome”.
Allow your bag to dry for an hour. Then heat set by placing a piece of cloth over your design and ironing it on a low setting.
There you have it! It’s that easy to spice up your totes with your favorite quotes, designs, and more to create a perfect collection of custom matching bags. Are you a book lover or do you wish that your bags were labeled by what you use them for? Grab some markers and create your dream bags in a snap! Who doesn’t love 15-minute craft projects, right?
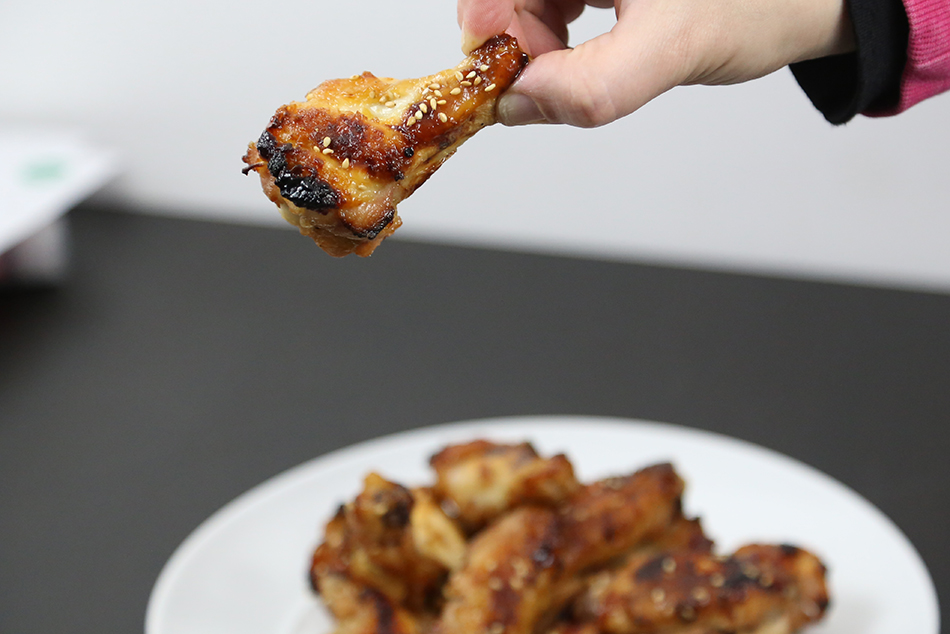
Who doesn’t love wings? At my parties, the wings are always the first to go. I swear it’s like they get inhaled as soon as I set them down. The classic, spicy, and barbecue are always favorites, but when you get sick of making the same old wings all the time, this Baked Honey Sesame Wings recipe is a perfect alternative! Just sweet enough to make your mouth water, they’re a definitely a go-to in our house for family get-togethers and viewing parties since they are so easy to make and seem to be a crowd pleaser. I mean, wings you can make for the family in under an hour? It’s a win.
Is your mouth watering yet? Because mine is and we literally just ate these.
I love this recipe because it’s so simple and practically mess-free (let’s be honest, that’s a BIG bonus) and the extra coating of sauce gives this wing recipe a real punch of flavor. Be warned: bland food lovers, this is not for you. However, if you like giving your taste buds something to jump for joy for – oh, they’ll be jumpin’!
One of my favorite reasons for making chicken wings at home is because it cuts down on chowing down on fried buckets. Making your own chicken wing recipes at home is so easy, so delicious, and you have so much more control on how much sugar, fried, and whatever else you’re feeding your family. Score!
The plates are always clear when I serve this baked wing recipe to my family, but I’d love for you to test them out and tell us what you think in the comments!
Preheat oven at 400 degrees.
Line a cookie sheet with heavy duty aluminum foil.
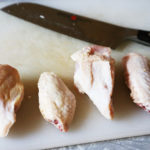
Trim chicken wings to drumettes.
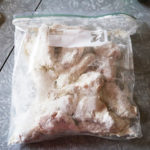
Place flour, salt, pepper, and lime zest into a gallon size storage bag. Add wings and shake to coat with flour.
Combine the ingredients for the sauce in a shallow bowl. Divide the sauce into two seperate bowls. Refrigerate one.
Remove the wings from the storage bag a few at a time and roll in the sauce.
Place wings on the foil lined cookie sheet.
Bake wings for 45 minutes.
Remove the remaining sauce mixture from the refrigerator. Take baked wings and coat in more sauce a few at a time. Return wings to the foil lined cookie sheet.
Place wings under the broiler for 3-5 minutes. Watch them closely and turn once while broiling.