by Simone Collins | Feb 1, 2018 | Do It
If you live in an area of the world that is excessively cold in the winter like I do (sweet home, Chicago), then you know the winter blues is a very real thing that keeps you locked inside and dreading the newest weather report. It’s hard on everyone, but especially if you have little kids in the house. It’s really hard to keep coming up with new winter activities for kids. Dealing with “Mommy, I’m bored!” can be extra difficult when you can’t just send them to the backyard.
To help deal with that, we’ve come up with a list of fun kid winter activities that will help keep you from tearing your hair out on those long, freezing, winter weekends. I mean, there are only so many video games they can play, am I right?
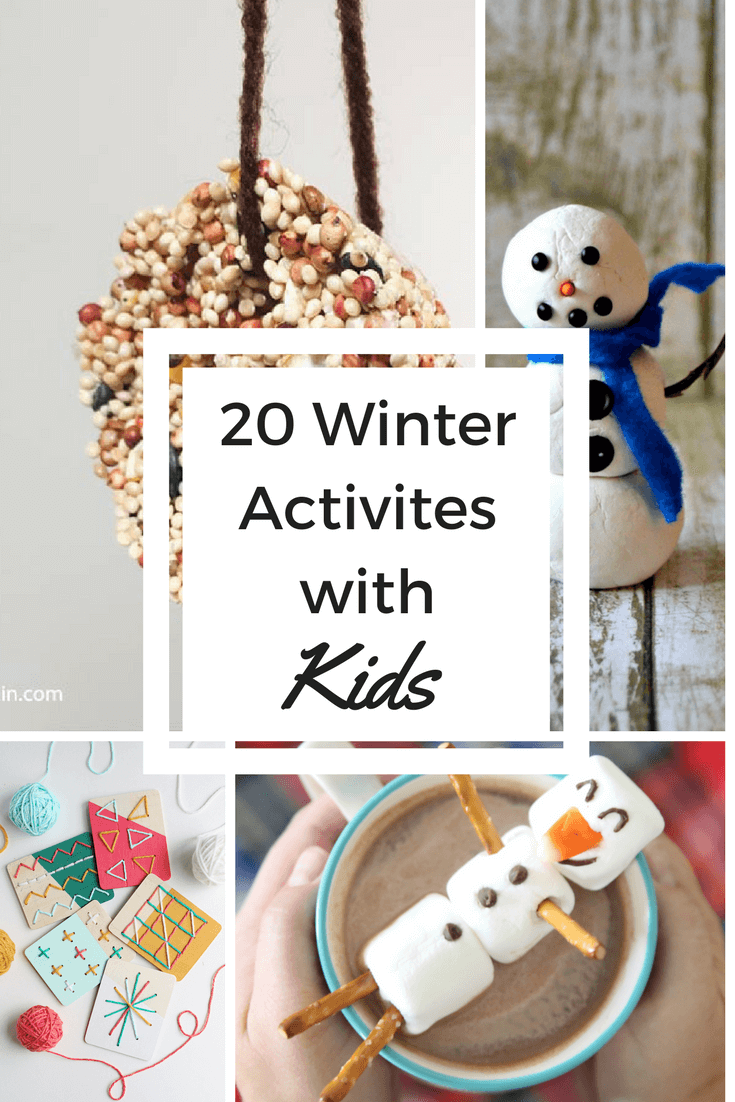
20 Winter Activities with Kids
Mess-less Crafts
You know it, we know it, and we all fear it – silence. There’s nothing more damning than the kids going dead quiet. It’s like the signal to get your all-purpose cleaner and favorite sponge out. However, if you find the right kids craft, silence can be total bliss and a whole lot of fun! Here are some of my favorite winter projects for kids that involve very little set-up and almost no cleanup! Are those your favorite kinds of kids projects too? Great! Then keep browsing below:
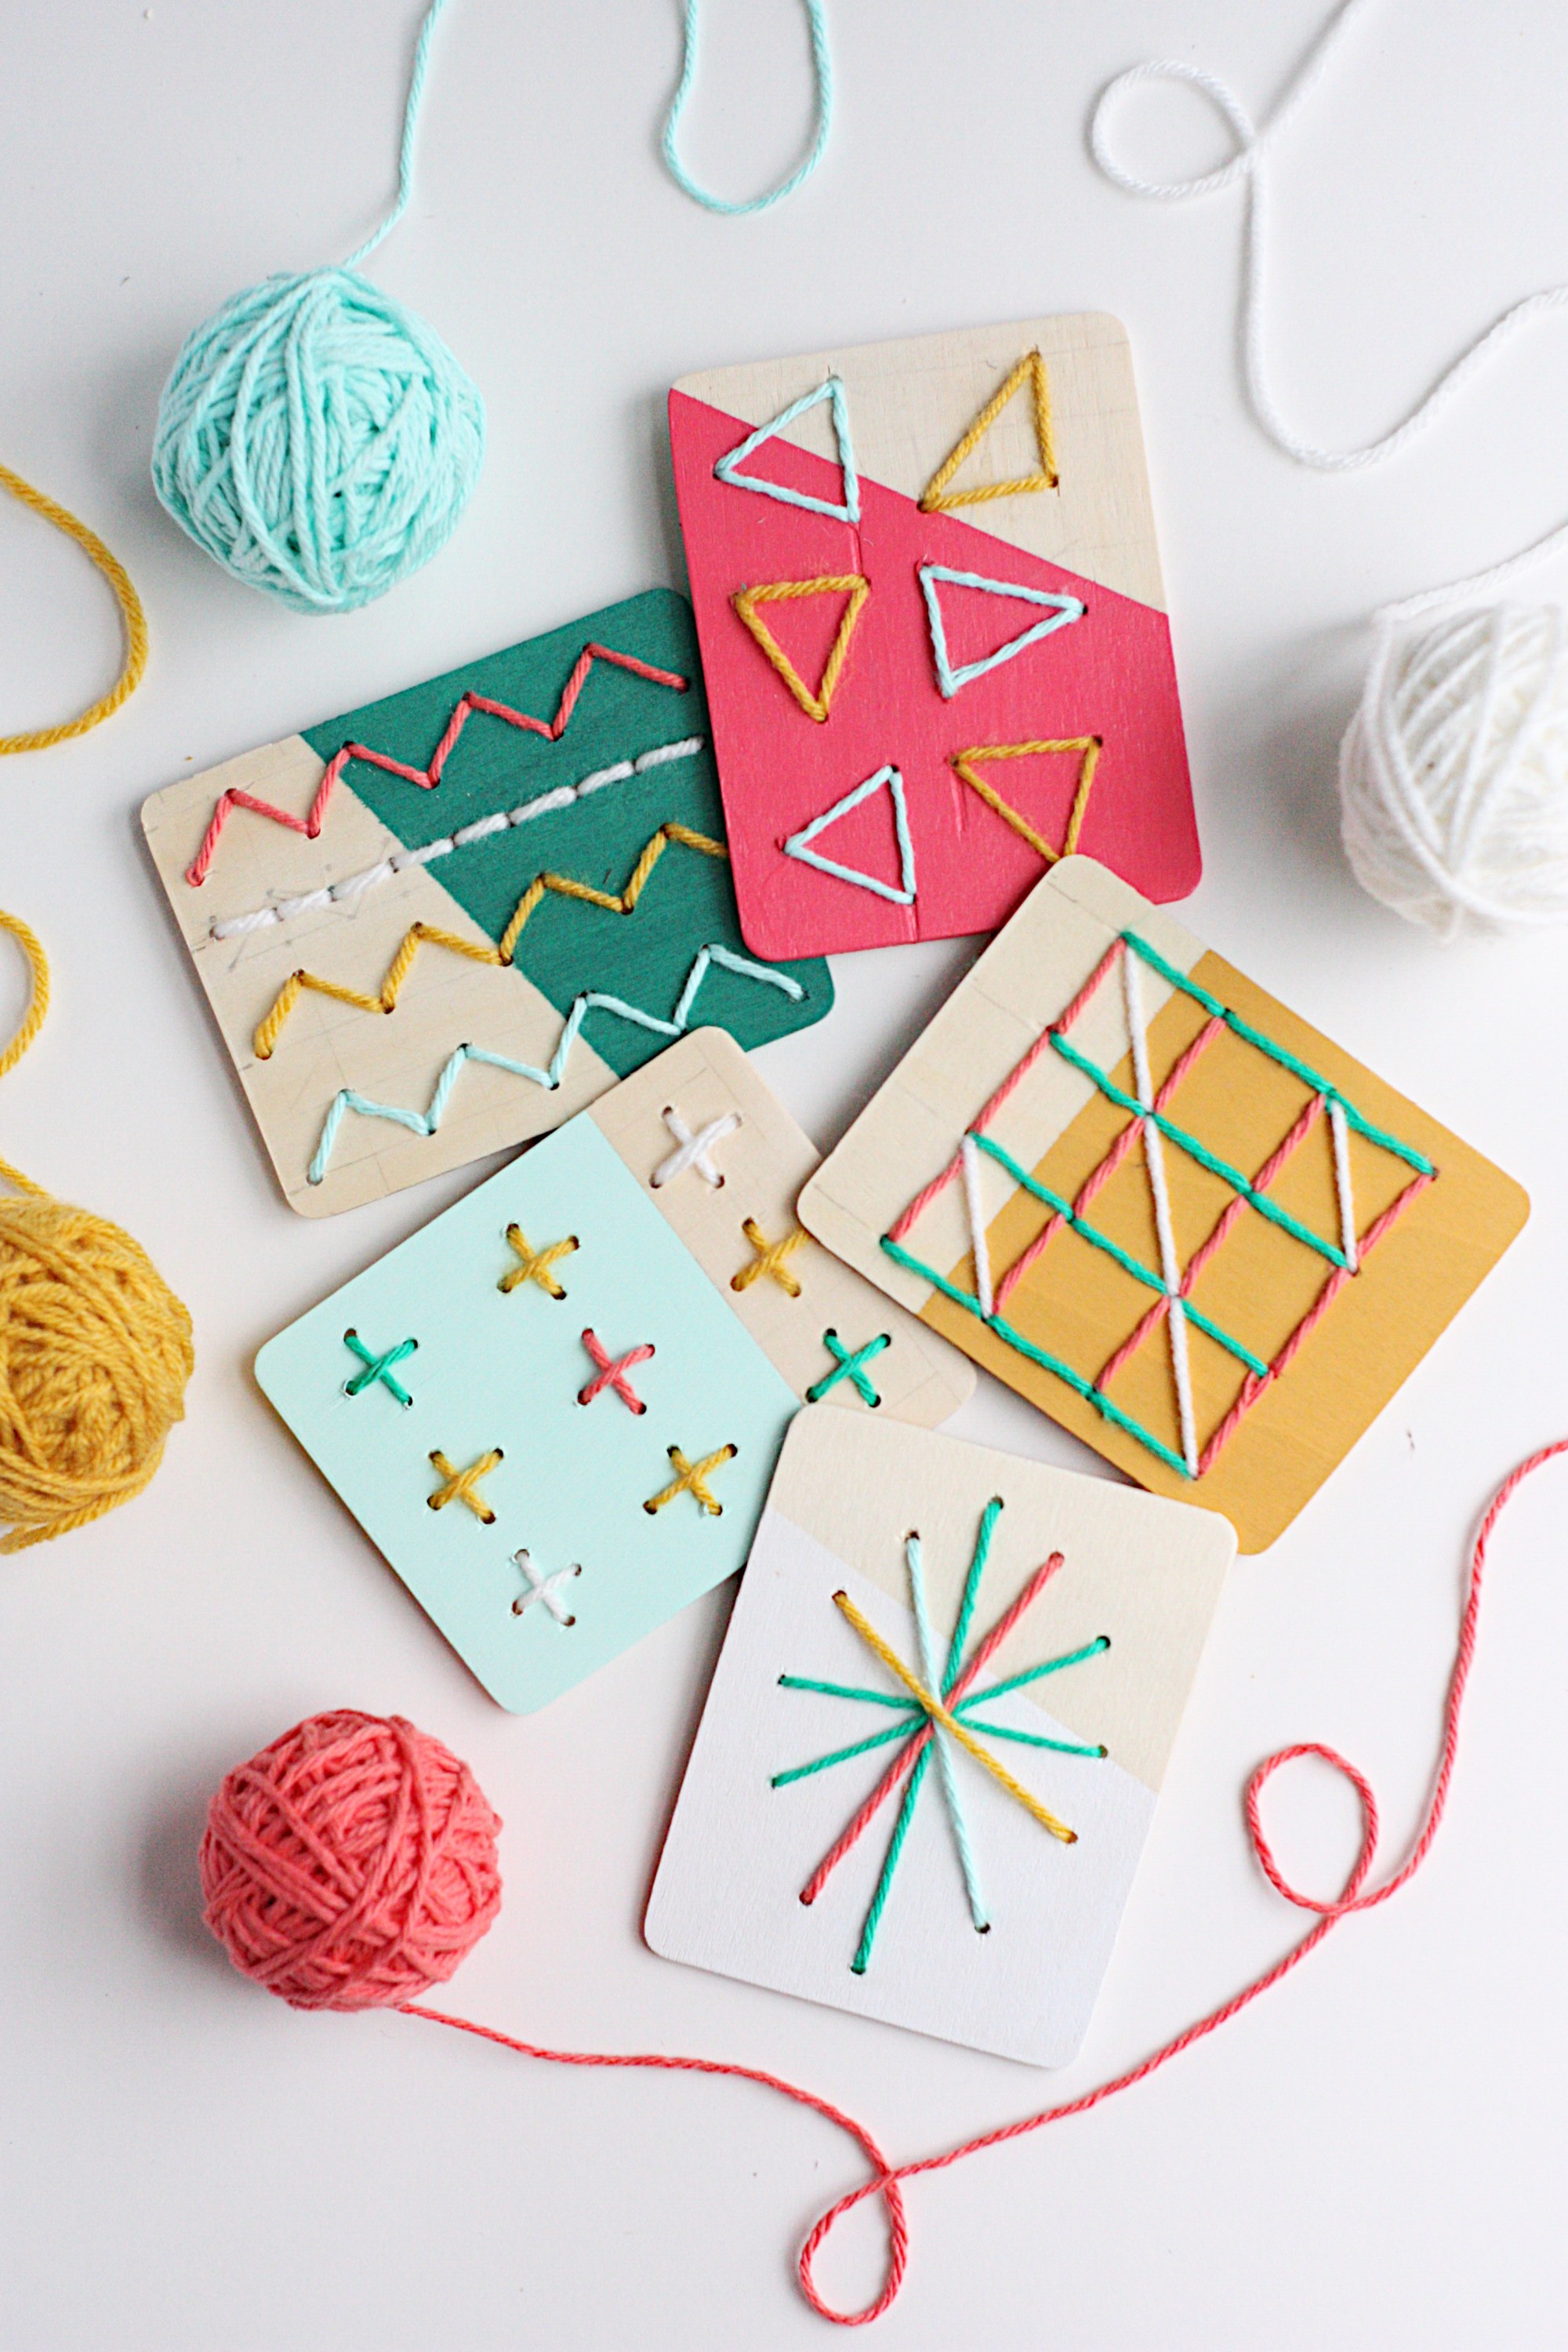
- DIY Dipped Stitch Boards for Kids
- Make an Emoji T-Shirt
- Paper Polar Bear Project
- Snowman SLAM! Indoor Mini Bowling
- Rock Candy Science Experiment
- The Cutest Cardboard Winter Wonderland – Free printable!
- Clay Snowman (For those days when it’s negative degrees and no snow.)
- DIY Play Snow
Play with your food!
Now, these can get a little dicey if your kids are very young or extra messy, but sometimes getting everyone around a table to work on something they get to eat afterward is a win-win. I mean, honestly, who doesn’t also want a big cup of unicorn hot chocolate when you’re stuck inside?
- Host a Hot Chocolate Party
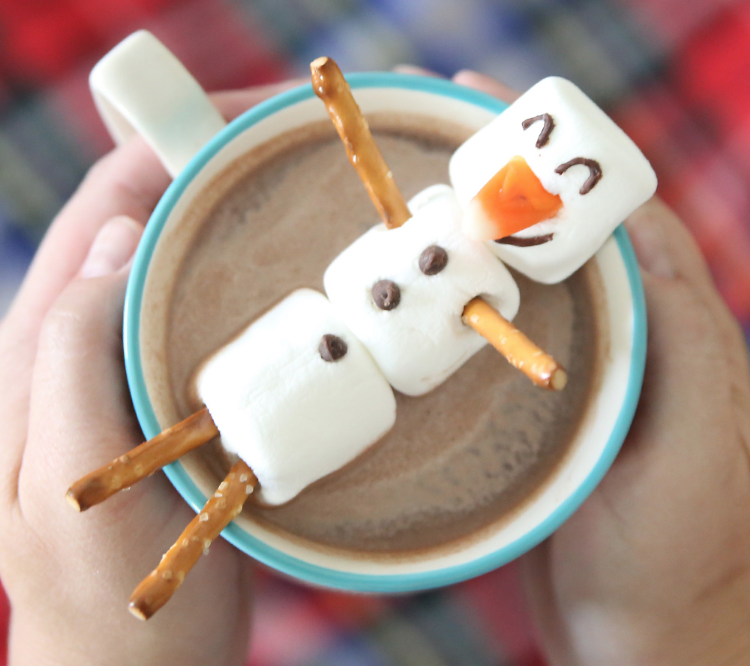
- Snowman Hot Chocolate Buddy
- Bagel Snowman
- Fruit Juice Mocktails – So they stop asking for a sip of yours
- Unicorn Hot Chocolate
- Mini Honey Gram Houses
Get outdoors!
It may seem counter-intuitive, but hear me out. If you give them something to be excited about outside and they wear themselves out for an early bedtime, that’s a win-win! There are so many fun winter activities that you can do outside that don’t involve sleds or skis or other winter sports. How about painting the snow? It’s like chalk coloring for all seasons!
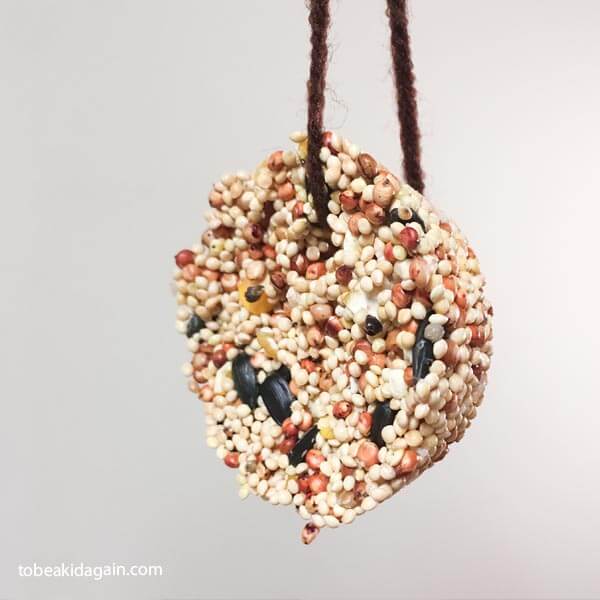
- Winter Bird Feeder – Birds gotta eat too!
- Paint the Snow
- Blow Frozen Bubbles
- Tic, Tac, Snow!
- Winter Scavenger Hunt – Free printable!
- Make a Snowy Obstacle Course
There you have it, the ultimate activity list for this winter! Make sure to pin this post for your next big snow day.
As always, we love seeing what you’re working on! Share your winter fun with us on our Facebook page or tag us on Instagram!

by Simone Collins | Jan 23, 2018 | Craft Tutorials
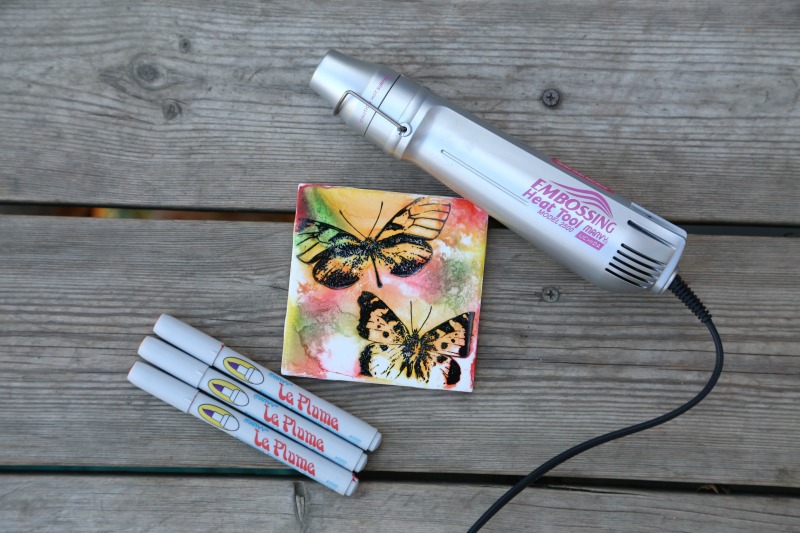
These butterfly watercolor coasters make a great gift or an easy update to your home decor. With spring just around the corner, you’ll have the perfect present for bridal showers, housewarming parties, or just a fun decoration for your back patio.
What I love about this project is it’s so easy to master and once you do it, you can create the same effect on lots of surfaces. The alcohol ink creates a gorgeous watercolor effect. Once you master this trendy technique, you can make all kinds of crafts for home decor, party decorations and more. The best part is that you can use any kind of alcohol ink based markers you have at home! No need to buy special inks just for these watercolor coasters.
Butterfly Watercolor Coasters with Alcohol Inks
Supplies:
- Ceramic Tile
- Le Plume Permanent Marker
- Rubbing Alcohol, 70% by volume or higher
- Small spritzer bottle
- Embossing Heat Tool
- Rubber Stamps, optional
- Permanent Stamp Pad, optional
- Cork sheet
- Adhesive
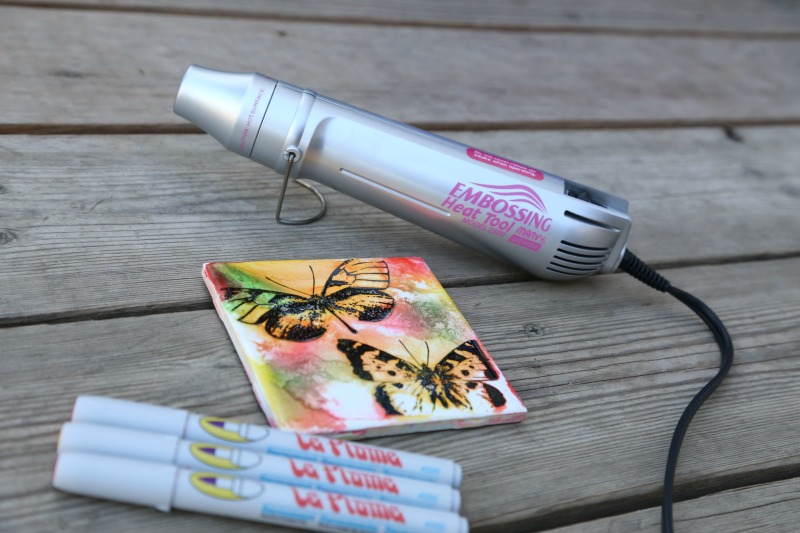
Instructions
- Using your Le Plume Permanent Markers, draw dots of color all over the top of your coaster.
- Fill your small spritzer bottle with the rubbing alcohol.
- Spray the color on the coaster. Turn the coaster as you see the colors running. You can always spritz more alcohol on the coaster to make the colors flow more.
- When the coaster is full of color, lay flat.
- Either allow the coaster to dry on its own, or use your Embossing Heat Tool. The heat will dry the coaster but also give different effects to the colors. Move the heat around quickly and keep the tool at least 10 inches from the coaster.
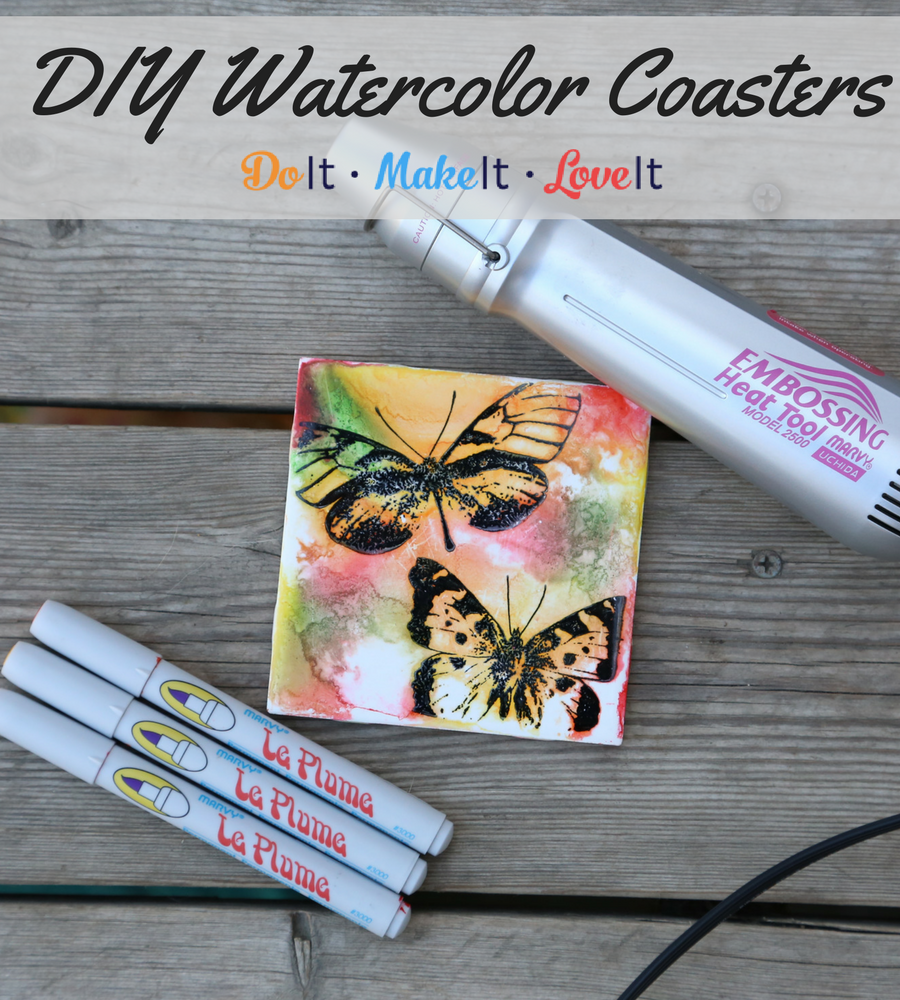
- Once the coaster is completely dry, you can add an image over the top of the color using rubber stamps and a permanent ink pad if desired.
- When the top of the coaster is completed and dry, add a piece of cork to the bottom with an adhesive.
Easy to create and fun to receive, you can’t get much better than these DIY watercolor coasters. Dress up a stack of coasters with a fun ribbon for extra special presentation. Bundle them into a set of four with some pretty drinking glasses and you have a great handmade gift!
As always, we love to see your projects! If you made this project or another project you’d like to share with us, share a picture on our Facebook page or tag us on Instagram.
by Simone Collins | Jan 17, 2018 | Craft Tutorials
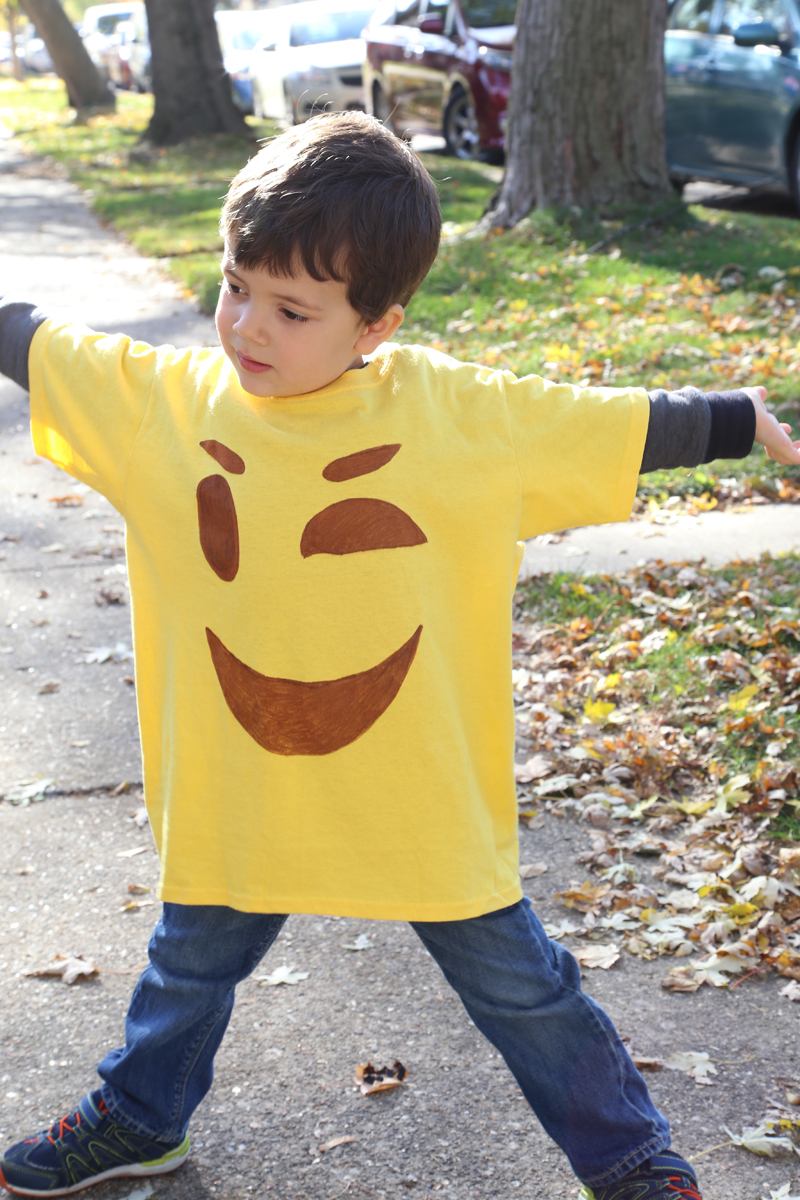
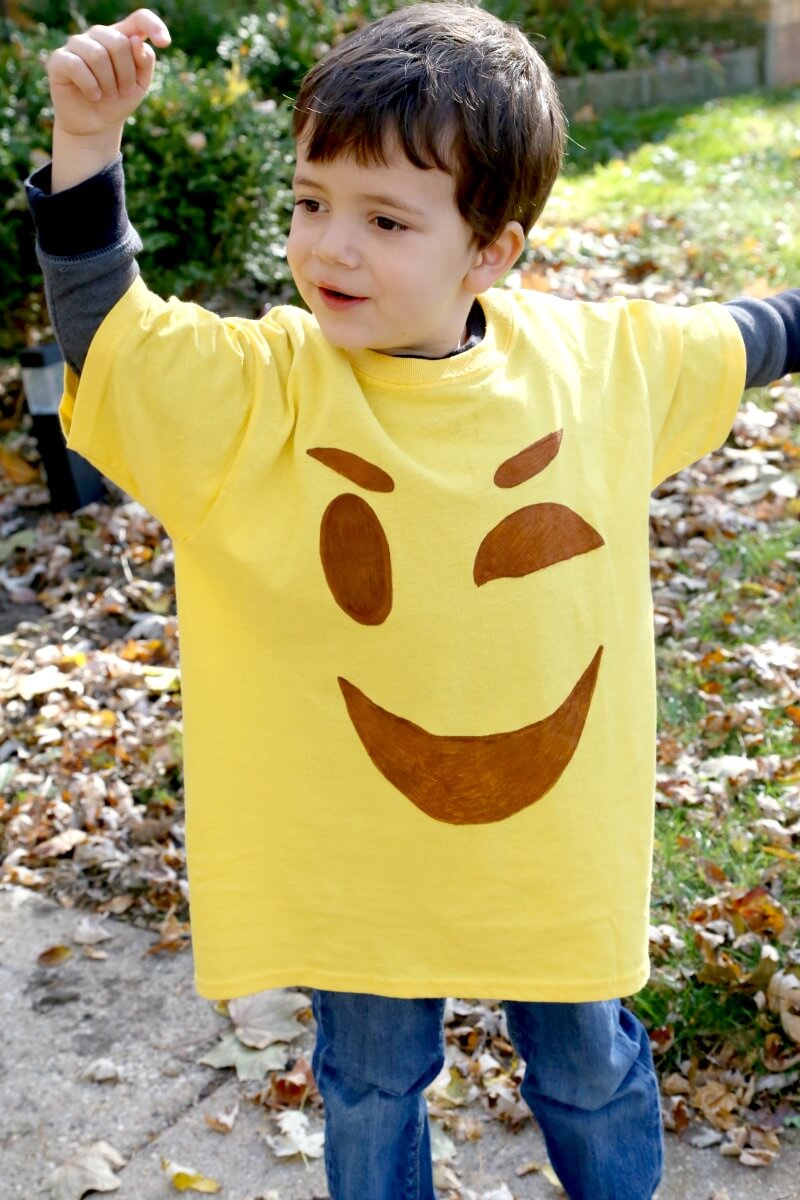
Did you go see the Emoji Movie when it came out? Do you speak in symbols? SO DO WE!! So obviously an emoji t-shirt is a must-have. I love this project because it combined something that my littlest one and I both love (emojis) and it was a simple, no-mess activity we could do together on a rainy day. We picked out bright yellow t-shirts from the craft store to make this DIY 15-minute emoji t-shirt, but you can pick out any color and get more intricate with your designs. You know, like a brown t-shirt with big white eyes 😉 Scroll down to get the full instructions to make your own!
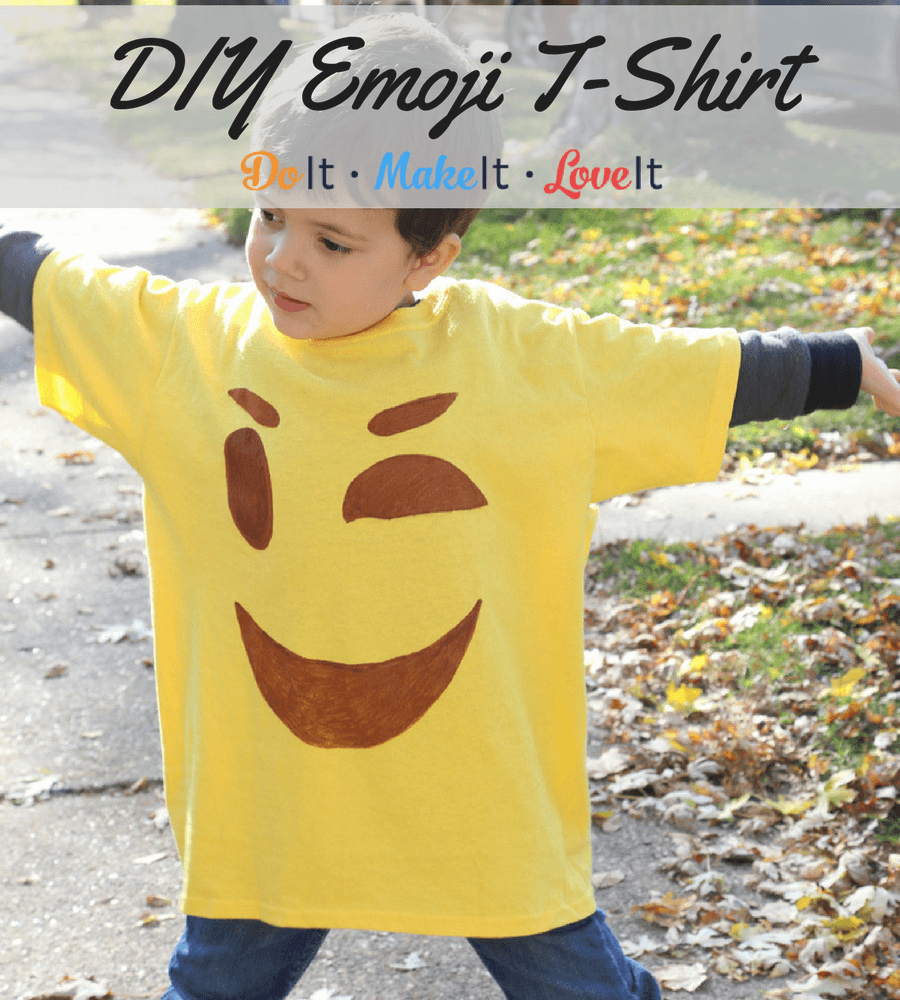
15 Minute DIY Emoji T-Shirt
Materials List
- Plain cotton T-shirt, pre-washed
- Marvy Uchida Fabric Markers
- Printed Emoji Image, sized for T-shirt
- Cardboard, cut to fit inside T-shirt
Instructions
- Place the printed emoji image inside the pre-washed T-shirt with cardboard behind the image. The cardboard will keep the ink from bleeding to the back of the shirt.
- Using the Fabric Marker, trace over the design completely.
- You can remove the image once you’ve traced, but leave the cardboard in place.
- Fill in the image completely with the Fabric Marker.
- Finished, no heat setting is required.
How easy was that? I love this project because it’s pretty mess-free, takes little time to set up, and the kids get so excited to color on clothes. Fabric markers and plain t-shirts make perfect projects for rainy days, family events, and parties. This project is just so fun and simple, definitely recommend trying it when your kids are sick of the 20 million toys they have in the house.
Which emoji did you pick? Share a picture of your t-shirts with us on our Facebook page or tag us on Instagram!
by Simone Collins | Dec 16, 2017 | Craft Tutorials
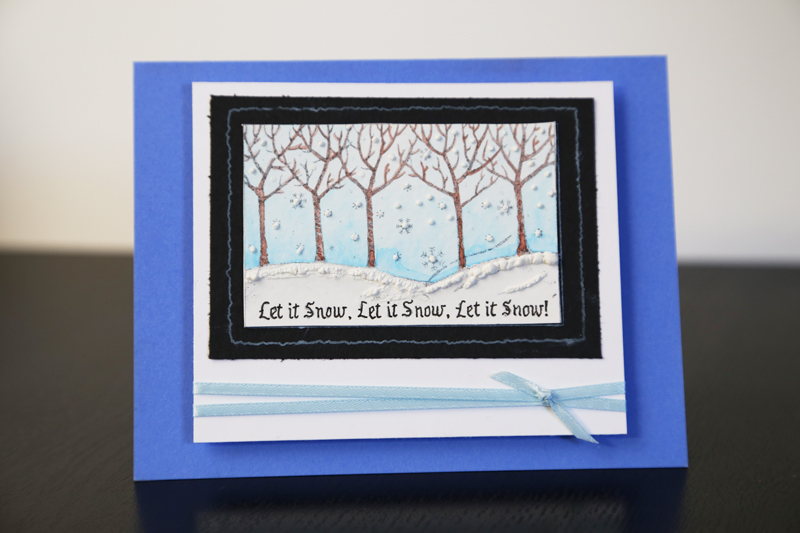
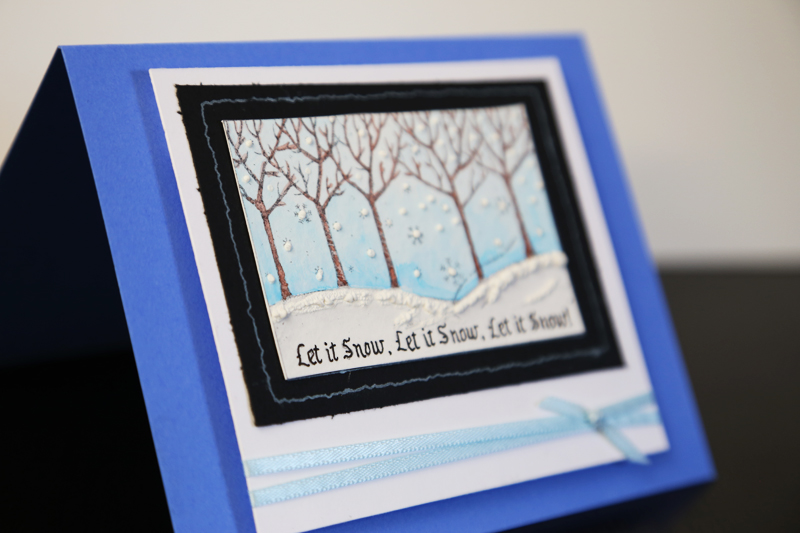
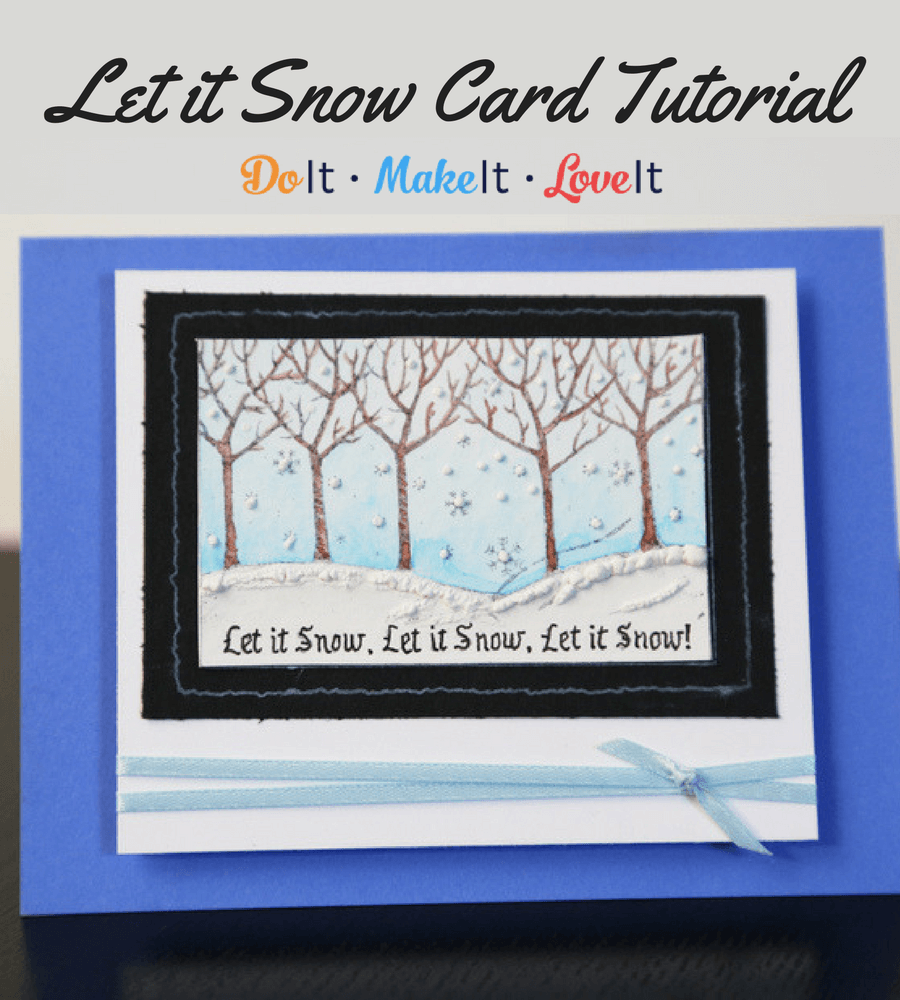
Tis the season! If you’re a paper crafter like me, you love Christmas. Is it the twinkling lights? No. Is it the cookies? Maybe. But mostly it’s an excuse to make lots and lots of cute cards! You know, you have to make a few samples before you know which ones you’re going to send. One of my samples was this Let it Snow Christmas card and I wanted to share with you guys how to make it. This card is so simple but turns out so cute because of this one little tool that I can’t live without, especially during the holidays, and that’s my Snow Marker.
If you haven’t used the Marvy Uchida Snow Marker, I am about to change your life. Let me fill you in. The Snow Marker is one of my favorite paper crafting tools because it does this cool white puffy effect you see below! All you need is the marker and a heat gun.
In full disclosure, I do work with Marvy Uchida, but this is not a sponsored post. I just genuinely like using this marker when making cards! Obviously, as the name suggests, it creates a textured, snowy effect on paper making it perfect for wintery cards or art projects. But it also looks like foam or fur, making it great for beer mugs, lattes, Santa hats, pom poms, clouds, or any fuzzy, fluffy, foamy thing that you can think of. Seriously, try it.
Let it Snow Christmas Card Tutorial
Supply List:
- Rubber Stamp
- Black Stazon Ink Pad
- White Ink Pad
- Cardstock – blue, white, black
Color In Markers
- Color In Water In Brush – fine
- Snow Marker
- Embossing Heat Tool
- Ribbon
- Dimensional Adhesive
Instructions:
- Cut blue cardstock to 5.5” x 8.5” and score at 4.25” for the card base.
- Cut two white cardstock pieces 4.25” x 3.5” and 2” x 3.25”
- Cut black cardstock to 2.75” x 3.75”
- Stamp the your image on the smallest white piece of cardstock in Black StazOn Ink.
- Stamp the same image on black with white ink.
- Color your image with Color In Markers using the Color In Water In Brush to watercolor. Allow to dry.
- Add Snow Marker to your dried image and heat with the Embossing Heat Tool until it puffs. Add more if necessary.
- Attach images together and add ribbon.
- Secure image to card base with dimensional adhesive.
How did your turn out? We’d love to see yours! Share a picture on our Facebook page or tag us on Instagram. Or if you’ve used my favorite marker before, leave your thoughts in the comments.
by Simone Collins | Dec 11, 2017 | Craft Tutorials
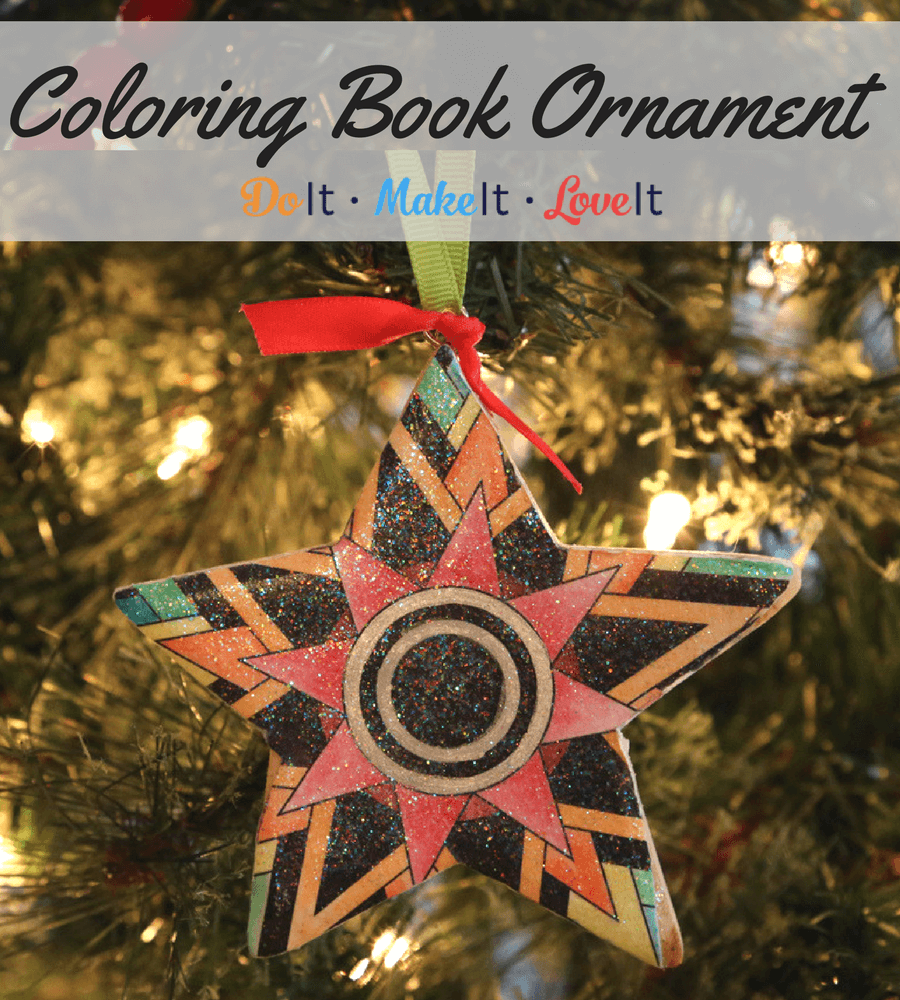
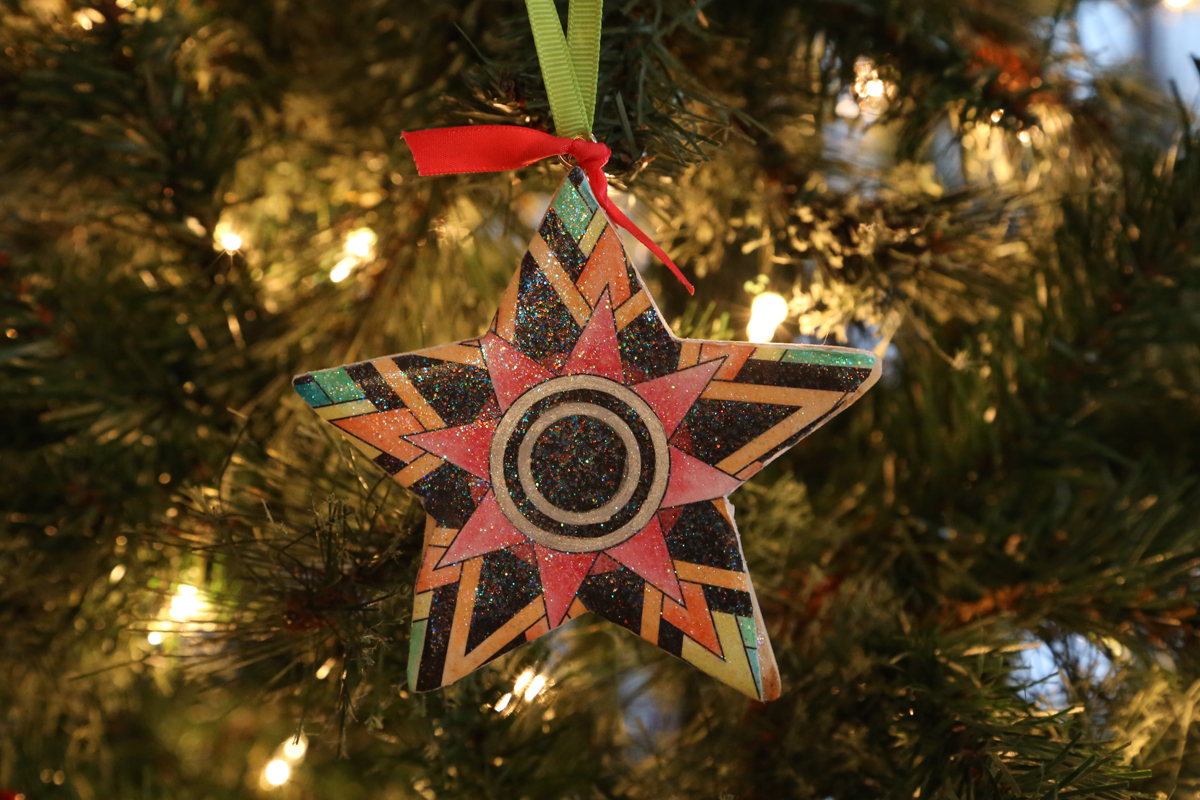
We’ve all been suckered into those adorable coloring books and I am no exception. I love those things. Adult coloring books are such an easy way to pass the time creatively without having to worry about how your page is going to turn out at the end. Coloring book pages are my new sudoku. They help pass the time and keep my brain active. But what do you do with all your finished coloring book pages? Of course, some I never want anyone to see and should probably just burn them, but there are other pages that I’m really proud of. So I’ve been trying to come up with creative ways of displaying my artwork. This simple coloring book page ornament is one of them!
How To: Coloring Book Ornament
Supplies:
- Coloring Book Page
- Color-In Water Color Pencils
- Color-In Water In Brush
- Wooden Ornament, the shape is up to you.
- Mod Podge
- Foam Brush
- Pencil
- Scissors
- Ribbon, optional
Instructions
- Color your image using the Color-In Water Color Pencils. Blend your colors using the Color-In Water In Brush.
- Once your image is colored, allow it to dry completely.
- Using Mod Podge and a foam brush, apply the glue to the front of the wooden ornament and back of the coloring book image. Smooth out the image on to the ornament.
- Use the Mod Podge to cover the top of the ornament and seal it. I chose to use Glitter Mod Podge but any variety will work.
- Allow to dry completely and add ribbon if desired.
There you have it, a simple way to use some of those masterpieces you’ve been hiding in your coloring books. This is also a creative way to show off kids artwork if your fridge has no more room! Surprise the kids with their own artistic ornaments to put on the tree. They’ll be so proud of themselves when they see their work lit up by sparkling string lights.
As always, we love to see your projects! If you made this project or another project you’d like to share with us, share a picture on our Facebook page or tag us on Instagram.