by Simone Collins | Dec 7, 2017 | Craft Tutorials
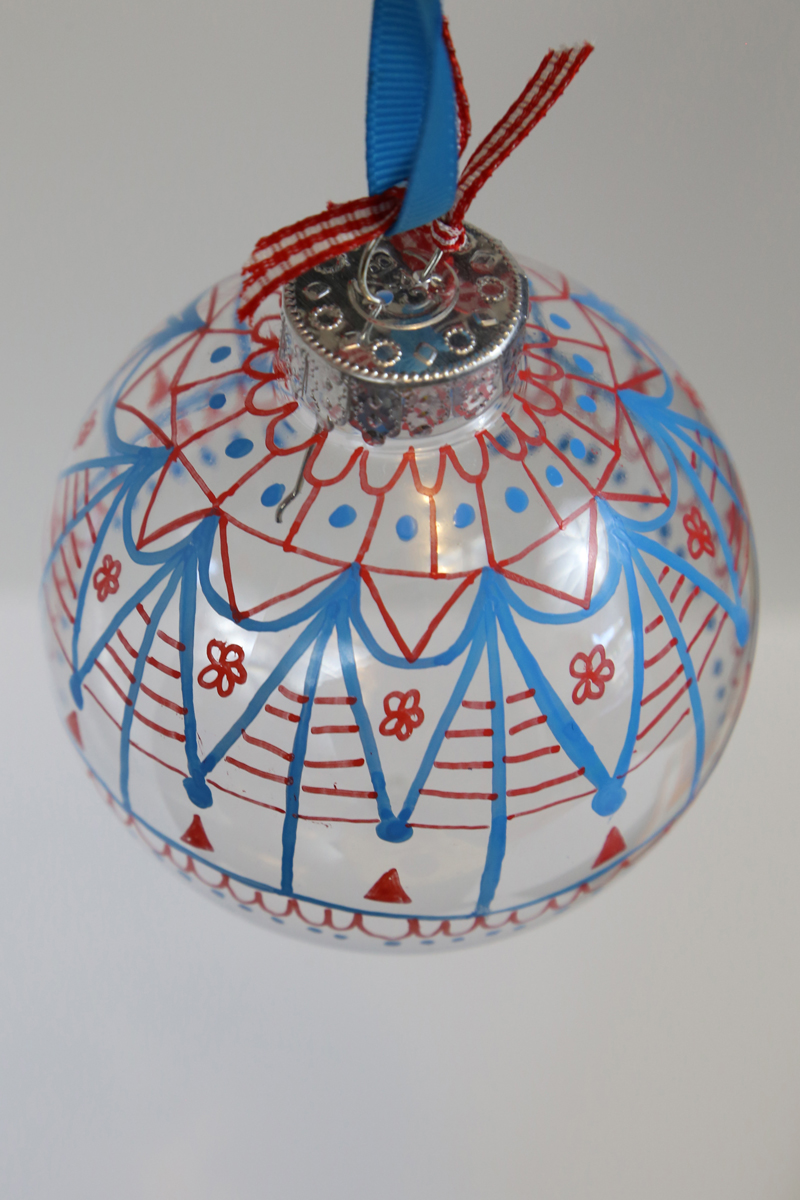
Get creative this Christmas with a fun DIY doodle ornament! If you’re a chronic doodler, like me, this is just another way to unleash your creative side and end up with a cute DIY Christmas ornament while you’re at it. Handmade Christmas ornaments should represent your personality and style, otherwise, why make them? This DIY doodle ornament is great at that. You get to design a special handmade ornament that will be passed down through the years!
This is also a great family or classroom project. Kids crafts that double as Christmas decor are my favorite thing. Since the ornaments are plastic they are less likely to break if dropped by little hands. This kids craft gives young people an opportunity to showcase their art skills in a way that lots of people can admire them and they give adults a fun, relaxing way to spend a cold afternoon. Bonus, you can even do this while binge watching Netflix!
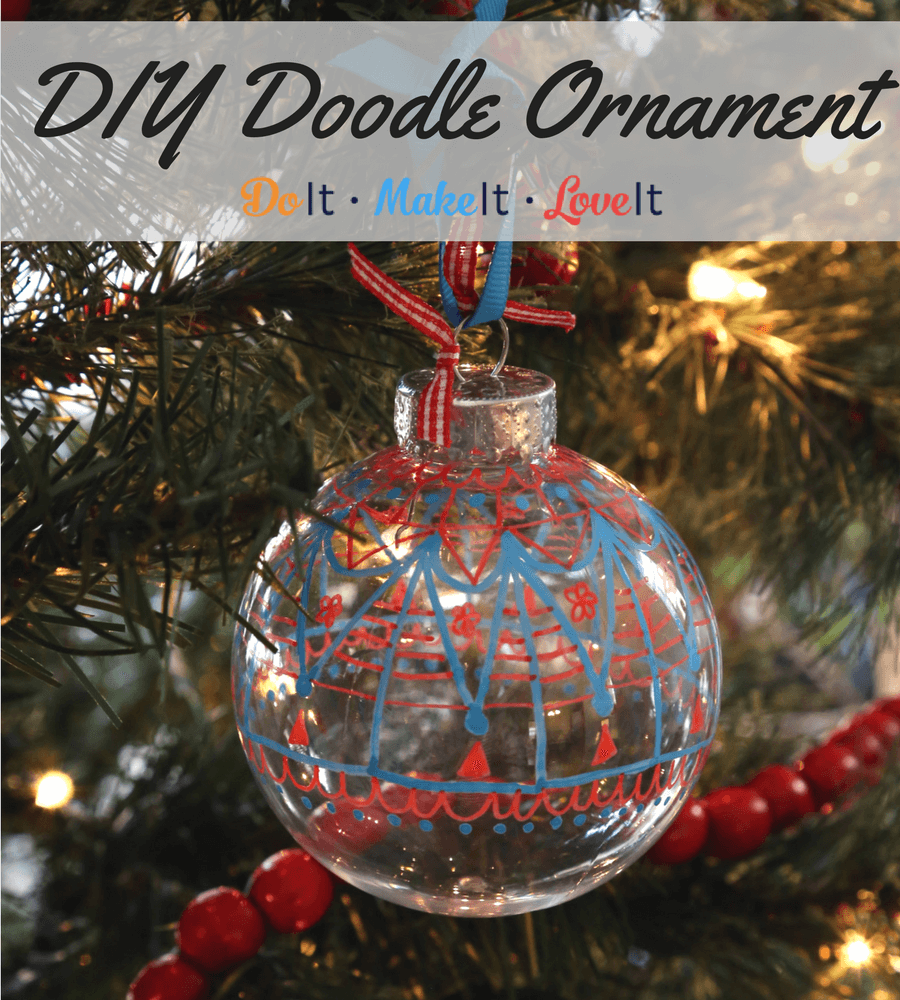
DIY Doodle Ornament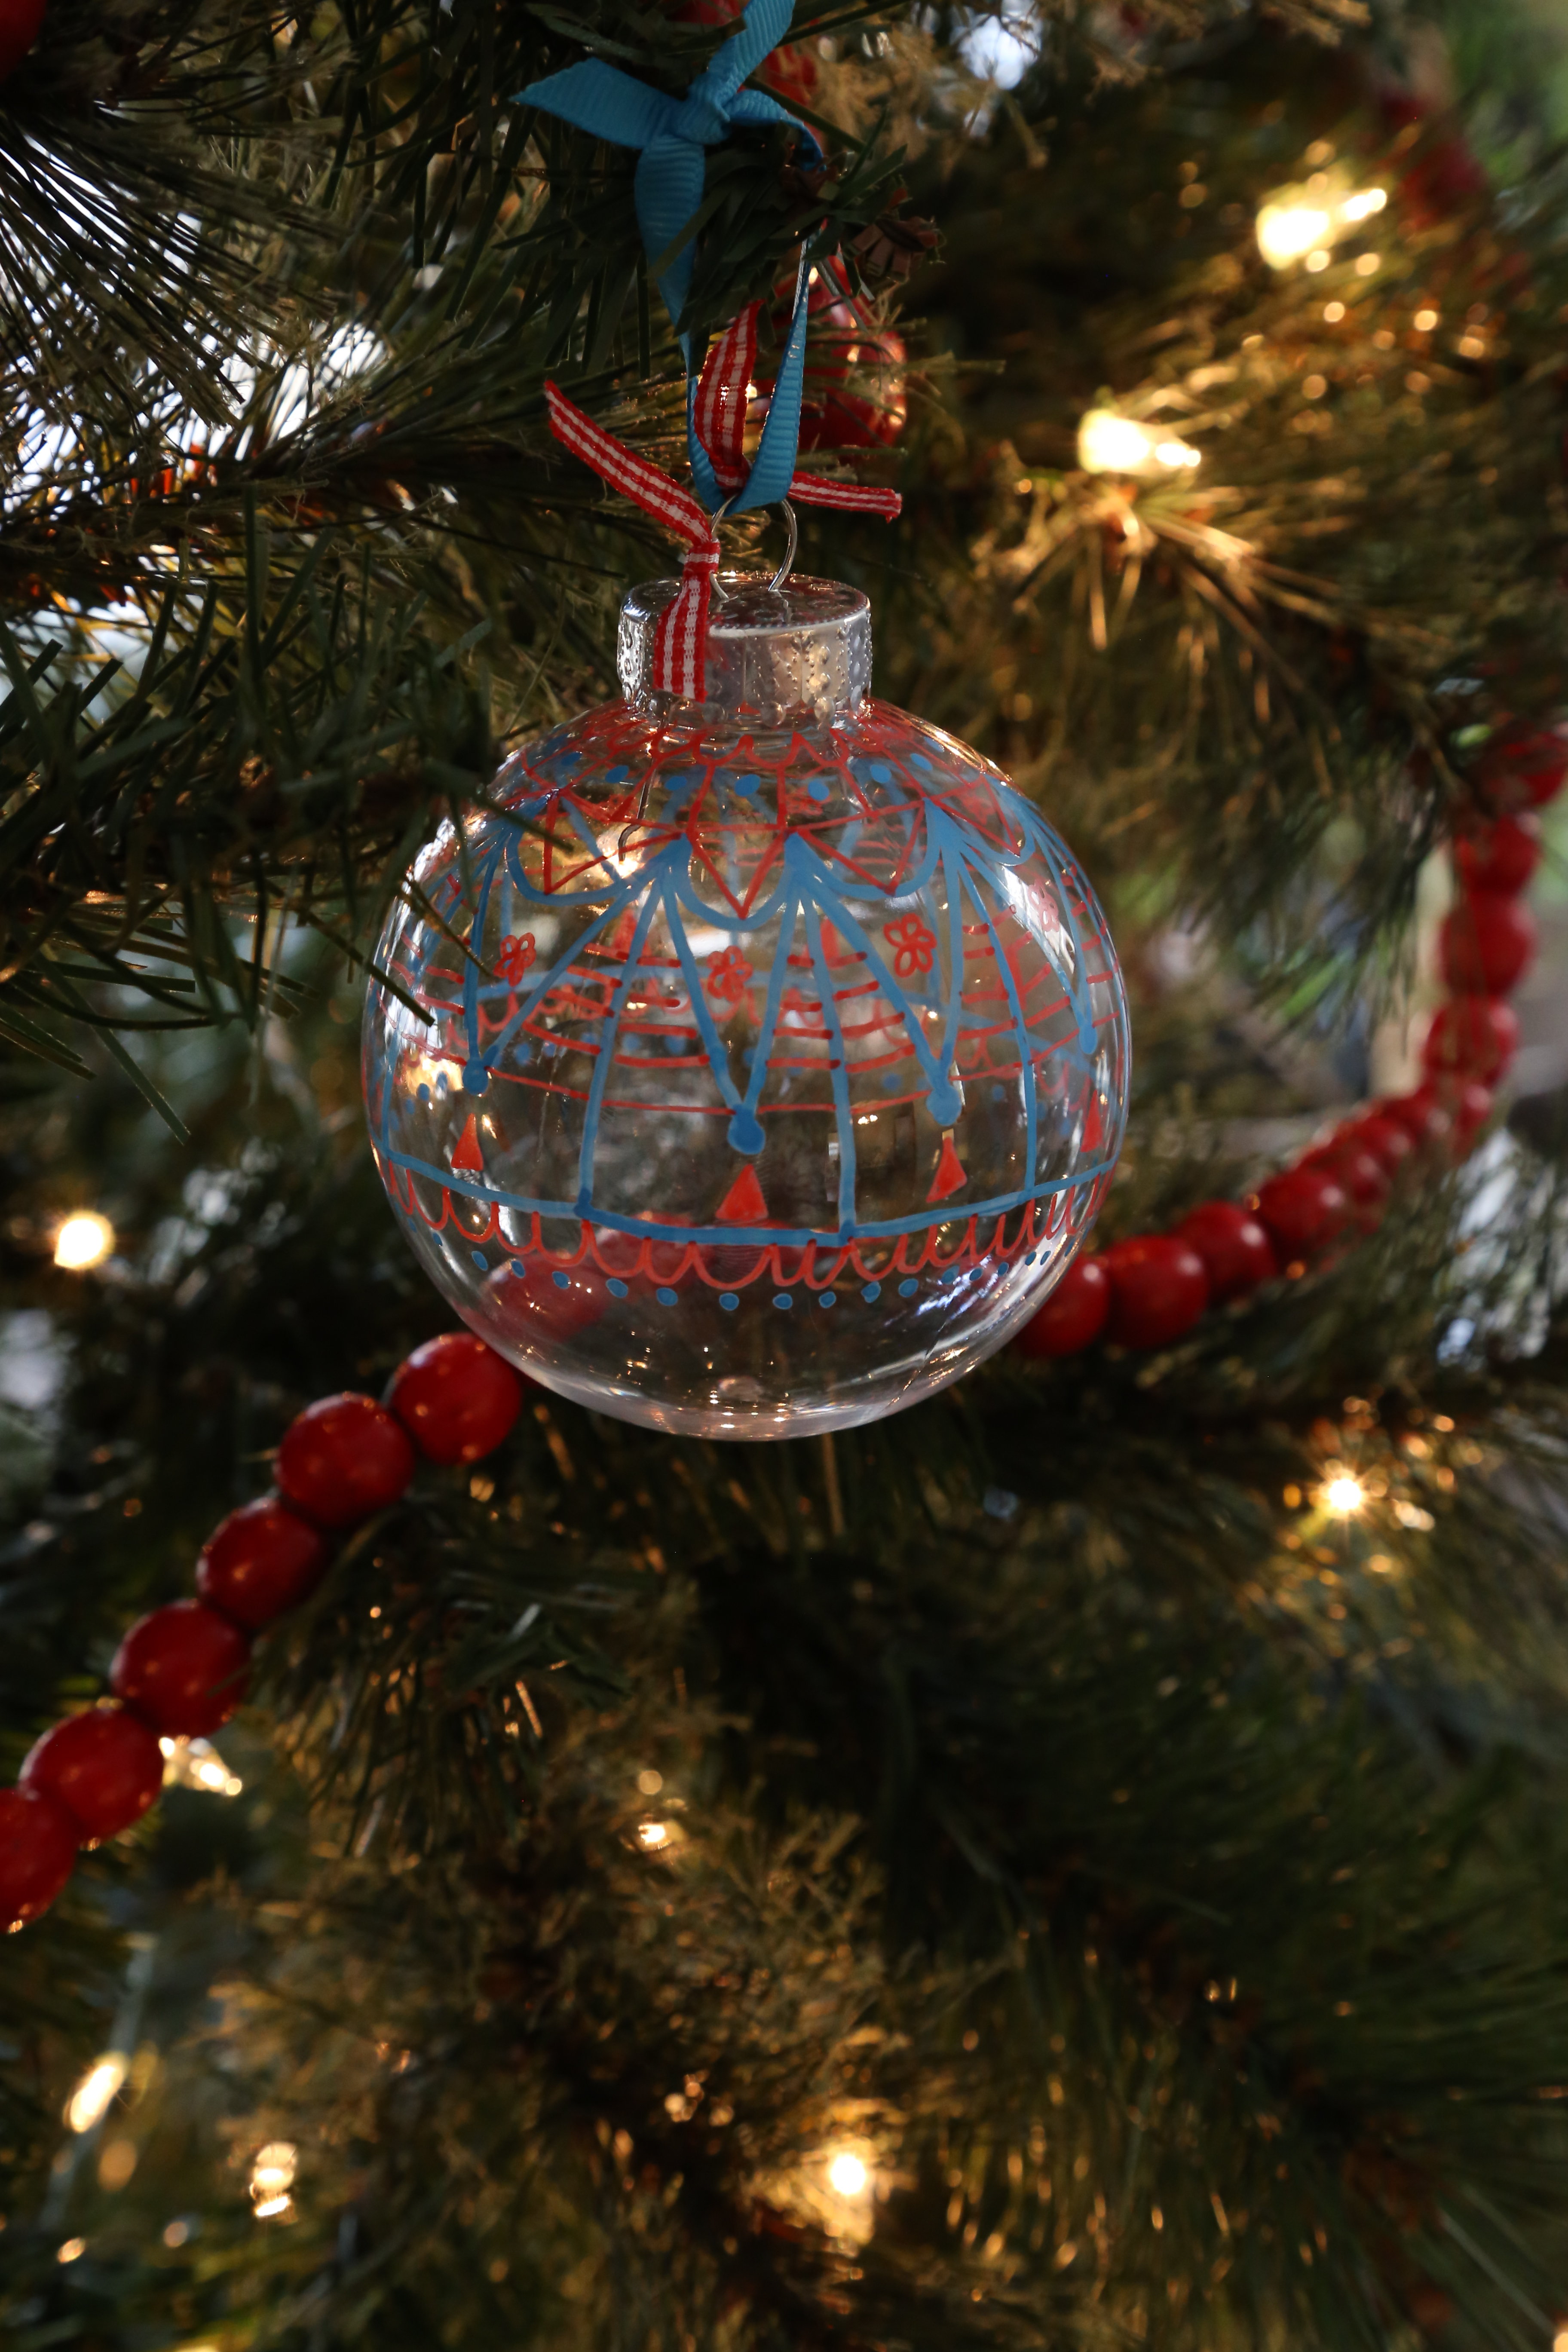
Supplies
- Plastic ornament
- DecoColor Paint Markers
- Ribbon, optional
Instructions
- Choose two coordinating DecoColor Paint Markers.
- Remove the topper from the ornament.
- Starting at the top of the ornament, start doodling your design using the DecoColor Paint Markers you chose.
- While filling in your design, it is best to start with more open areas and add details later.
- Between the layers, allow to dry or dry faster using a low temperature on your hair dryer.
- When your design is completed, add ribbon and hang.
Paint markers are best for this project since they give you a lot of control in what you’re doodling, but acrylic paint and tiny paintbrushes would work too. It all depends on your preference. The end result will be the same: a beautiful, creative DIY ornament shining on your tree!
Did you make one? Two? Twelve? We want to see! Share a picture on our Facebook page or tag us on Instagram.
by Simone Collins | Dec 3, 2017 | Craft Tutorials
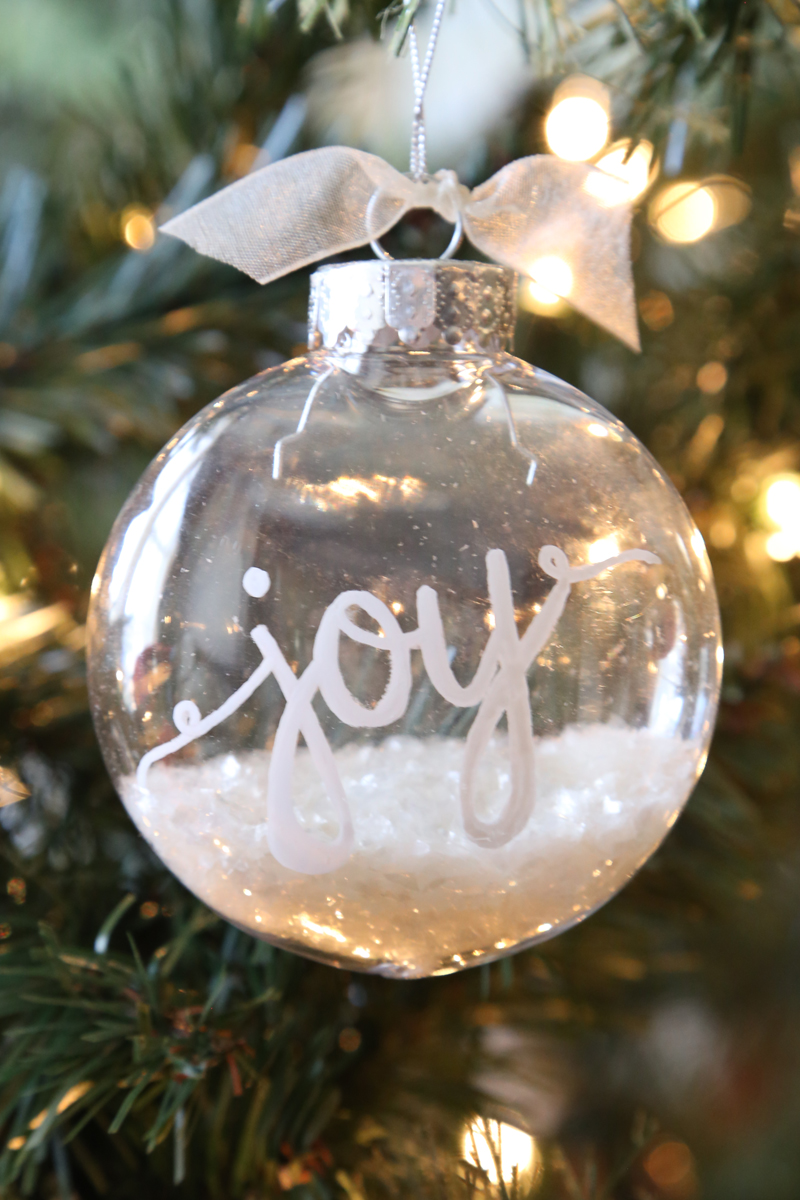
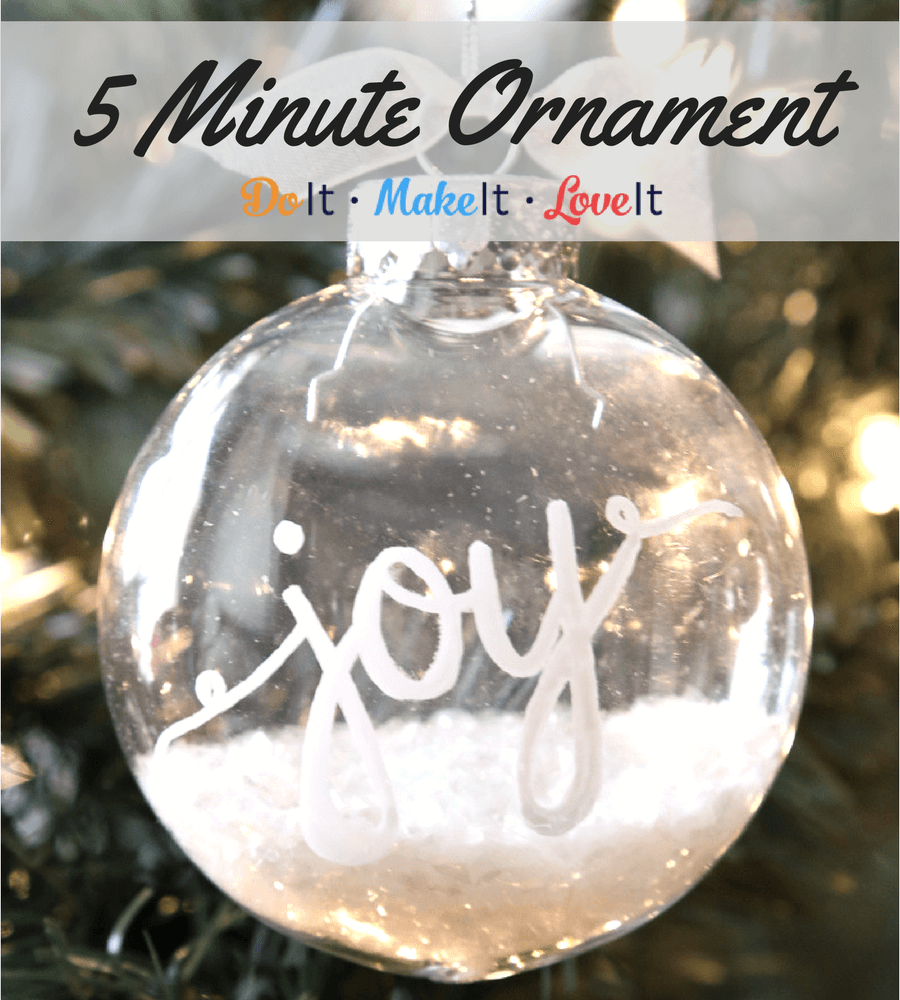
Sometimes the prettiest handmade ornaments are the simplest. I’ve really been loving the all-white Christmas tree decor trend, but I couldn’t bring myself to buy all new ornaments for a trendy tree. Luckily, I had a couple extra sets of clear plastic ornaments and some money to spend at the dollar store. This DIY Christmas ornament won’t take you more than 5 minutes to make and you can make a whole tree full of them in an hour. It’s a perfect solution to anyone that wants to temporarily change up their Christmas tree decor!
What words come to mind for you during the holiday season? Joy, Peace, Gratitude, Love? Add them all to your handmade ornaments! It can be an inspiration tree this year since we all probably need a little positive inspiration right now. Not loving the white Christmas trend? Fill your DIY ornament with any color glitter or confetti you love! The options are endless.
Simple 5 Minute White Christmas Ornament
Supplies
- Plastic Ornament
- Bistro Chalk Marker – fine, white
- Glitter or mica flakes or confetti
- Ribbon (optional)
Instructions
- Using a rolled up paper funnel, add glitter, mica flakes, or confetti to the bottom of your ornament. Put topper back on the ornament.
- Write a message on the ornament with the Bistro Chalk Marker. Let dry.*
- Add ribbon and hang.
*The Bistro Chalk Marker is not permanent on a plastic ornament. You can choose to change the message from year to year or make a permanent version with a DecoColor Paint Marker.
This simple Christmas ornament also makes a great gift to commemorate an anniversary or special date. Just write the date on the ornament instead and your gift is ready to go! The best thing about this project is that it’s fast, easy, and budget-friendly. When you’re already spending an entire paycheck on gifts, budgeting on decor really counts.
Did you make one of these Christmas ornaments? We’d love to see! Share a picture on our Facebook page or tag us on Instagram.
by Simone Collins | Nov 29, 2017 | Craft Tutorials
Christmas ornaments are the one thing in home decor that I like to keep traditional. I have hand-me-down ornaments from my parents and grandparents and a new collection I started with my own kids. I don’t want to buy new ornaments every year just to keep up with trends, but I do love the ornaments that come out every year. That’s why I always try to DIY an ornament at least once a year. Making your own Christmas ornaments is a great way to create new memories and traditions.
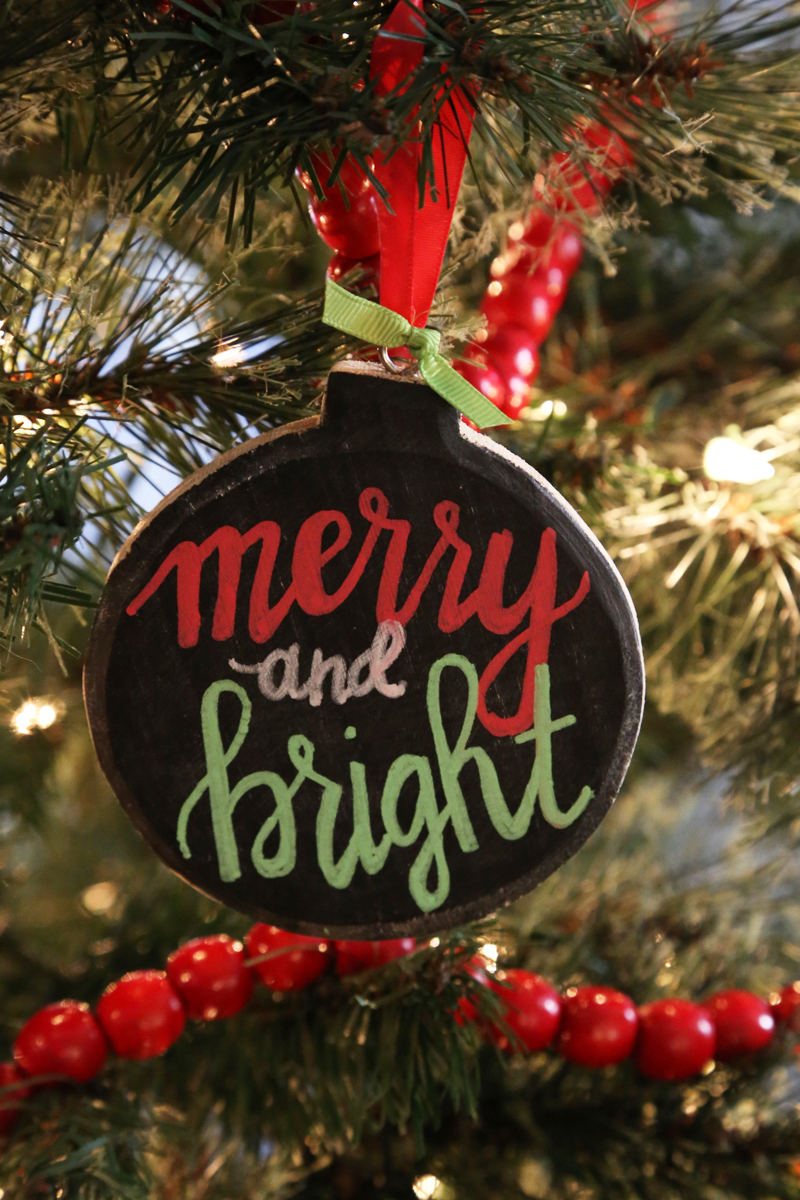
This year I was obsessed with everything chalkboard and I wanted to incorporate some of that into my Christmas decor! This DIY Christmas ornament is unbelievably easy to make and it turns out so cute!
Those blank wood ornaments at Target and Michaels are my favorite thing. They are the perfect blank canvas for creating your own special handmade ornaments. These little ones can even be used as gift tags! Just write out the person’s name and tape or tie it to the box. I mean, who isn’t tired of seeing the same sticker labels every year? Your gifts will definitely stand out.
How To Make a Simple Chalkboard Ornament
Supplies:
- Wood ornament
- Easy Chalkboard Marker, black
- Bistro Chalk Markers, red, green, and white
- Pencil
- Plain white chalk
- Ribbon, optional
Instructions:
- Use your Easy Chalkboard Marker to add a chalkboard finish to your wooden ornament. Allow it to dry.
- Condition your chalkboard surface by taking a plain piece of white chalk and covering the surface. Wipe off with a plain paper towel.
- Design your sentiment using a pencil first, lightly.
- Trace over your design using the Bistro Chalk Markers. Allow it to dry.
- Add ribbon if desired.
*The Bistro Chalk Marker is not permanent on this ornament. You can choose to change the message from year to year or make a permanent version with a DecoColor Paint Marker.
That’s all it takes to start your own tradition of making a Christmas ornament every year! Pretty simple, right? Since this project takes little time and almost no mess, it’s another great kids craft idea. It’s a genius way to keep little hands busy with minimal supervision while you’re making dinner, packing presents, and cleaning the house all at the same time (supermom status, am I right?). You can even cut an extra long piece of ribbon and kids can wear them as necklaces. Now you have an alternative to name tags too!
As you can see, there are so many creative ways you can make this simple, quick craft. Show us your creativity on our Facebook page or tag us on Instagram.

by Simone Collins | May 24, 2017 | Craft Tutorials
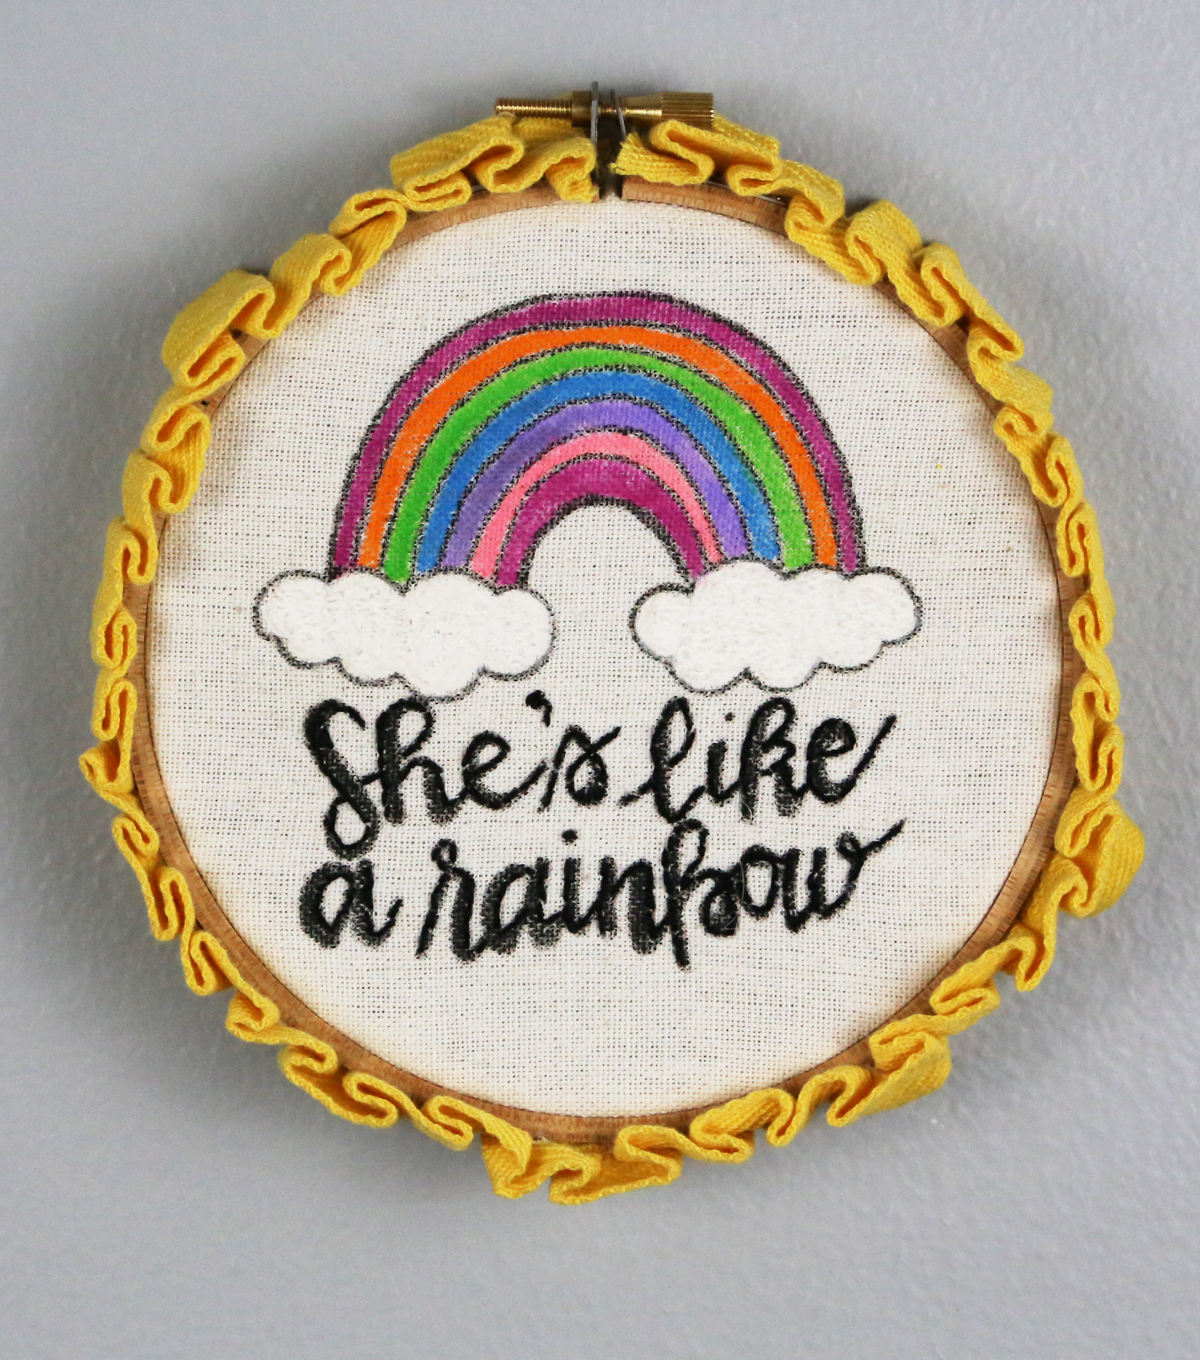
When you first start decorating your home, the first thing you notice is how empty your walls look! There’s nothing worse that having empty, echoing walls in your gorgeous home. Of course, if you haven’t been collecting wall art and paintings the whole time, starting a collection of art for your walls can add up really quickly. The best option? Making your own custom DIY wall art! Not only is it a conversation piece, but you know that you’re the only one of your friends who will have such a special and unique piece. That’s exactly where this easy painted embroidery hoop project comes in.
I love the look of embroidery hoop wall art. It adds a touch of homey, handmade charm that you don’t get with clean, white frames and cute prints. Of course, mixing the two looks is even better! This tutorial will work in creating any design you’d like simply by printing and tracing. You can make a whole series of these for different rooms or a mixed media gallery wall.
Painted Embroidery Hoop Wall Art Tutorial
We’ve included links to some of our favorite supplies to make crafting easier for you! If you use these links to shop, we’ll make a little kickback to help support our blog. You can take a look at our disclosure policy and privacy statement here.
SUPPLIES & TOOLS:
DIRECTIONS:
- Pre-wash your fabric. Do not use fabric softener.
- Cut a piece of fabric to fit your embroidery hoop. Place your fabric into your hoop so that the top of the fabric piece is concaved in the hoop.
- Draw your design on a scrap piece of paper.
- Lay your hoop over the design and trace using a pencil or Graffiti Fabric Marker. Make sure you allow each color to dry for about 5-10 minutes before applying the next.
- For the clouds, fill in the area with the Snow Marker. Heat using an Embossing Tool, be sure to move the tool around as you heat to avoid scorching.
- Write your message using a Graffiti Fabric Marker (optional).
- Using three strands of embroidery floss to match the color of your sentiment, back stitch your message, just outlining it.
- You can add some fun trim to the outside of the embroidery hoop using a hot glue gun.
- Hang and enjoy!
SO simple right? I’m a sucker for an easy project you can complete in an evening. Otherwise, my works-in-progress just start to pile up all over the house magically. Although, I guess that also means I ditch a lot of longer projects in favor of quick crafts. Oh well!
What is your embroidery hoop wall art going to say? Share your finished art with us on our Facebook page! I love seeing your creative ideas.

by Simone Collins | May 5, 2017 | Recipes
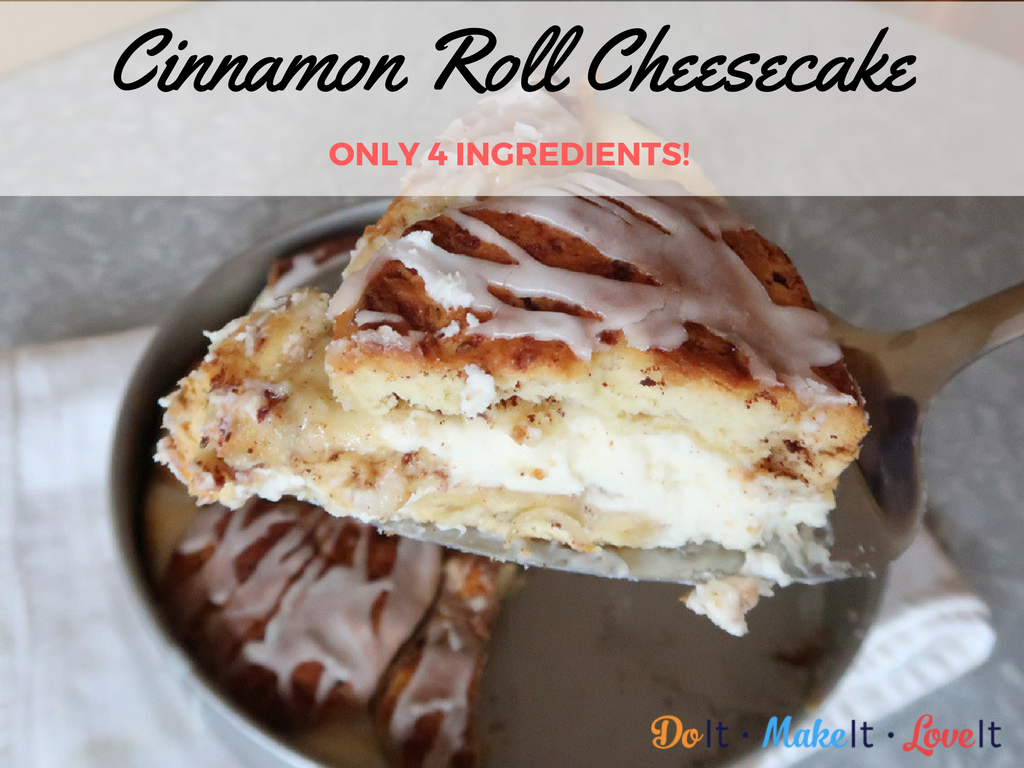
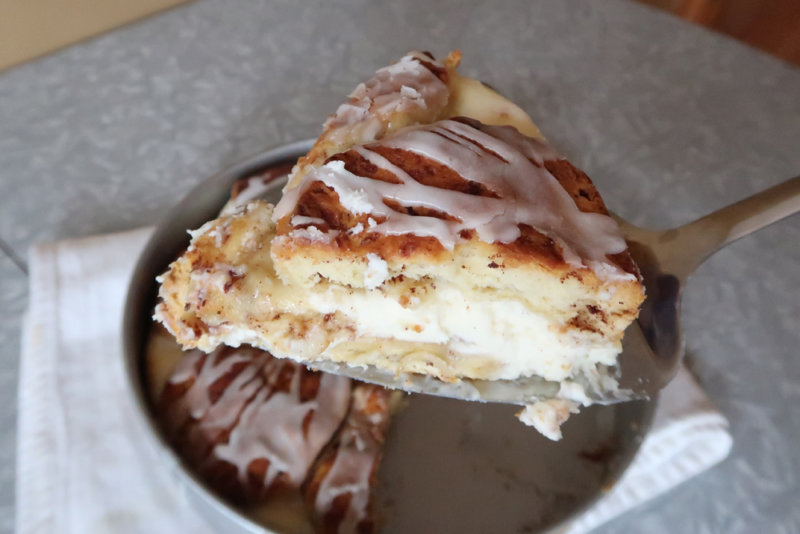
I am about to show you one of the greatest recipe creations I have ever dreamt up. Many times I get a weird idea in my head like, What if we made banana split tacos? And then, because I am just crazy enough, I try to create that recipe. Sometimes these crazy ideas work and sometimes, well, they don’t. Luckily, I have a family that will eat just about anything, even when it is a flop. Well, this Easy Cinnamon Roll Cheesecake Recipe is one of my original recipe success stories. This recipe is not only delicious, which is important, but it’s also so easy to make and only requires four ingredients!
These four ingredients…

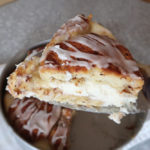
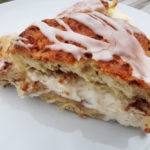
Turn into a slice of this awesomeness…
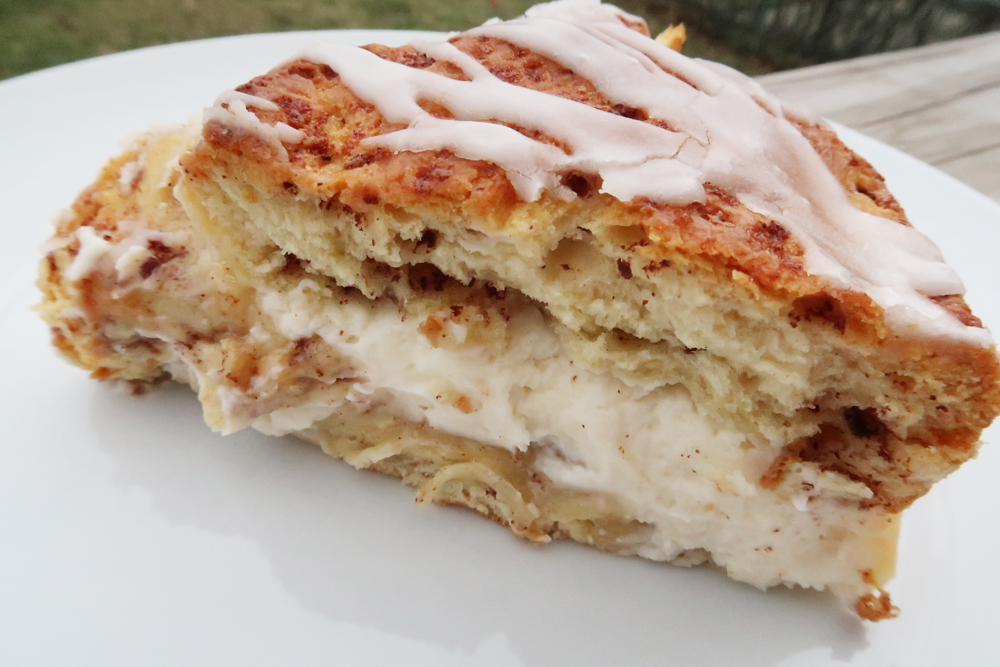
This recipe was the result of seeing crazy recipes with canned rolls and box cakes all over the place. Layered desserts are always really hot on the internet. Well, I totally had an ah-ha moment and thought, “What if I make a cinnamon roll stuffed with cheesecake?” That’s how it started and since I am always trying to make easy recipes, I simplified it even more. This recipe is everything you love about cinnamon rolls and cheesecake combined in one bite. You can make it for dessert or breakfast. It is awesome warm or cold. (I prefer mine slightly warm.)
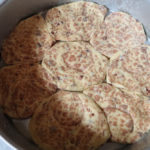
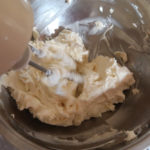
First you press one can of rolls into a prepared cake pan. That’s the easy part that the kids can easily help with. Then you make the super simple cheesecake filling. It’s not overly sweet because the cinnamon rolls are pretty sweet already. Layer the cheesecake filling on top. Next up is the second can of cinnamon rolls laid on top. Bake and drizzle with the glaze that came with your cinnamon rolls. That’s it! It’s that simple.
If you are looking for a perfect brunch recipe that is not too sweet or a way to wow the new neighbors when they come for coffee, just grab these simple ingredients and in 45 minutes, perfect cheesecake.

Easy Cinnamon Roll Cheesecake Recipe
-
16
oz
Cream Cheese
softened
-
2
cans
Pillsbury Cinnamon Rolls
-
1/2
cup
Powdered Sugar
-
1 1/2
teaspoon
Vanilla
-
Preheat Oven to 375 degrees. Spray a 9 inch round cake pan with non-stick cooking spray.
-
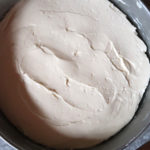
Press one can of Pillsbury Cinnamon Rolls into the bottom of the prepared 9 inch cake pan. Use your fingers to join the rolls to form the base.
-
Cream powdered sugar, softened cream cheese, and vanilla together.
-
Spread the cream cheese mixture over the base layer of cinnamon rolls.
-
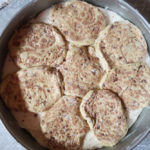
Roll out remaining rolls using a rolling pin to make them cover the top of the cream cheese mixture. Join the rolls using your fingers to form the top crust.
-
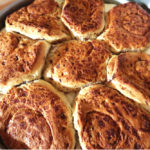
Bake for 30 - 35 minutes.
-
Drizzle the glaze that was included with the cinnamon rolls over the baked cheesecake. You can use one or both packets depending on how sweet you prefer.
-
Let cool for 20 minutes. Enjoy warm.