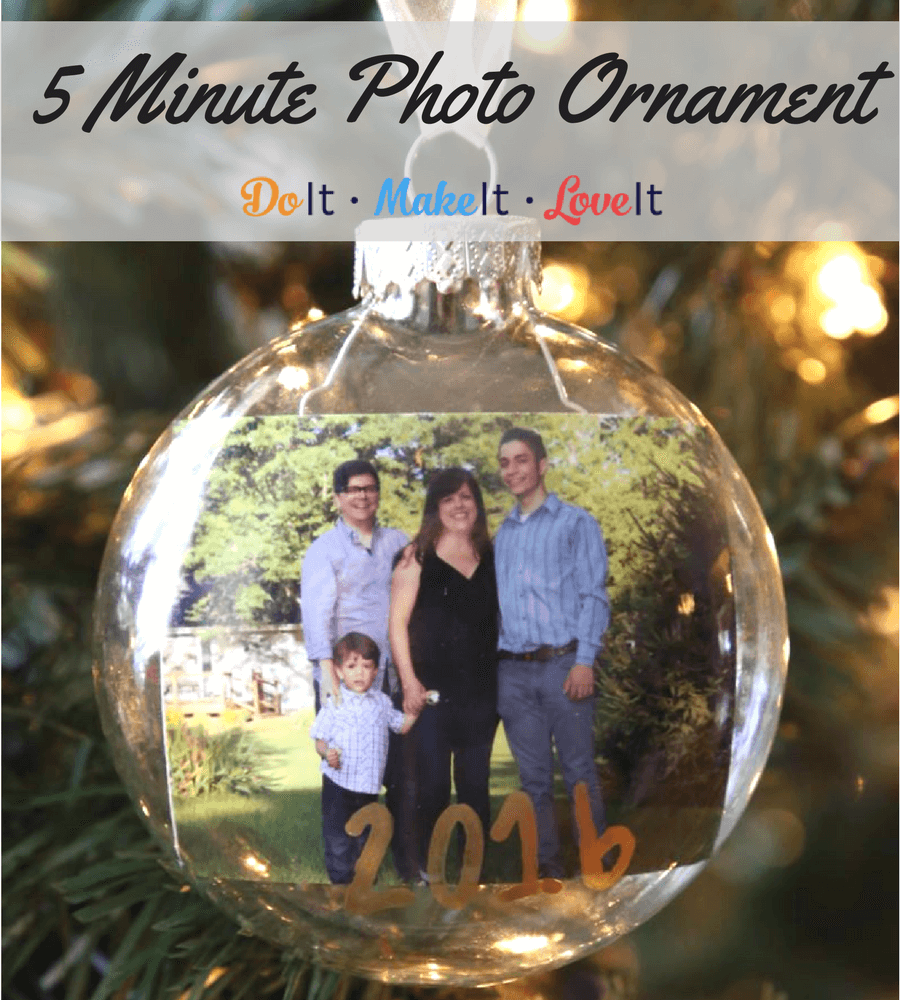
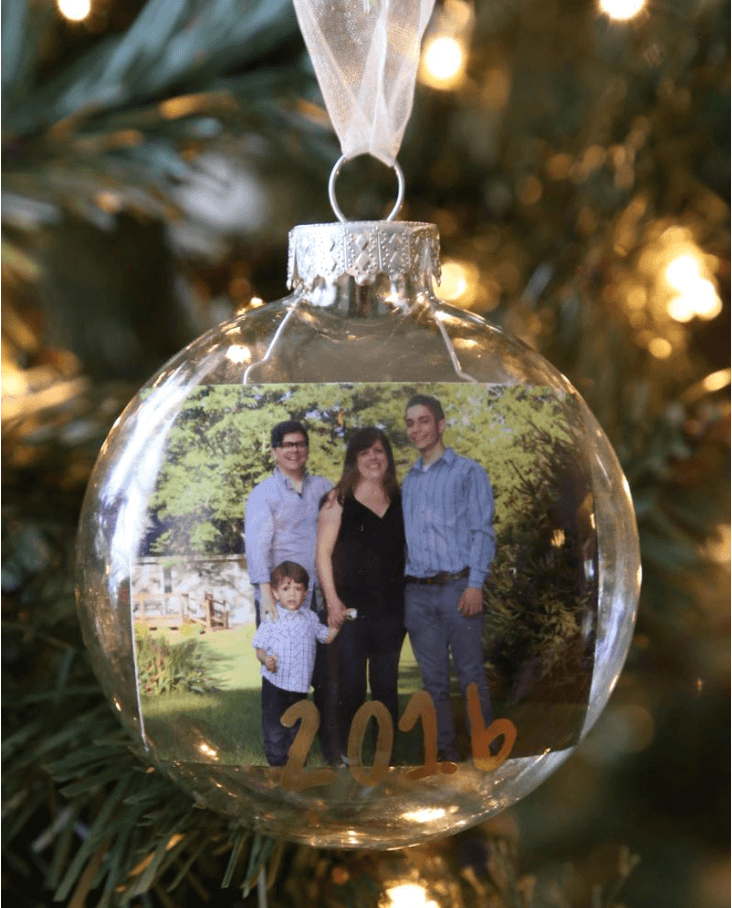
A 5 minute Photo Glass Ornament can be personalized to make a special memory of each year. This Christmas DIY ornament tutorial will walk you through how to make a quick family heirloom that doesn’t take up time or money. That’s what I call a win-win.
They grow up so fast, don’t they? There’s no better way to commemorate your family year to year than with a cheery holiday glass ornament. I’m totally a sucker for anything that create a family tradition or memory. Let’s get started!
5 Minute Photo Glass Ornament
Supplies:
- Photo one inch smaller than size of ornament
- Glass Ornament
- DecoColor Paint Marker – fine, gold
- Ribbon (optional)
Instructions
- Roll photo around pencil or chopstick with the image on the outside of the roll.
- Slide rolled photograph into the glass ornament carefully.
- Use the pencil or chopstick to move the photograph into place.
- Using the DecoColor Paint Marker, write the year or a message on the ornament. Let dry.
- Add ribbon if desired.
So simple! This year I made a bunch of these glass ornaments to give to all the grandparents. Since everyone lives in different areas of the country now, we don’t get to see each other that often. The grandparents will love that they can keep us with them during the holidays on their tree! If you love sparkle, you could always add a little glitter or wintery confetti to the bottom of the ornament before adding in your picture. When someone shakes it, it’ll be like a hanging snow globe.
These kind of ornaments are so special and personal. You can even add a keepsake from the year to each one to help you create a little, hanging time capsule on your tree. See even more DIY ornaments.
As always, we love to see your projects! If you made this project or another project you’d like to share with us, share a picture on our Facebook page or tag us on Instagram.