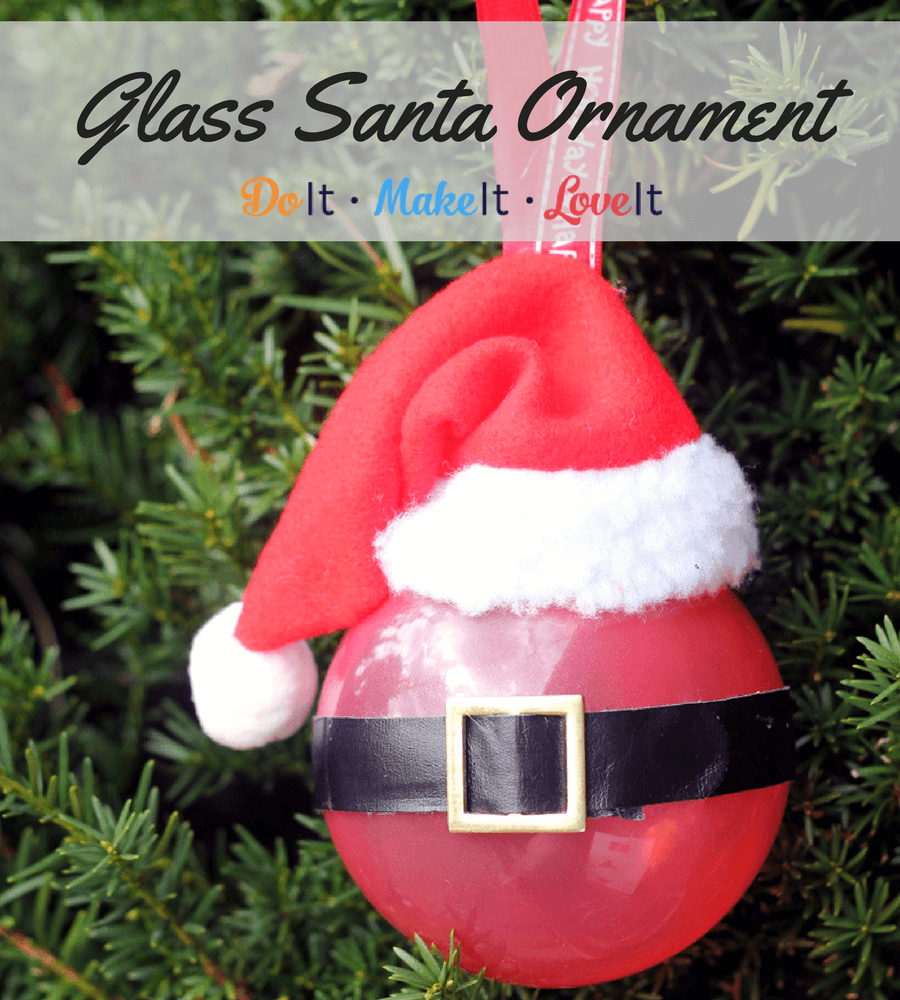
My friend’s daughter is obsessed with Santa. It’s the cutest thing. She just gets so excited about everything Santa Claus that I wanted to make her a simple ornament to remember this year. Of course, it had to be a Santa ornament! I really wanted this one to be special so I decided to go with a glass Santa ornament that can be shared year after year. Want to make your own? Learn how to make this cute glass Santa ornament below!

This simple Christmas ornament tutorial is handy to have around because of the glass stain technique! You can even make your own simple colored glass ornaments using this stuff. Since plain glass ornaments are so easy to find nowadays, it’s easy to create your own color scheme with the glass stain. Here I used it for Santa’s belly!
How to Make a Glass Santa Ornament

Supplies:
- glass ornament
- glass stain
- ribbon
- glue
- mini Santa hat
- mini belt
Instructions:
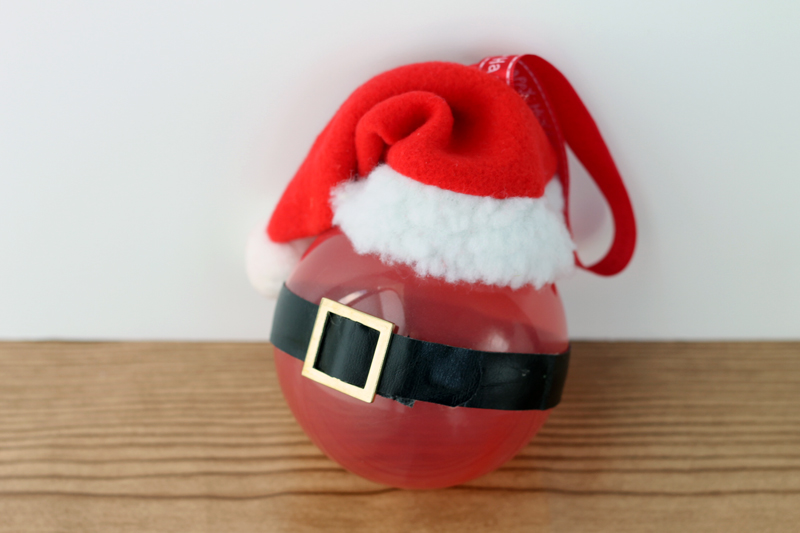
- Pour glass stain into the ornament and swirl around to cover the entire inside. Glass stain will make your ornament slightly translucent. Paint can also be used. Add enough to the inside of the ornament to get complete coverage.
- Turn upside down to dry and support. This way all of the excesses will run out and the ornament will dry faster.
- Carefully replace ornament top
- Glue on hat and belt
- Add ribbon to hang on the tree
My friend loved the Santa ornament for her little girl. This year she had her write down her hopes and wishes for next year and put them inside the ornament on little strips of paper so Santa can sprinkle some magic on her dreams when he stops by to drop off gifts. Cute idea!
We love to see what you made! Share pictures with us on our Facebook page or let us know on Instagram.