by Simone Collins | Feb 1, 2018 | Do It
If you live in an area of the world that is excessively cold in the winter like I do (sweet home, Chicago), then you know the winter blues is a very real thing that keeps you locked inside and dreading the newest weather report. It’s hard on everyone, but especially if you have little kids in the house. It’s really hard to keep coming up with new winter activities for kids. Dealing with “Mommy, I’m bored!” can be extra difficult when you can’t just send them to the backyard.
To help deal with that, we’ve come up with a list of fun kid winter activities that will help keep you from tearing your hair out on those long, freezing, winter weekends. I mean, there are only so many video games they can play, am I right?
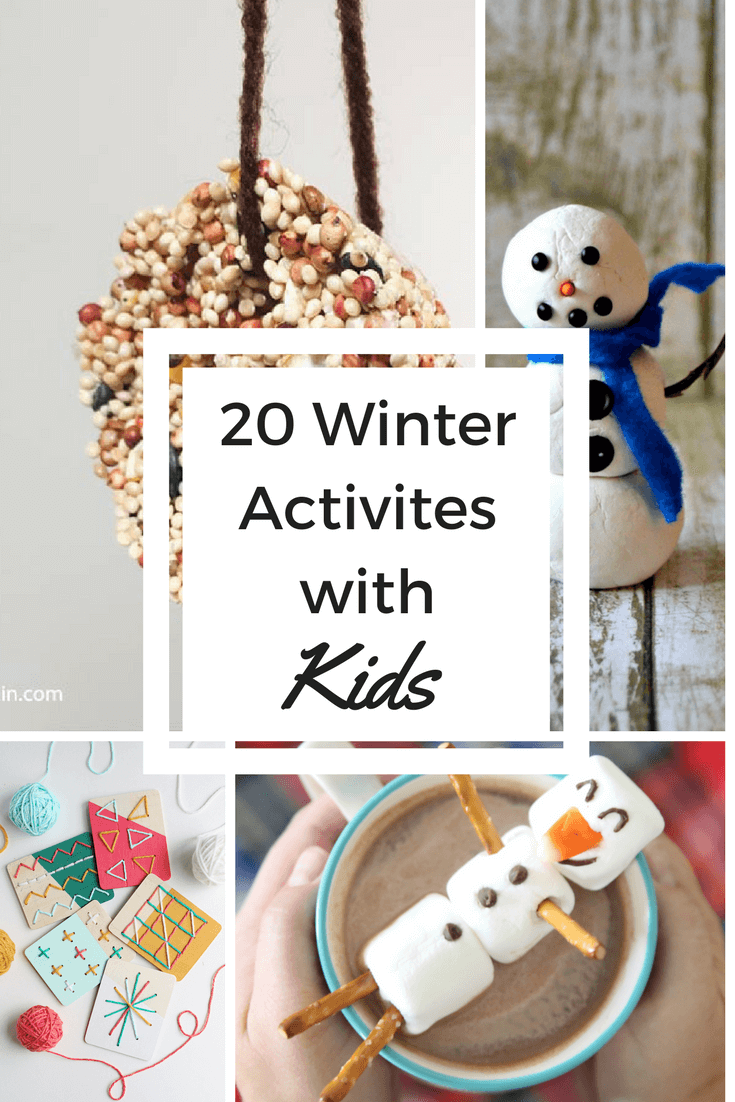
20 Winter Activities with Kids
Mess-less Crafts

You know it, we know it, and we all fear it – silence. There’s nothing more damning than the kids going dead quiet. It’s like the signal to get your all-purpose cleaner and favorite sponge out. However, if you find the right kids craft, silence can be total bliss and a whole lot of fun! Here are some of my favorite winter projects for kids that involve very little set-up and almost no cleanup! Are those your favorite kinds of kids projects too? Great! Then keep browsing below:
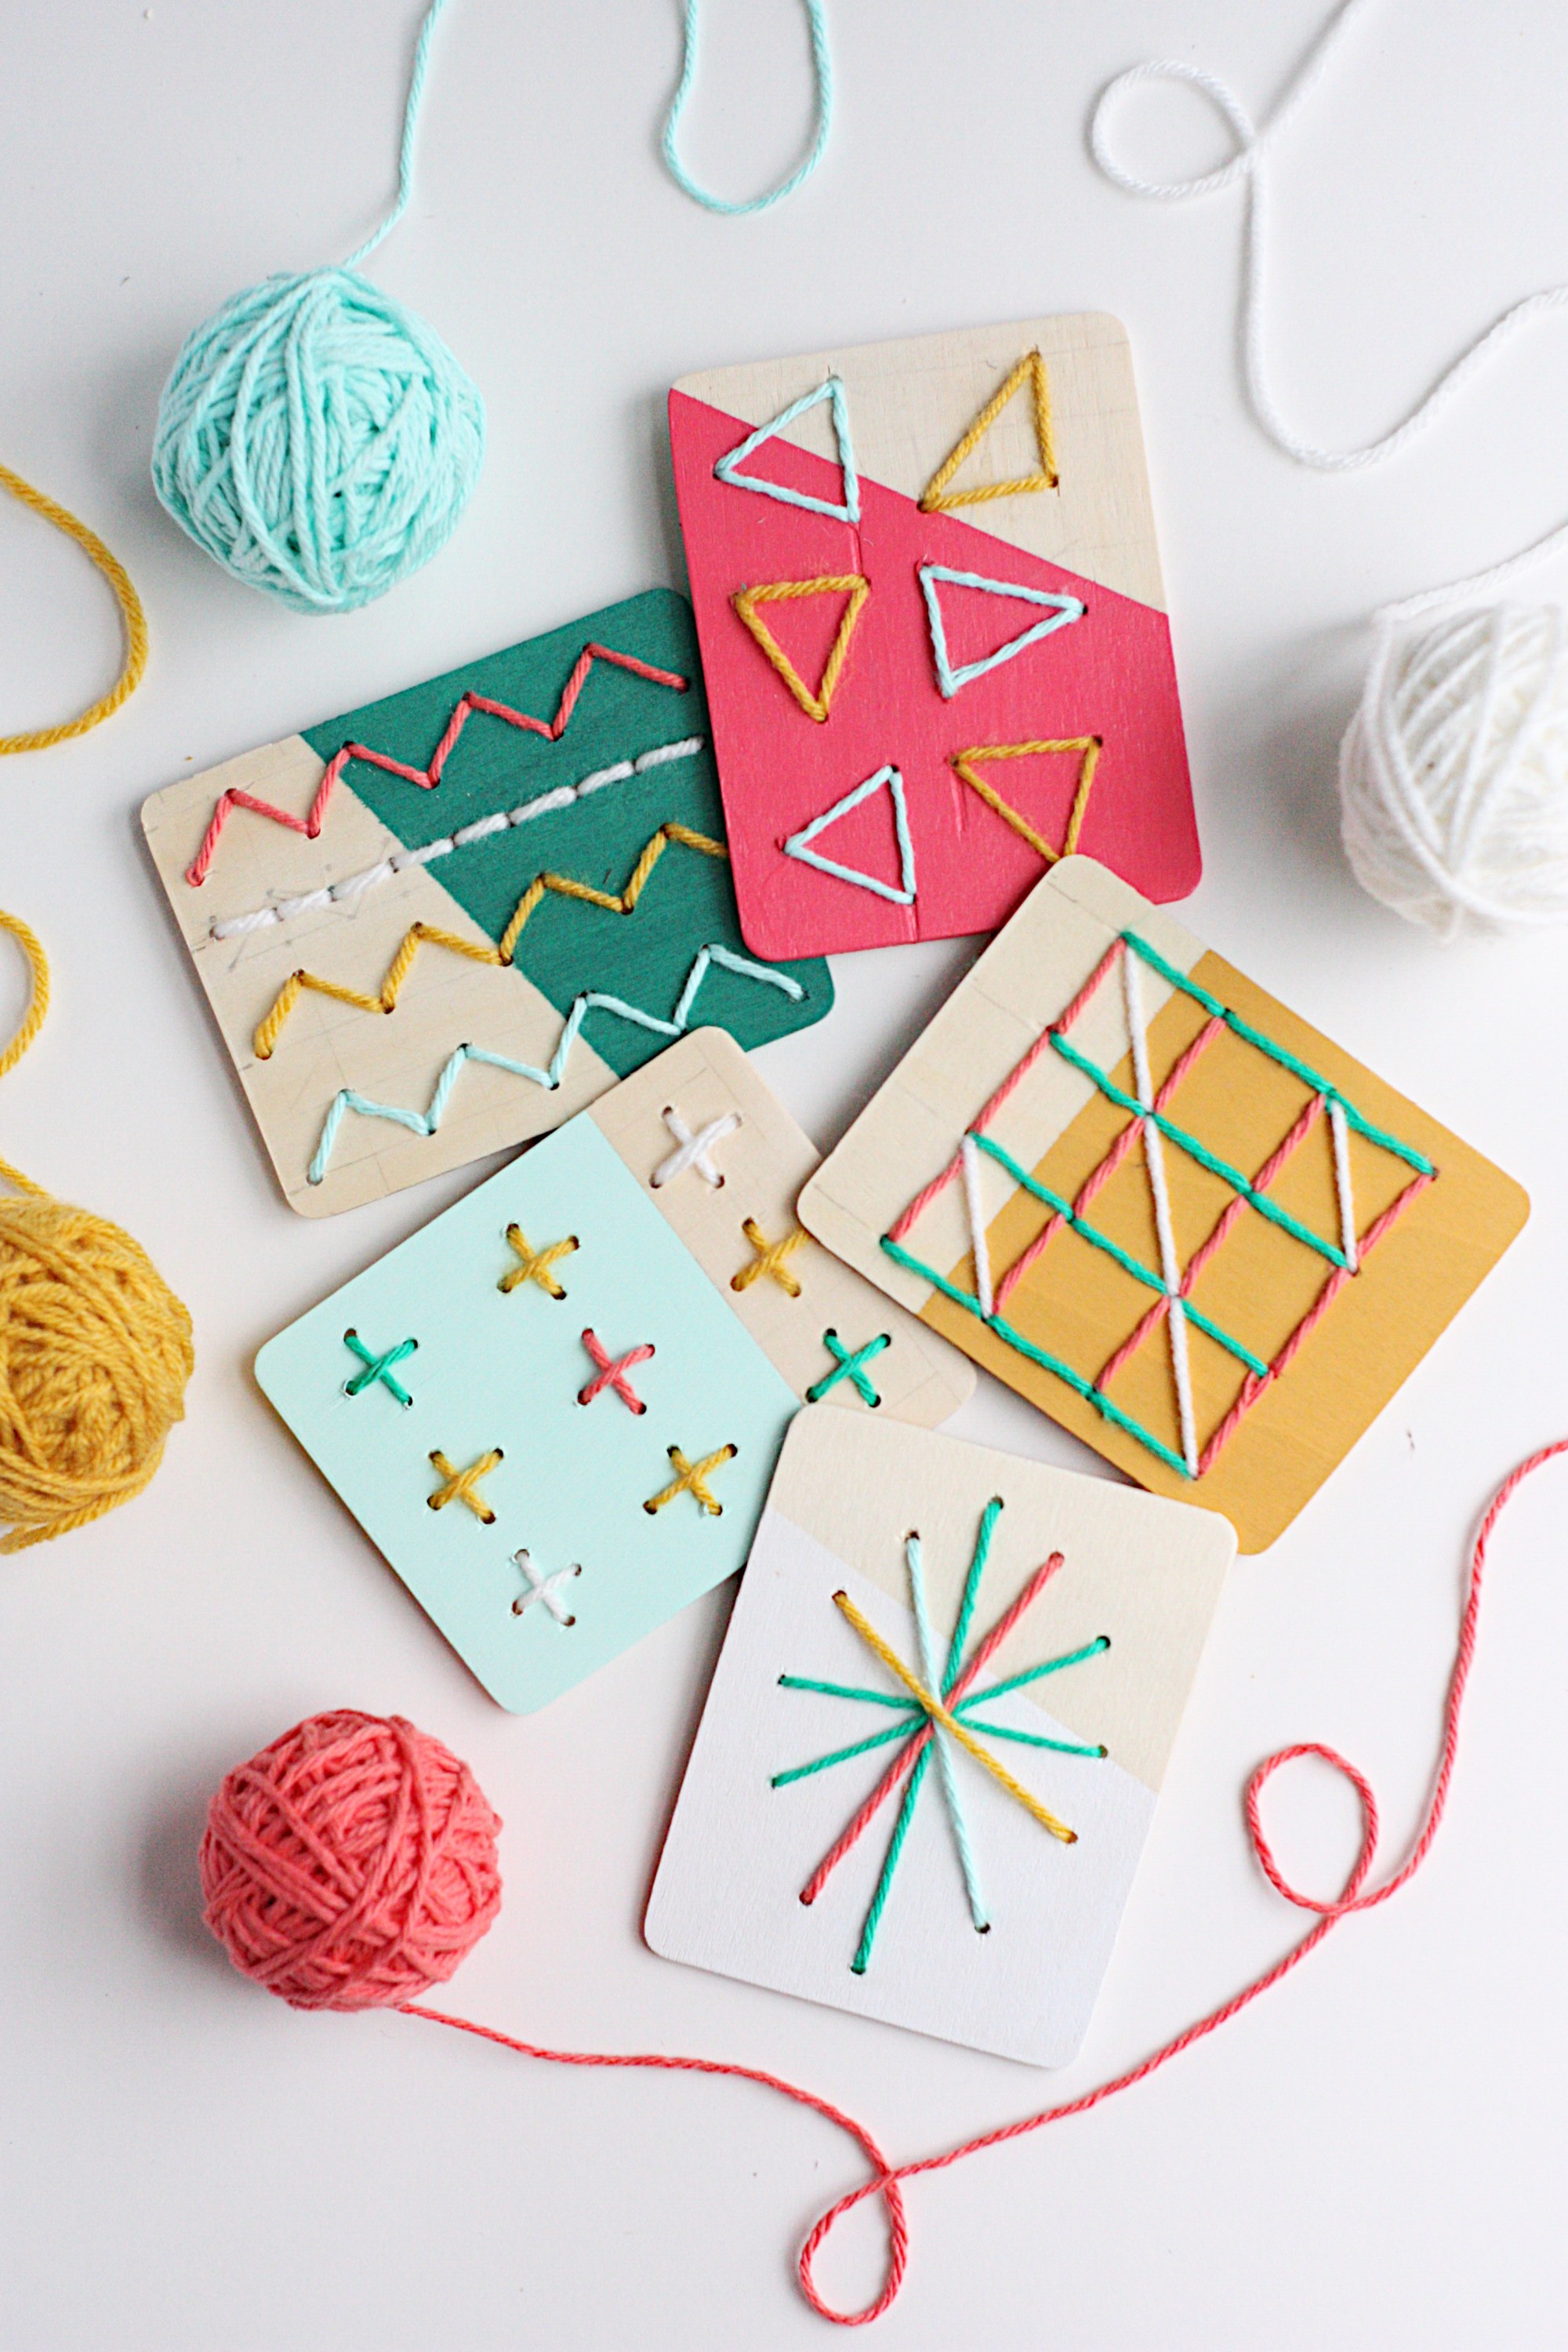
- DIY Dipped Stitch Boards for Kids
- Make an Emoji T-Shirt
- Paper Polar Bear Project
- Snowman SLAM! Indoor Mini Bowling
- Rock Candy Science Experiment
- The Cutest Cardboard Winter Wonderland – Free printable!
- Clay Snowman (For those days when it’s negative degrees and no snow.)
- DIY Play Snow
Play with your food!

Now, these can get a little dicey if your kids are very young or extra messy, but sometimes getting everyone around a table to work on something they get to eat afterward is a win-win. I mean, honestly, who doesn’t also want a big cup of unicorn hot chocolate when you’re stuck inside?
- Host a Hot Chocolate Party
- Snowman Hot Chocolate Buddy
- Bagel Snowman
- Fruit Juice Mocktails – So they stop asking for a sip of yours
- Unicorn Hot Chocolate
- Mini Honey Gram Houses
Get outdoors!
It may seem counter-intuitive, but hear me out. If you give them something to be excited about outside and they wear themselves out for an early bedtime, that’s a win-win! There are so many fun winter activities that you can do outside that don’t involve sleds or skis or other winter sports. How about painting the snow? It’s like chalk coloring for all seasons!
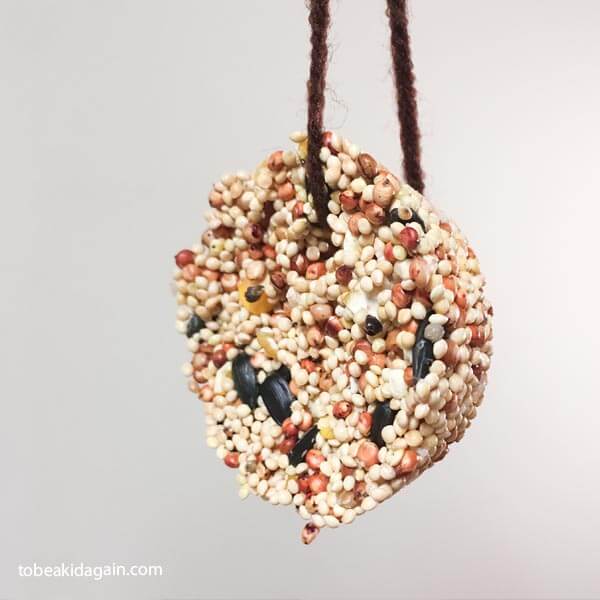
- Winter Bird Feeder – Birds gotta eat too!
- Paint the Snow
- Blow Frozen Bubbles
- Tic, Tac, Snow!
- Winter Scavenger Hunt – Free printable!
- Make a Snowy Obstacle Course
There you have it, the ultimate activity list for this winter! Make sure to pin this post for your next big snow day.
As always, we love seeing what you’re working on! Share your winter fun with us on our Facebook page or tag us on Instagram!

by Stephenie Hamen | Jan 26, 2018 | Do It
If you are like me, seeing all of the gorgeous hand lettering out there makes me yearn to be able to do it myself. I look at all of the beautiful posts on Instagram so jealous that my handwriting doesn’t look that pretty. I was so excited about it that I did a little research to see what I could find for classes, even reaching out to some friends that are fantastic hand letterers in their own right, to get some recommendations. Once I did all of that background work, I found 5 sites that were great places to start, all with a range of costs, starting with free – which we all love!
Here are 5 great places to get started:
5 Best Hand Lettering Classes and Workshops
- SkillShare – What is great about SkillShare is that you can start here for free. There is a premium option, but if you want to dip your toe without having to invest anything more than time, then this is where I recommend you start.
- Janna Wilson – Janna is an unbelievable creative soul and she loves to inspire and educate. While the bulk of her classes are in person, she does offer a digital practice sheet/set for only $20.00. This is a great opportunity to practice, using a tool from a professional, for a minimal cost.
- The Pigeon Letters – Peggy Dean of The Pigeon Letters is probably one of my favorite Instagrammers to follow. Her work is stunning and her blog is unreal. She shares her projects, classes, downloads, freebies, and more – all with the focus being on successfully creating beautiful hand-lettered pieces.
- Amanda Arneill – Amanda is another fabulous letterer with an extensive blog and series of classes that will help you grow in your calligraphy and lettering skills.
- CreativeLive – CreativeLive provides some of the best video content out there for high-end creative classes. One of their current classes is on modern hand lettering, going beyond just calligraphy. If you are looking for a fantastic resource, CreativeLive is a great place to start.
Beyond just these websites, there is a never-ending slew of resources out there on the web and beyond. In case you are more of a book learner, here are a couple options you can access on that front.
I hope that as you start your hand lettering journey this is helpful to you. Have fun and enjoy the process of learning and creating!
Did I miss something? Is there a book or website that has helped you on your creative journey? Let us know in the comments! We’d love to check it out and add it to our list.
As always, we love seeing what you’re working on! Be sure to share your hand lettering progress with us on our Facebook page or tag us on Instagram!


by Jamie Born | Jan 6, 2018 | Do It
Let’s be honest, homework time can be a struggle. Homework is often the source of frustration for both kids and parents, but there are homework strategies that can alleviate some of this stress. Below are six tips to make homework more manageable at home and study habits stronger at school.
Designate a distraction-free area as the “homework zone.”
First things first, you need a proper place to complete homework. Creating a distraction-free study environment can help your child stay focused when completing schoolwork. It can also help you keep track of all the necessary materials your kids need for projects, preventing late night runs to the store for glue sticks and markers.
Don’t do it all at once.
Breaking daunting tasks into smaller steps makes them much more manageable. If you know your child is responsible for learning 20 spelling words each week, plan on mastering five words a day rather than trying to tackle them all at once. Come Friday, your child will be ready to take the test without feeling overwhelmed. For weekly homework assignments, designate a day for each subject. Monday is math day. Tuesday is reading.
Take handwritten notes during lessons.
In our ever-increasing electronic world, some schools have moved to 1:1 initiatives that grant all students access to a personal, school-issued device. While there are many benefits to all students having access to technology, students who handwrite their notes tend to process the ideas more thoroughly, leading to higher quality learning. Handwriting notes during class will make it easier to complete the homework out of class.
Set mini-deadlines.
Major unit project due in a few weeks? Sit down with a calendar and set some deadlines to keep your student on task. Not only does it ensure he will have plenty of time to complete the project, but it will give him a sense of accomplishment throughout the process. Using a calendar or checklist to keep track of all homework is a great study habit to practice from an early age.
Use flashcards.
A tried and true method going back decades, for material requiring rote memorization flashcards are still one of the most effective resources. Research shows that writing down information helps you retain it longer than just reading it. Because of this, the physical act of creating flashcards helps students learn the material more thoroughly. If your student is more likely to study using a phone or tablet, there are free sites where you can create your own flashcards or search pre-made study sets. Quizlet and StudyStack are two great options.
Make a game out of it and study on the go.
There are an endless number of educational apps you can download to your devices to help your student study skills on the go. Most of these apps function as games, making studying fun. There are apps to practice handwriting skills, math, vocabulary acquisition, problem-solving and more! The better your student is at these skills, the easier it is to complete homework testing those skills.
by Vicki O'Dell | Apr 25, 2017 | Do It
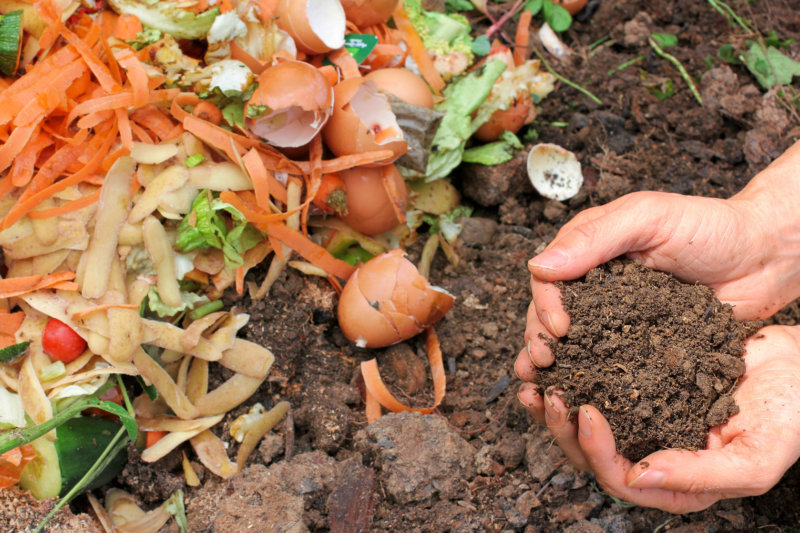
Composting is the natural process of turning organic material into a rich loamy soil known as compost. Home composting is an acceleration of the same process nature uses. By composting your organic waste you are returning nutrients back into the soil in order for the cycle of life to continue. Finished compost looks like soil–dark brown, crumbly and smells like a forest floor. It is gold for the garden or potting plants. But how do you get started? What sort of organic material do you need to start composting? Our How to Start Composting guide will help you figure all that out!

Composting 101
How to Start Composting
You’ll need greens and browns.
Greens are the kitchen scraps from vegetables and fruits that your household is consuming, coffee grounds, tea bags, egg shells, or grass clippings. Greens are rich in nitrogen.
Browns are things like leaves, wood chips, or straw. Browns are rich in carbon.
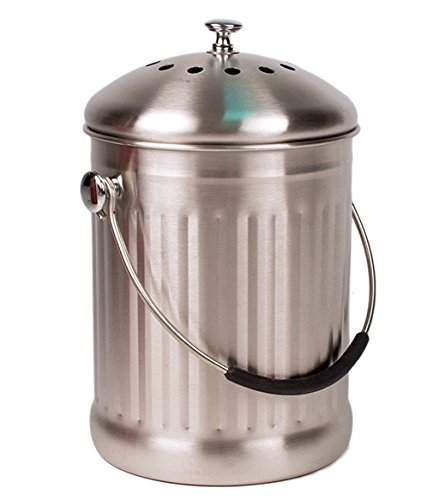
We use the VermiTek Countertop one at home. It’s the perfect size for leaving on your countertop and throwing in all your scraps as you’re cooking. Having it on your counter is a great composting reminder because it’s always right in view!
This post contains some affiliate links for your convenience. Click here to read our full disclosure policy.
Tools For Composting
- Something in the kitchen to hold compostable material
- Something outside to mix greens and browns in
- Pitchfork for larger compost bins

For the outdoor mixing, I use a black trashcan in the winter that has holes drilled into the sides and bottom. You can find these for pretty cheap at any hardware store. I fill it about half full of shredded leaves in the fall and then add the kitchen compost pail to it over the winter. I set the trash can at the end of the patio and that keeps me from having to trudge through the snow to the “way back” compost bins that are made from pallets and wire. Any fluid that comes out of the compost bin also feeds my shrubs at the end of the patio. Bonus!
To mix the greens and browns in the trash can I strap a couple of bungee cords across the top and then roll the can around the back yard a bit. Easy peasy!
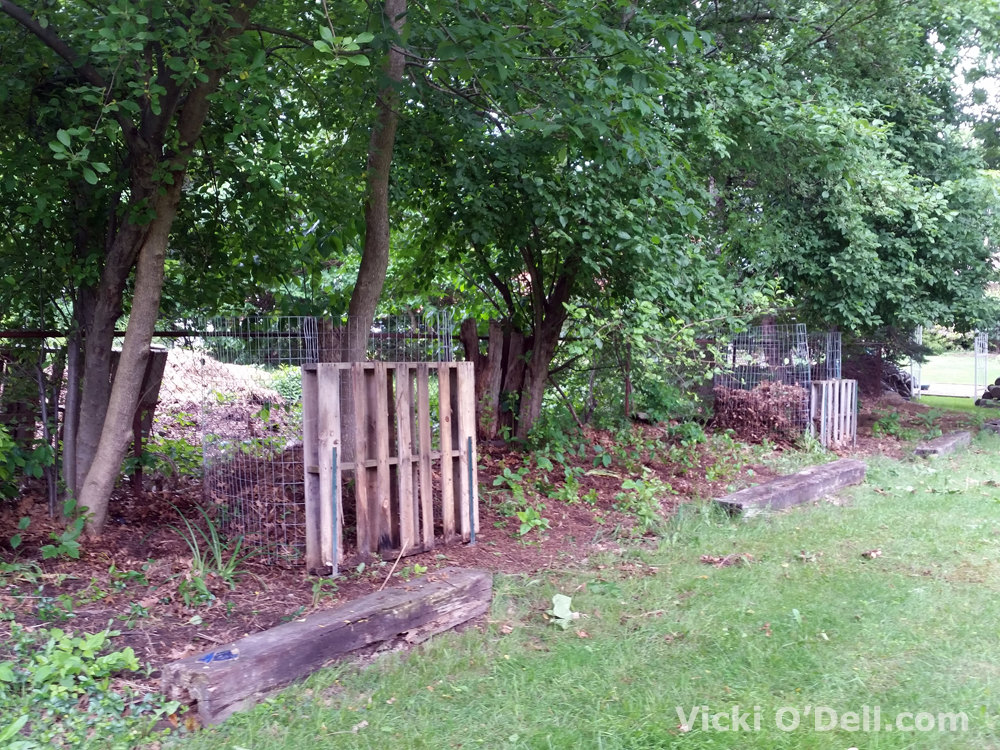
My summer compost is where I dump and mix the winter compost along with the summer’s grass clipping and a portion of fall leaves. I have to use a pitchfork to turn this compost because it is a much bigger area.
Composting Tips:
- Junk mail that has been shredded is good compost material
- Do not use meat, fats or oils, dairy products, manure from carnivores or diseased plants
- Do not plant plants directly in compost. Either place a ring of compost around the plant base or work it into the soil before planting.
- Compost that is still “cooking” is too hot for delicate plant roots. When it’s finished cooking it will be dark and you will not be able to identify the various bits that went into the compost bin.
- If your compost looks a bit dry and dusty you can give it a bit of water
- You can also use compost in potted plants. Make sure it is completely cooked and mix it with potting soil.
Composting Tips for Apartment Dwellers:
- Brown materials can include cardboard boxes and shredded paper
- You can compost dryer lint, hair, pet fur and nut shells
- Your outdoor compost bin can be placed on the balcony. Try using a cat litter bucket to start small but be sure not to drill drainage holes in the bottom unless you have a way to catch any liquid that may come out.
There you have it! Isn’t it easier to get started than you thought? You’re already creating all the scraps you need to get composting every day. Now all you need are the bins to start storing them and you’ll be creating nutrient rich dirt for your garden.

by Vicki O'Dell | Apr 17, 2017 | Do It
Let’s face it, not everyone can afford or wants to live on a few acres out in the country. But we do all want good, healthy food and many of us find great pleasure in growing something we can eat. But what if you don’t have much space – how can you grow food then? A balcony garden may be the answer for you! If you’re tight on space, growing a garden on your balcony or a well-lit window sill can solve the problem for you. Urban gardening has been a growing trend so there are lots of tools and planters out there made just for the urban gardener. But it can still be a challenge getting started, especially if you’ve never gardened before.
To help get you started, we put together a quick how-to guide to growing a balcony garden so that you don’t feel overwhelmed in your local gardening center. Get your balcony garden started right so that you won’t be disappointed if some of your plants don’t make it and get discouraged. It’s ok, some of them won’t make it! It’s just a learning lesson for you.

Supplies for Your Balcony Garden
- Flower pots in various sizes – deep pots for root vegetables like carrots and beets
- Organic potting or garden soil
- A small bag of river rocks or pea gravel
- Watering Can
- Compost
- Hanging pots are great for strawberries and herbs – use that vertical space
- Seeds or plant starts
How to Plant your Balcony Garden
- Go to your local garden center or hardware store to pick up your supplies, including plants and seeds.
- Place a layer of gravel or rocks in the bottom of the pot. This will help to keep your plants from standing in water if there is a heavy rain and also add some weight if you get high wind.
- Fill just a few inches below the rim of the pot with soil
- Plant seeds or starts according to instructions and water as instructed.
- Add any needed supports – like tomato cages – as soon as you plant. It will make your life much easier.
Keep in mind that terra cotta pots will freeze and break in harsh winter weather so unless you have someplace to store them you may want to use plastic. Also, the soil in terra cotta pots will dry out a bit faster so they may need more water.
Vegetables that do well on Balcony Gardens
- Tomatoes
- Beans
- Lettuce
- Peppers
- Chili Peppers
- Radishes
- Asian Greens – such as Bok Choy
- Spinach
- Peas
- Carrots
- Cucumber
- Eggplant
- Squash
- Kale
- Chard
- Garlic
- Mustard Greens
- Collard Greens
As you can see, you can have a whole salad bar of vegetables depending on how much sun you have. If your space is very limited you may have to choose one or two favorites to grow at a time.
Try peas, radishes, and spinach in the spring and then plant squash, eggplant, and Asian Greens. In the fall when the weather cools down again you can go back to radishes, spinach, and cucumber.
Don’t forget to plant a couple of small pots of flowers too. Encourage those pollinators to come and pollinate your plants.
BTW, you can also grow many varieties of fruit on a balcony too! Just be sure to buy the dwarf varieties!


by Maggie Kmiecik | Feb 1, 2017 | Do It
If you’re the type of person who wakes up Monday mornings with a clear view of what breakfast, lunch, and dinner are going to be for the week, congrats! But that is not us. As much as we wish we could be that organized, life too often gets in the way. We have a feeling that you are too and luckily that’s how you found this post!

Getting ahead in the week can be difficult just as a functioning human, but trying to juggle work, life, and family sometimes seems impossible! To help with at least some of the madness, we’ve created a simple outline for weekly meal prep. It won’t do the work for you, but it’ll free up some of your brain power during the week!

Take 15 minutes tonight to plan out the rest of your week with some delicious meals (or whatever you can make with what’s in your fridge) and you won’t even have to think about it come tomorrow morning! Need inspiration? Check out some of our recipe round-ups!
Want more recipes, craft ideas, printables, and more right in your inbox? Don’t forget to sign up for our newsletter!
