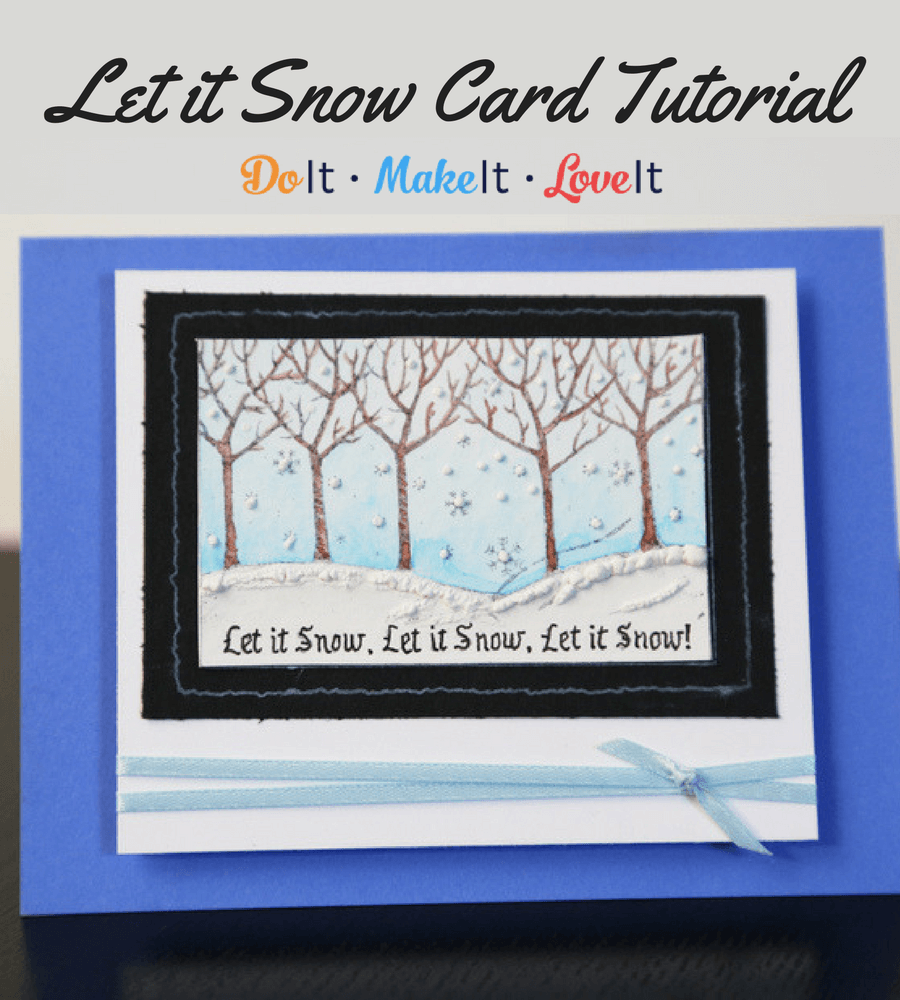
Tis the season! If you’re a paper crafter like me, you love Christmas. Is it the twinkling lights? No. Is it the cookies? Maybe. But mostly it’s an excuse to make lots and lots of cute cards! You know, you have to make a few samples before you know which ones you’re going to send. One of my samples was this Let it Snow Christmas card and I wanted to share with you guys how to make it. This card is so simple but turns out so cute because of this one little tool that I can’t live without, especially during the holidays, and that’s my Snow Marker.
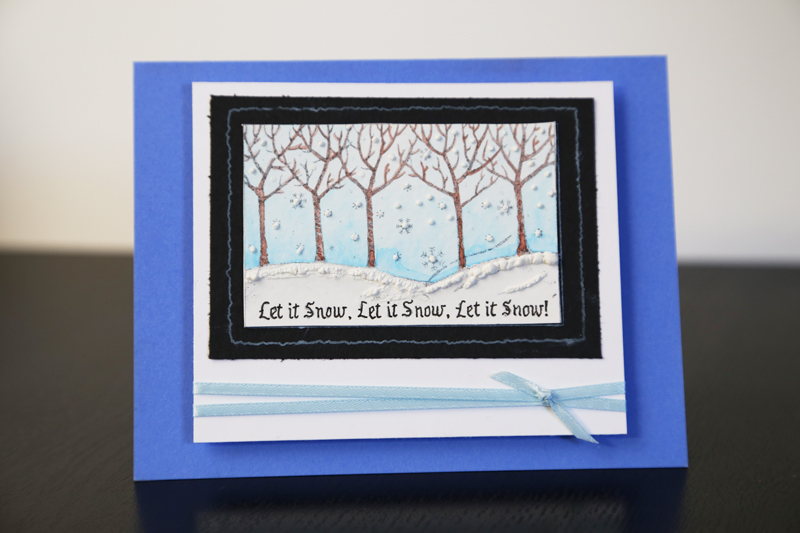
If you haven’t used the Marvy Uchida Snow Marker, I am about to change your life. Let me fill you in. The Snow Marker is one of my favorite paper crafting tools because it does this cool white puffy effect you see below! All you need is the marker and a heat gun.
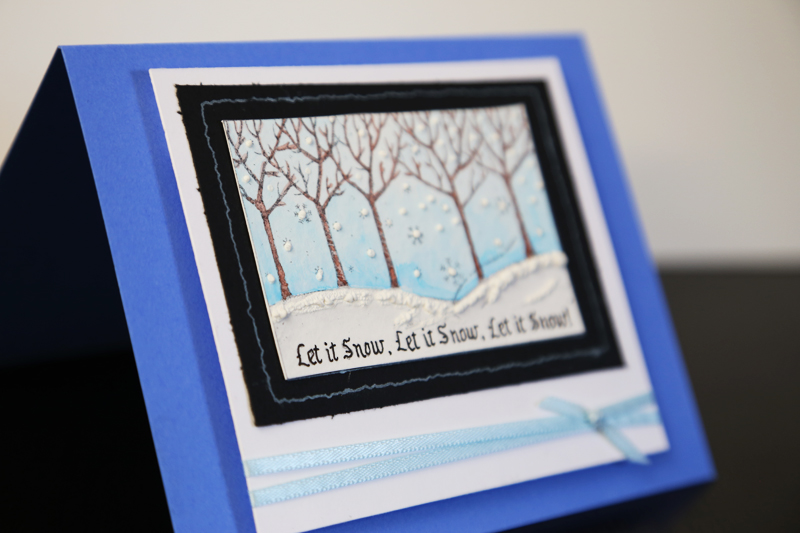
In full disclosure, I do work with Marvy Uchida, but this is not a sponsored post. I just genuinely like using this marker when making cards! Obviously, as the name suggests, it creates a textured, snowy effect on paper making it perfect for wintery cards or art projects. But it also looks like foam or fur, making it great for beer mugs, lattes, Santa hats, pom poms, clouds, or any fuzzy, fluffy, foamy thing that you can think of. Seriously, try it.
Let it Snow Christmas Card Tutorial
Supply List:
- Rubber Stamp
- Black Stazon Ink Pad
- White Ink Pad
- Cardstock – blue, white, black
Color In Markers - Color In Water In Brush – fine
- Snow Marker
- Embossing Heat Tool
- Ribbon
- Dimensional Adhesive
Instructions:
- Cut blue cardstock to 5.5” x 8.5” and score at 4.25” for the card base.
- Cut two white cardstock pieces 4.25” x 3.5” and 2” x 3.25”
- Cut black cardstock to 2.75” x 3.75”
- Stamp the your image on the smallest white piece of cardstock in Black StazOn Ink.
- Stamp the same image on black with white ink.
- Color your image with Color In Markers using the Color In Water In Brush to watercolor. Allow to dry.
- Add Snow Marker to your dried image and heat with the Embossing Heat Tool until it puffs. Add more if necessary.
- Attach images together and add ribbon.
- Secure image to card base with dimensional adhesive.
How did your turn out? We’d love to see yours! Share a picture on our Facebook page or tag us on Instagram. Or if you’ve used my favorite marker before, leave your thoughts in the comments.