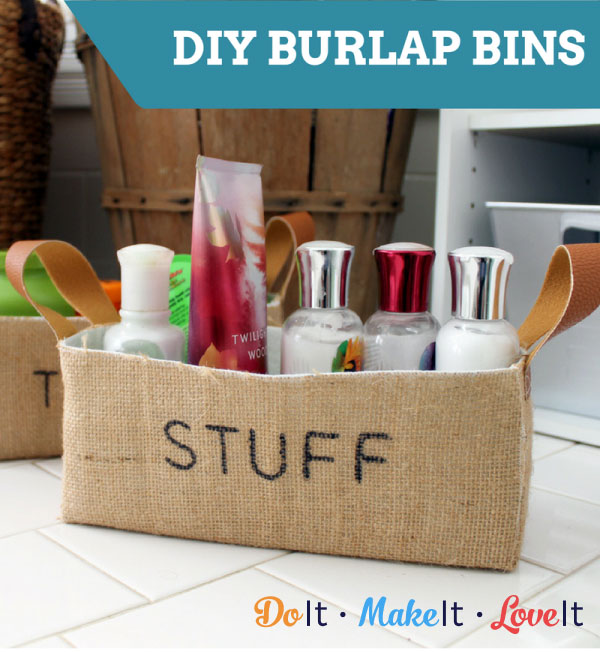
We all have that pile of stuff that doesn’t really belong in a drawer (because if you hide it, how are you going to remember you own it?) and makes everything looked too cluttered if it’s just sitting out. So what do you do with it? Bins! Bins are a great answer to so many organizational problems. Throw everything and anything you need in them and your shelves instantly look organized, even if they’re not.
This quick tutorial will walk you through making your own adorable burlap bins, so you can keep your decor tidy and consistent without breaking the bank! Let’s face it, buying all the bin you need can be really expensive. This DIY organizational option is not only cute, but you can customize the template to make custom burlap bins in whatever size you need.
Supplies:
- Stiff felt sheet in white (12 x 18)
- Burlap (a tighter weave version is best)
- Scissors
- Ruler
- Marker
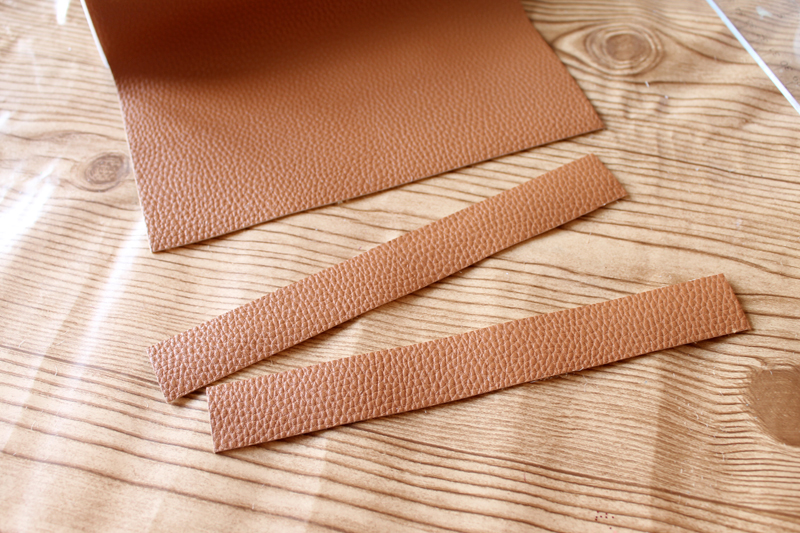
- Faux Leather ribbon
- Sewing machine and thread
- Letter stencil
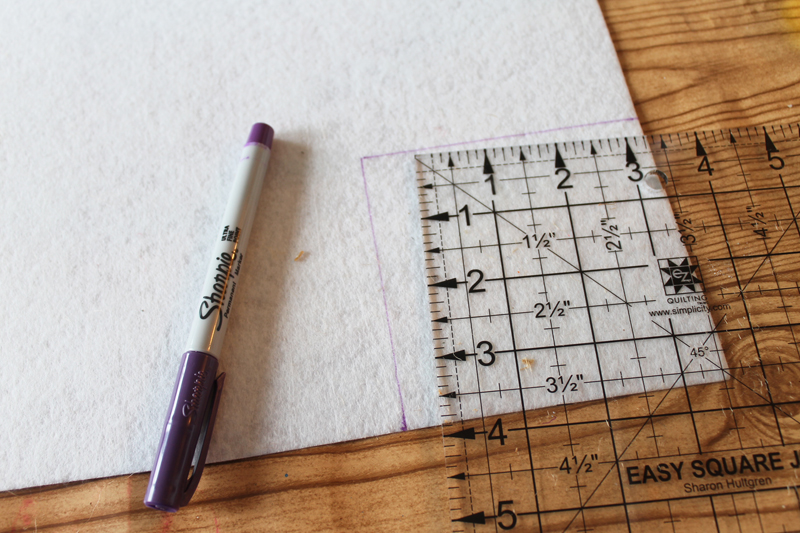
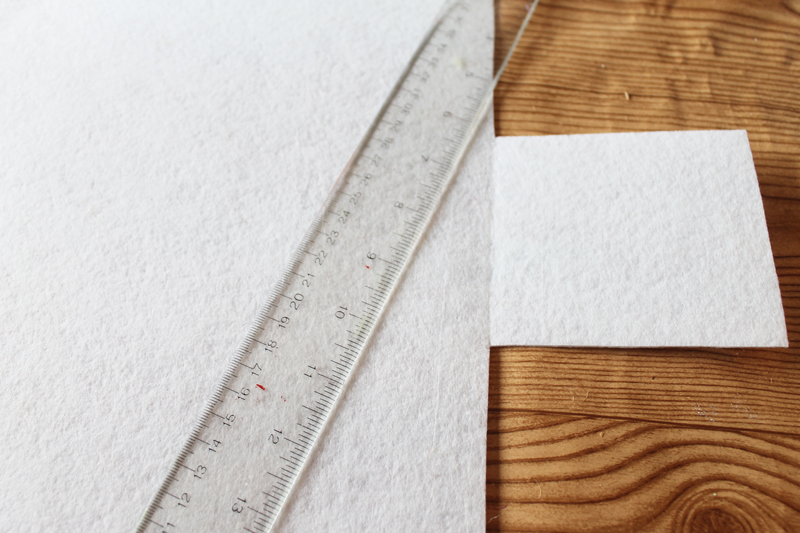
- Layout the stiff felt sheet and draw a 4 inch by 4 inch square on each corner with a marker.
2. Cut the 4 inch by 4 inch square from each corner.
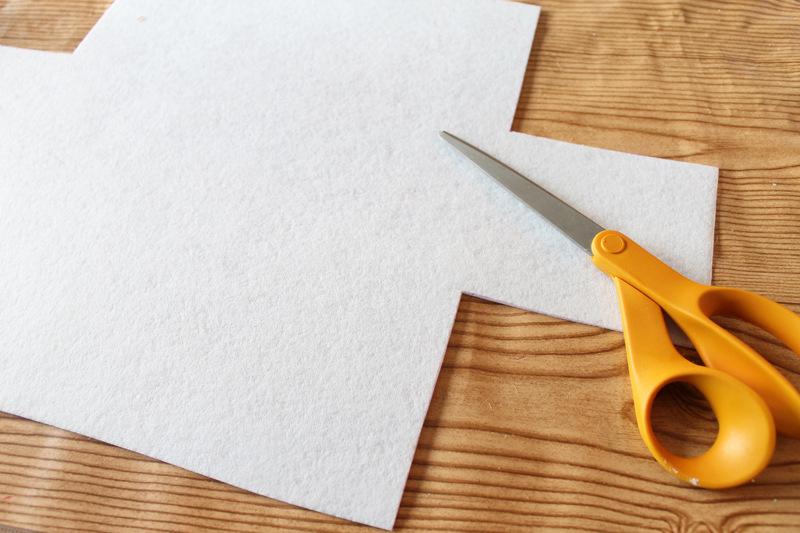
3. Use a ruler to bend the stiff felt in a straight line on all four sides.
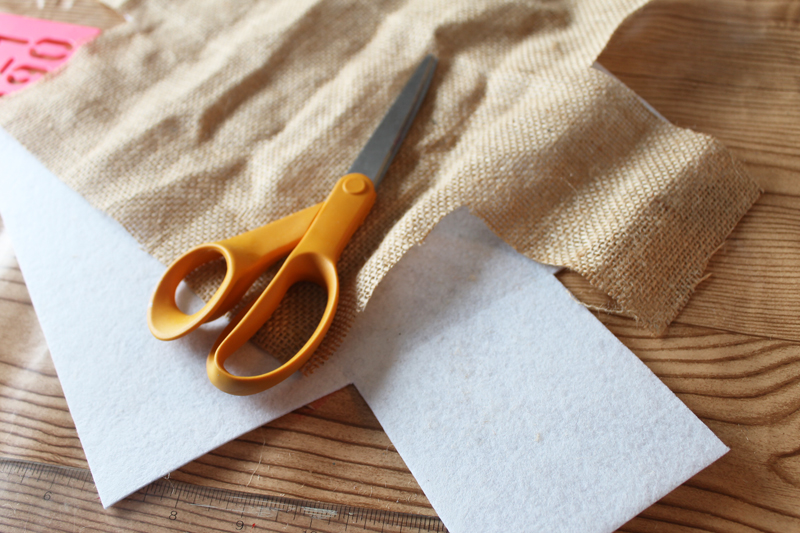
4. Lay the felt onto the burlap and trace with a marker.
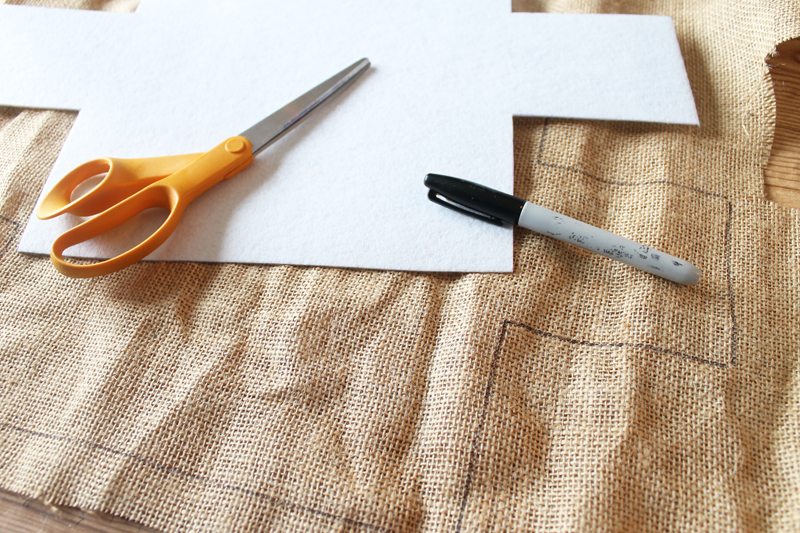
5. Cut out the burlap. Make sure that the marker lines are cut off of both the felt and the burlap.
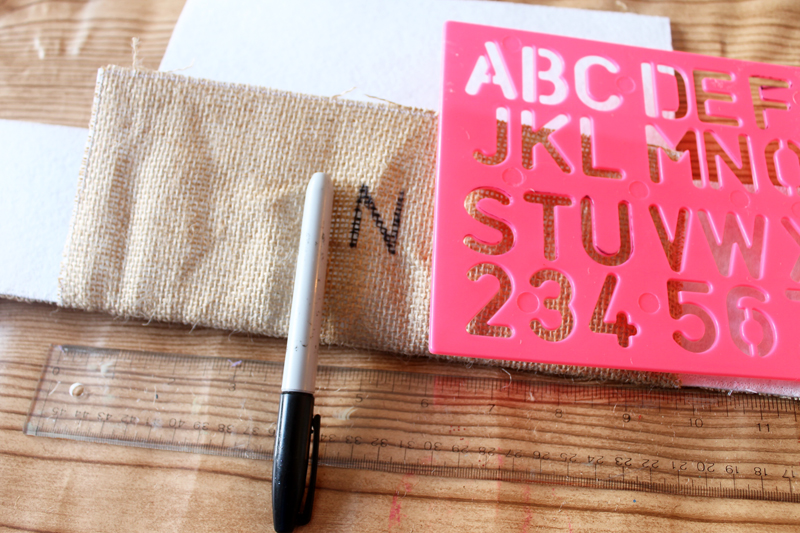
6. Add any word to the front with the letter stencil and a permanent marker.
7. Cut the faux leather ribbon into 1 inch strips.
8. Sew onto the ends of the burlap bag.
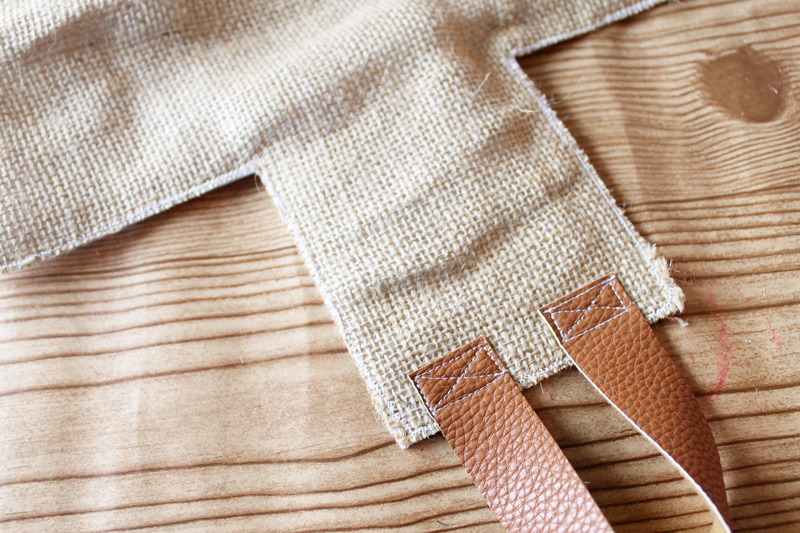
9. Immediately sew all the way around the edges with a zig zag stitch.

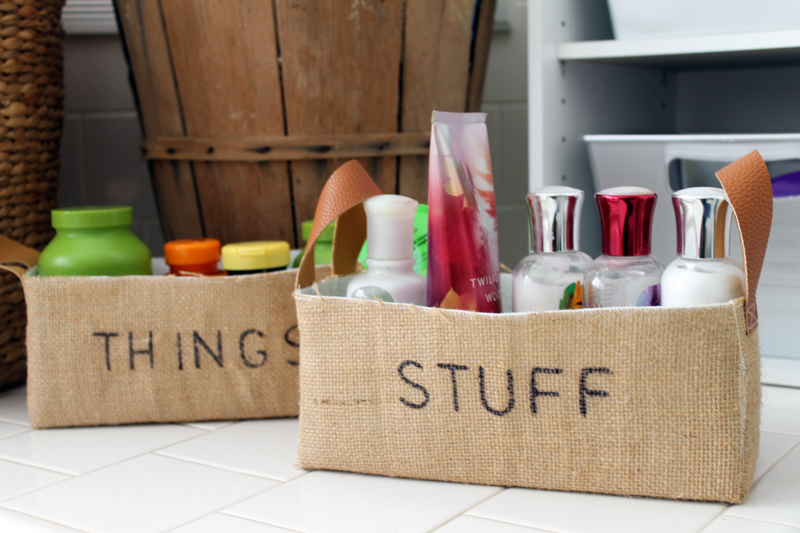
There you have it! Your very own, homemade burlap bins to use for all the make-up, hair products, or crayons you want. These are seriously perfect for every room in the house.
Leave us a comment and let us know how you’ll be using yours!