by Simone Collins | Dec 3, 2017 | Craft Tutorials
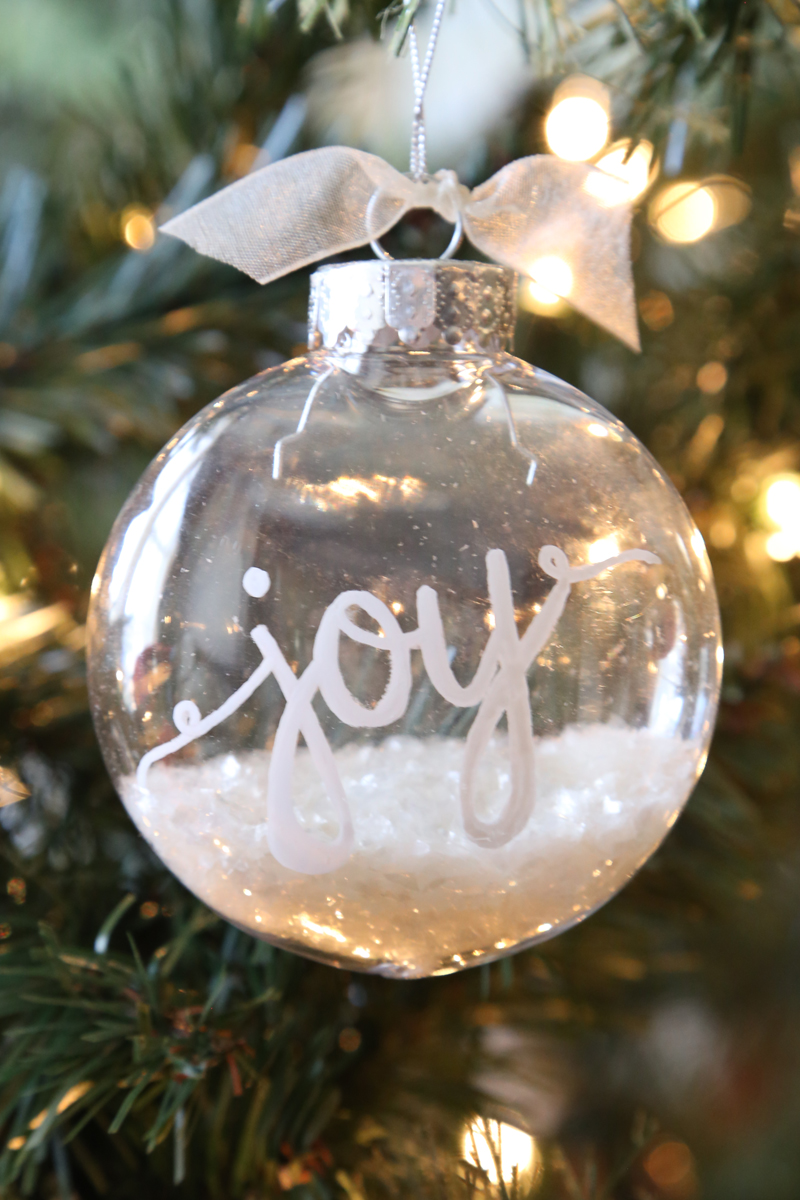
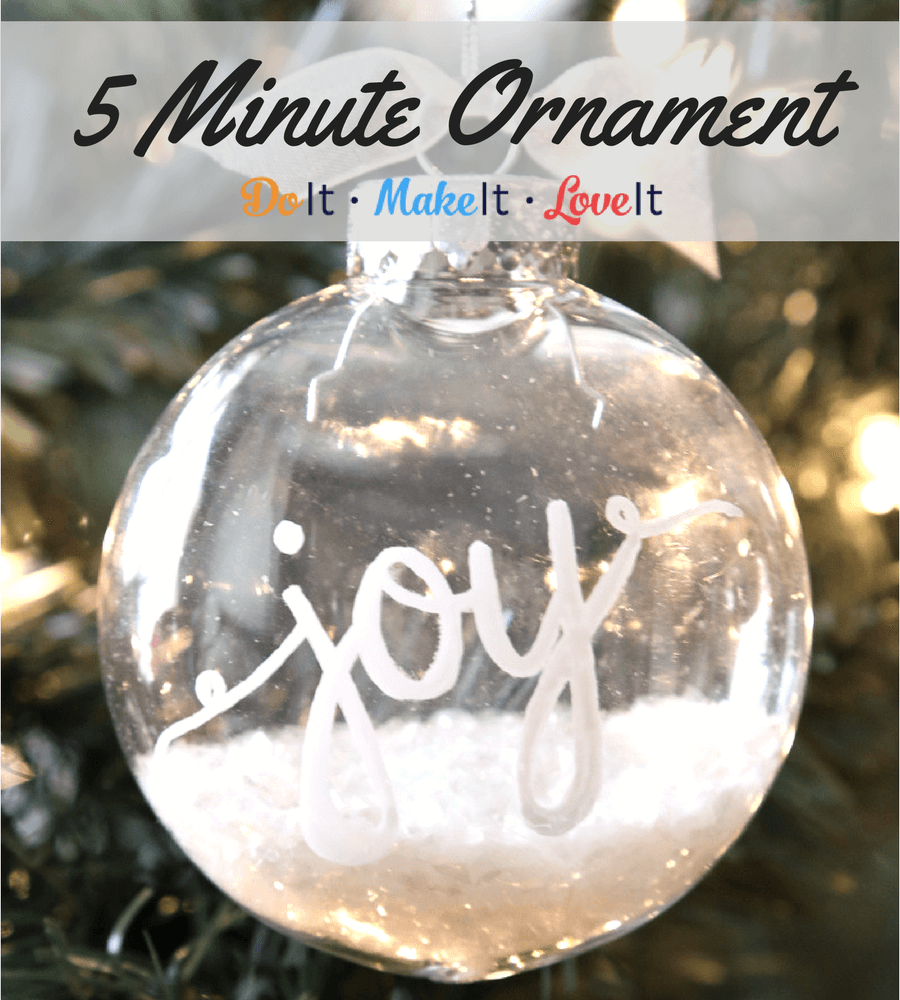
Sometimes the prettiest handmade ornaments are the simplest. I’ve really been loving the all-white Christmas tree decor trend, but I couldn’t bring myself to buy all new ornaments for a trendy tree. Luckily, I had a couple extra sets of clear plastic ornaments and some money to spend at the dollar store. This DIY Christmas ornament won’t take you more than 5 minutes to make and you can make a whole tree full of them in an hour. It’s a perfect solution to anyone that wants to temporarily change up their Christmas tree decor!

What words come to mind for you during the holiday season? Joy, Peace, Gratitude, Love? Add them all to your handmade ornaments! It can be an inspiration tree this year since we all probably need a little positive inspiration right now. Not loving the white Christmas trend? Fill your DIY ornament with any color glitter or confetti you love! The options are endless.
Simple 5 Minute White Christmas Ornament
Supplies
- Plastic Ornament
- Bistro Chalk Marker – fine, white
- Glitter or mica flakes or confetti
- Ribbon (optional)
Instructions
- Using a rolled up paper funnel, add glitter, mica flakes, or confetti to the bottom of your ornament. Put topper back on the ornament.
- Write a message on the ornament with the Bistro Chalk Marker. Let dry.*
- Add ribbon and hang.
*The Bistro Chalk Marker is not permanent on a plastic ornament. You can choose to change the message from year to year or make a permanent version with a DecoColor Paint Marker.
This simple Christmas ornament also makes a great gift to commemorate an anniversary or special date. Just write the date on the ornament instead and your gift is ready to go! The best thing about this project is that it’s fast, easy, and budget-friendly. When you’re already spending an entire paycheck on gifts, budgeting on decor really counts.
Did you make one of these Christmas ornaments? We’d love to see! Share a picture on our Facebook page or tag us on Instagram.

by Simone Collins | Nov 29, 2017 | Craft Tutorials
Christmas ornaments are the one thing in home decor that I like to keep traditional. I have hand-me-down ornaments from my parents and grandparents and a new collection I started with my own kids. I don’t want to buy new ornaments every year just to keep up with trends, but I do love the ornaments that come out every year. That’s why I always try to DIY an ornament at least once a year. Making your own Christmas ornaments is a great way to create new memories and traditions.
This year I was obsessed with everything chalkboard and I wanted to incorporate some of that into my Christmas decor! This DIY Christmas ornament is unbelievably easy to make and it turns out so cute!

Those blank wood ornaments at Target and Michaels are my favorite thing. They are the perfect blank canvas for creating your own special handmade ornaments. These little ones can even be used as gift tags! Just write out the person’s name and tape or tie it to the box. I mean, who isn’t tired of seeing the same sticker labels every year? Your gifts will definitely stand out.
How To Make a Simple Chalkboard Ornament
Supplies:
- Wood ornament
- Easy Chalkboard Marker, black
- Bistro Chalk Markers, red, green, and white
- Pencil
- Plain white chalk
- Ribbon, optional
Instructions:
- Use your Easy Chalkboard Marker to add a chalkboard finish to your wooden ornament. Allow it to dry.
- Condition your chalkboard surface by taking a plain piece of white chalk and covering the surface. Wipe off with a plain paper towel.
- Design your sentiment using a pencil first, lightly.
- Trace over your design using the Bistro Chalk Markers. Allow it to dry.
- Add ribbon if desired.
*The Bistro Chalk Marker is not permanent on this ornament. You can choose to change the message from year to year or make a permanent version with a DecoColor Paint Marker.
That’s all it takes to start your own tradition of making a Christmas ornament every year! Pretty simple, right? Since this project takes little time and almost no mess, it’s another great kids craft idea. It’s a genius way to keep little hands busy with minimal supervision while you’re making dinner, packing presents, and cleaning the house all at the same time (supermom status, am I right?). You can even cut an extra long piece of ribbon and kids can wear them as necklaces. Now you have an alternative to name tags too!
As you can see, there are so many creative ways you can make this simple, quick craft. Show us your creativity on our Facebook page or tag us on Instagram.

by Angie Holden | Nov 23, 2017 | Craft Tutorials
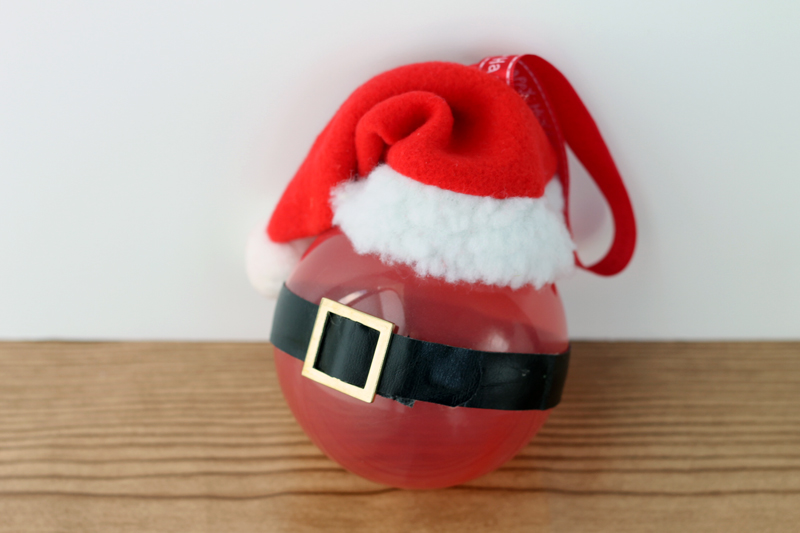
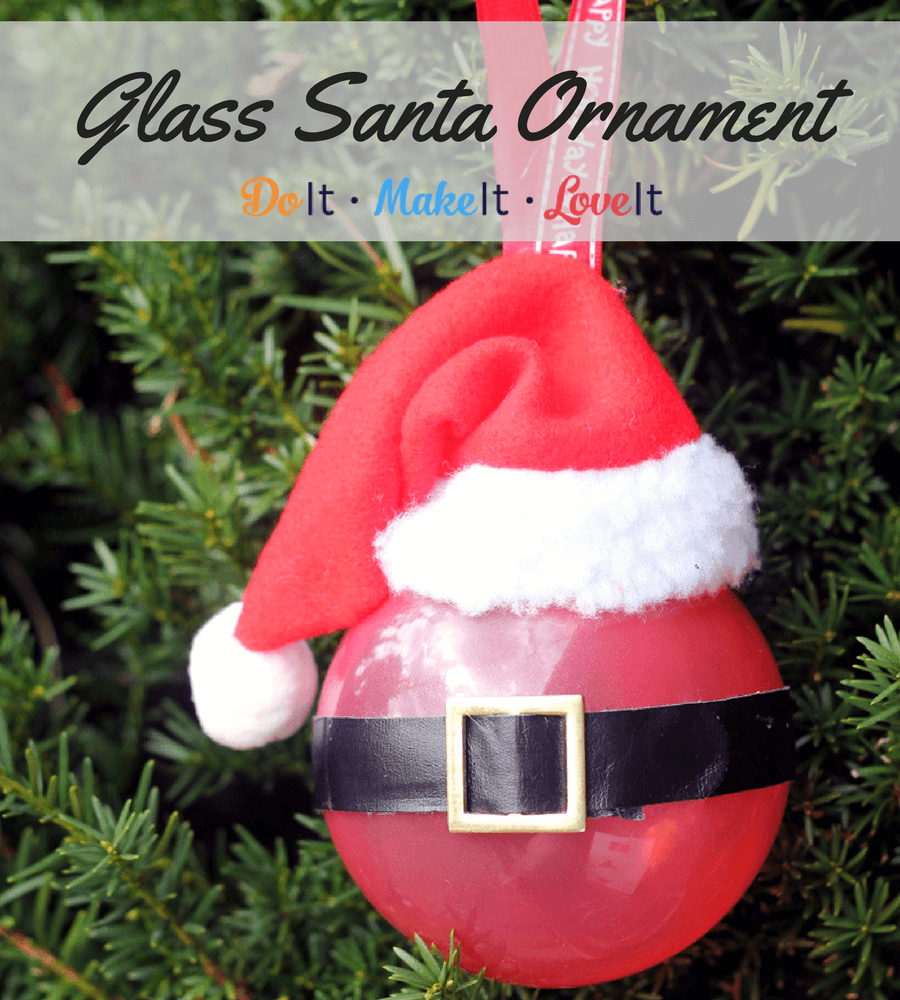
My friend’s daughter is obsessed with Santa. It’s the cutest thing. She just gets so excited about everything Santa Claus that I wanted to make her a simple ornament to remember this year. Of course, it had to be a Santa ornament! I really wanted this one to be special so I decided to go with a glass Santa ornament that can be shared year after year. Want to make your own? Learn how to make this cute glass Santa ornament below!
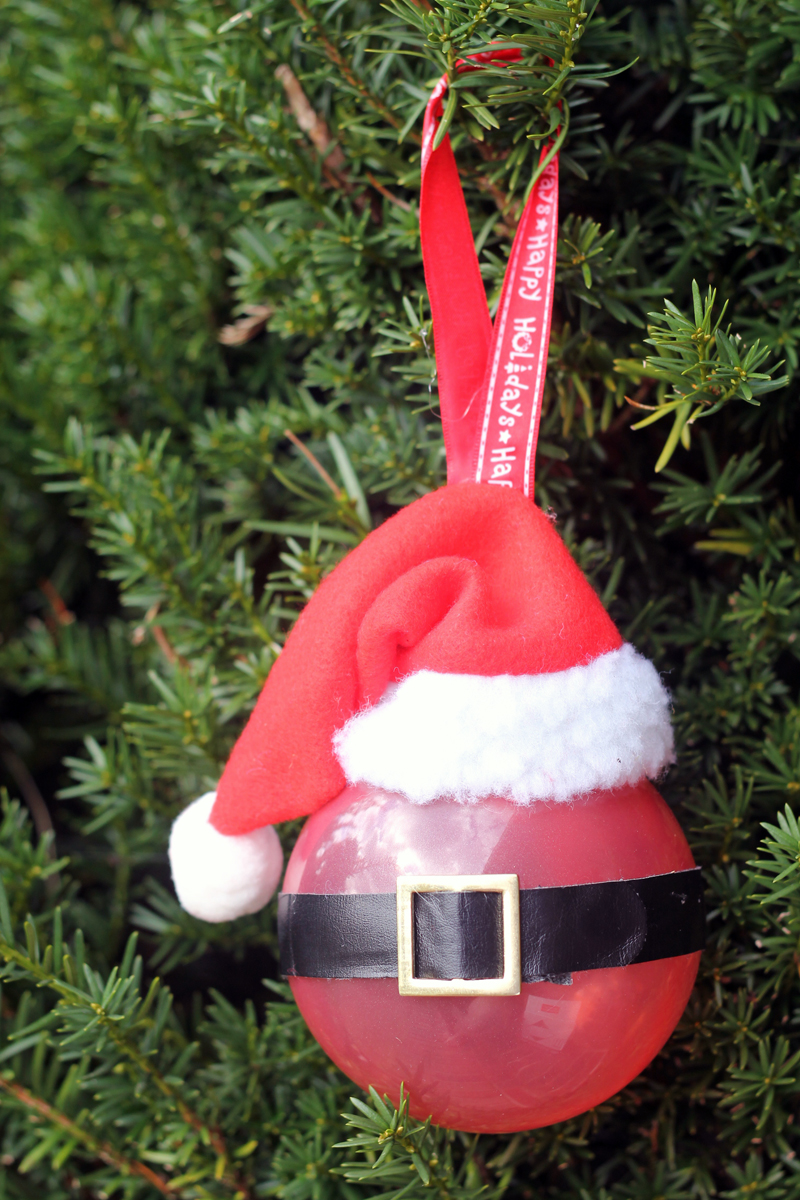
This simple Christmas ornament tutorial is handy to have around because of the glass stain technique! You can even make your own simple colored glass ornaments using this stuff. Since plain glass ornaments are so easy to find nowadays, it’s easy to create your own color scheme with the glass stain. Here I used it for Santa’s belly!
How to Make a Glass Santa Ornament

Supplies:
- glass ornament
- glass stain
- ribbon
- glue
- mini Santa hat
- mini belt
Instructions:
- Pour glass stain into the ornament and swirl around to cover the entire inside. Glass stain will make your ornament slightly translucent. Paint can also be used. Add enough to the inside of the ornament to get complete coverage.
- Turn upside down to dry and support. This way all of the excesses will run out and the ornament will dry faster.
- Carefully replace ornament top
- Glue on hat and belt
- Add ribbon to hang on the tree
My friend loved the Santa ornament for her little girl. This year she had her write down her hopes and wishes for next year and put them inside the ornament on little strips of paper so Santa can sprinkle some magic on her dreams when he stops by to drop off gifts. Cute idea!
We love to see what you made! Share pictures with us on our Facebook page or let us know on Instagram.
by Angie Holden | Nov 20, 2017 | Craft Tutorials
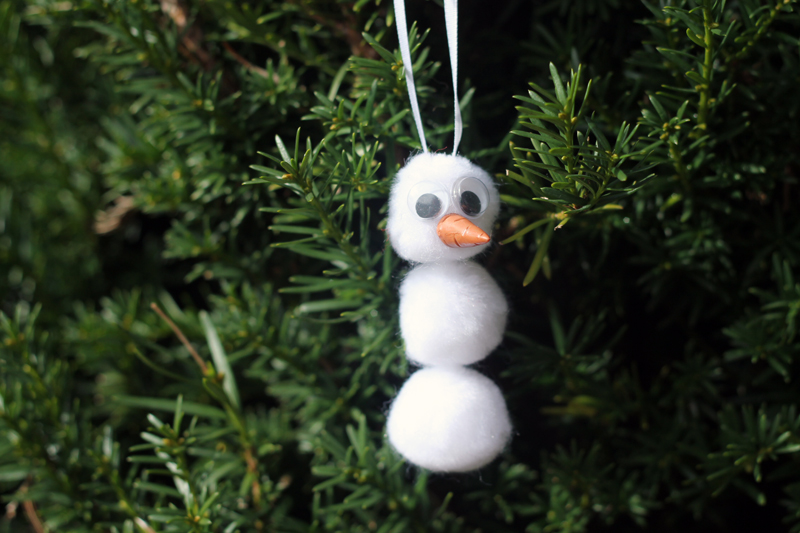
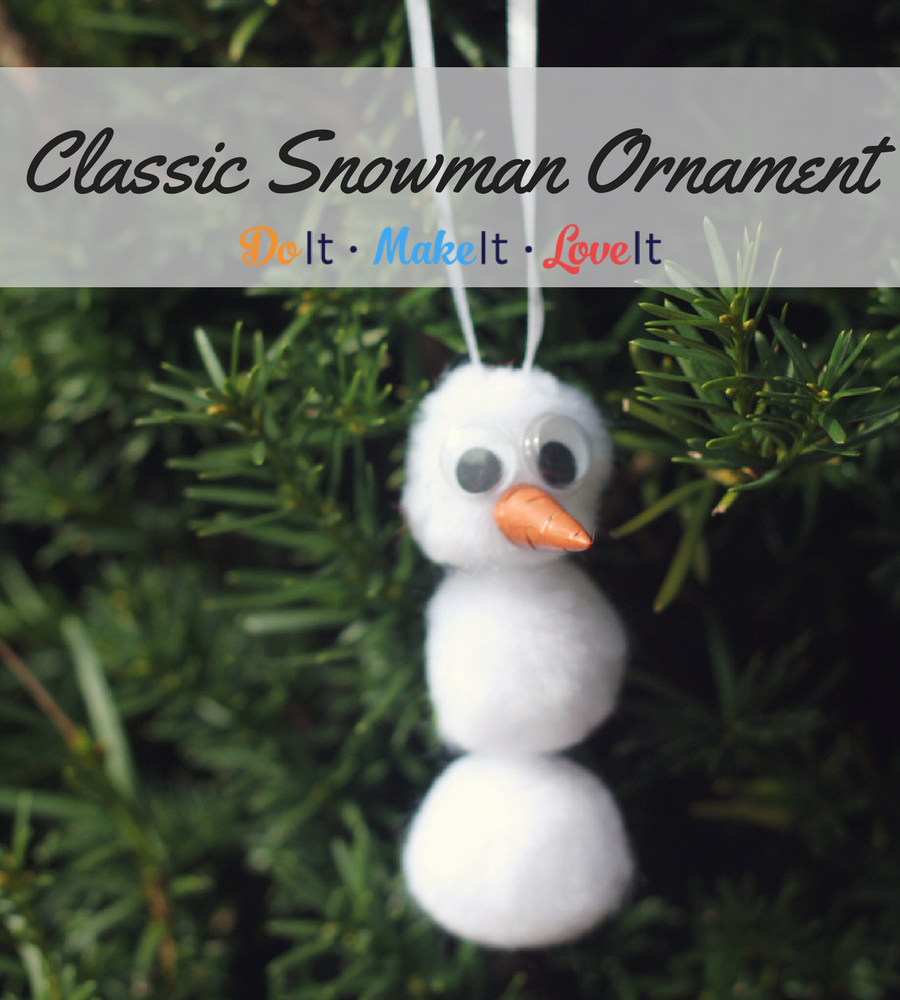
My mom was one of those moms that kept everything I ever made for her. So I fondly remember this little pom pom ornament hanging on the tree for years, long after I had even remembered I made it. She always knew I was destined to be a crafter 😉
This year, I just had to remake my little pom pom snowman to keep the tradition going. It’s such a fun and easy tradition to start with your kids, that I couldn’t pass it up. Making these DIY snowman ornaments is so simple and mostly mess-free, which makes it a great activity to do with the kids while waiting for cookies to finish baking!
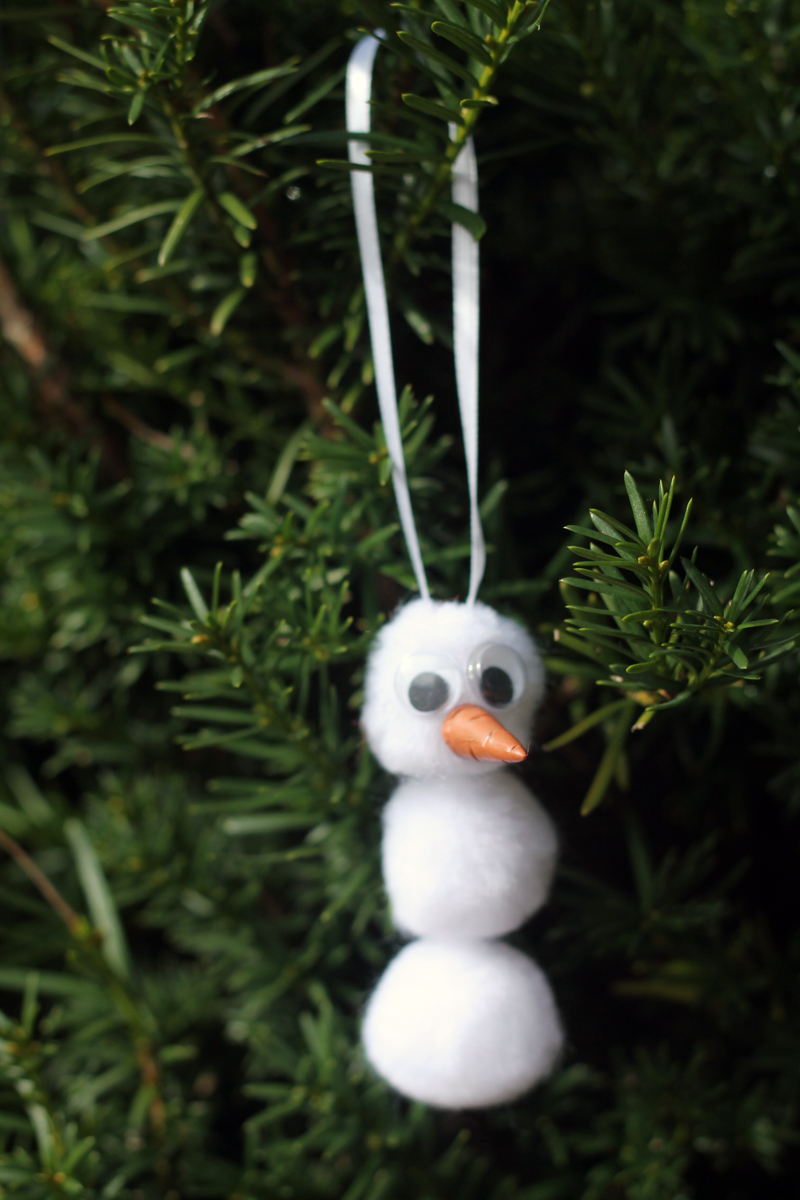
This DIY Christmas ornament is just too cute to pass up. Come on, google eyes?! The kids went crazy for it. Best thing is the supply list is short and cheap. If you can’t find a miniature nose try snipping off a small piece of orange chenille stem and gluing it in place. Works just as well!
DIY Snowman Christmas Ornament
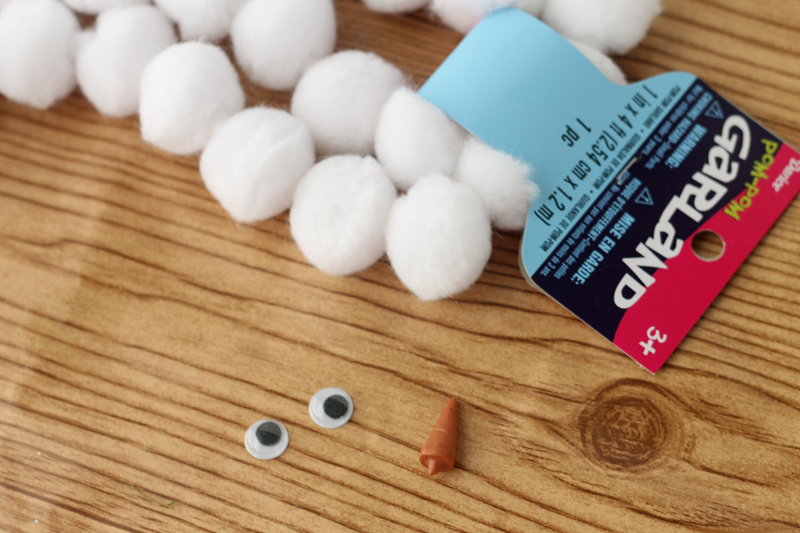
Supplies:
- Pom pom garland
- Ribbon
- Google eyes
- Miniature nose or orange pipe cleaner
- Glue
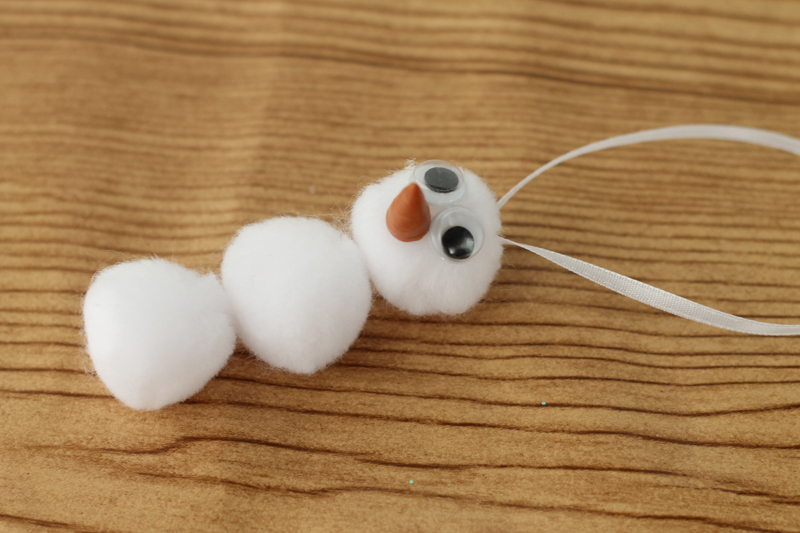
Instructions:
- Cut off a strand of three pom poms.
- Glue on eyes and a miniature nose.
- Add a ribbon to the top to hang.
Simple, right? It’s so simple, in fact, that I think we accidentally ended up making about 40 of them. Whoops. That’s what happens when you buy “extra” craft supplies. So I guarantee your kids will have a blast making these too. If you end making way too many, like I did, try adding them as an added piece of decor to your gifts or turning them into magnets! Just glue one magnet to the back of each pom pom and viola! Now you have every inch of your home decorated for Christmas. Does it get any better?
Do you have any other creative ideas for too many snowmen? Share them with us on our Facebook page or let us know on Instagram.
by Angie Holden | Nov 7, 2017 | Craft Tutorials
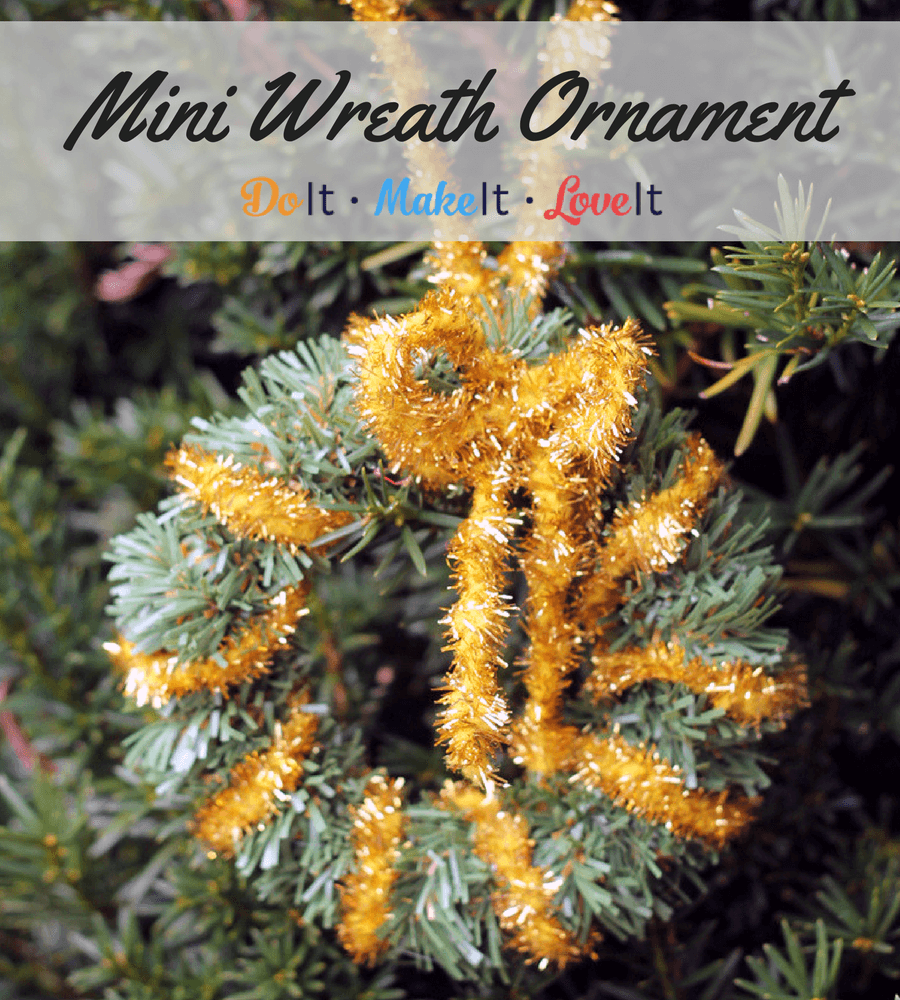
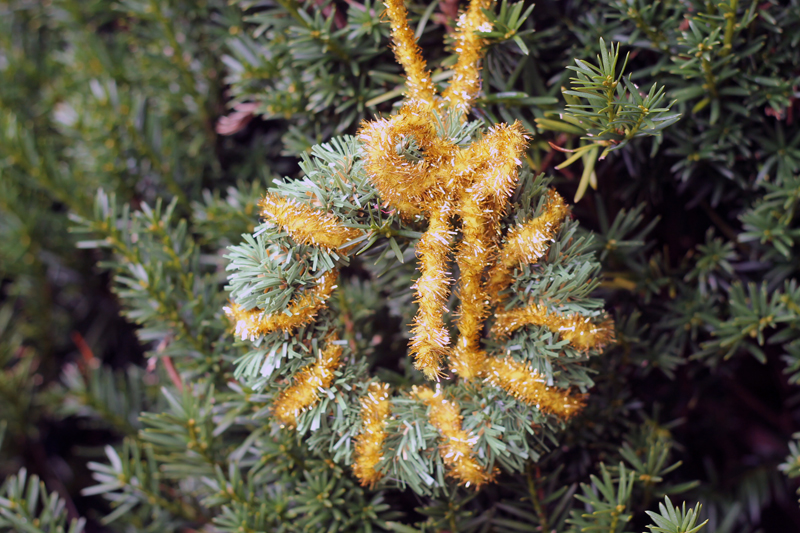
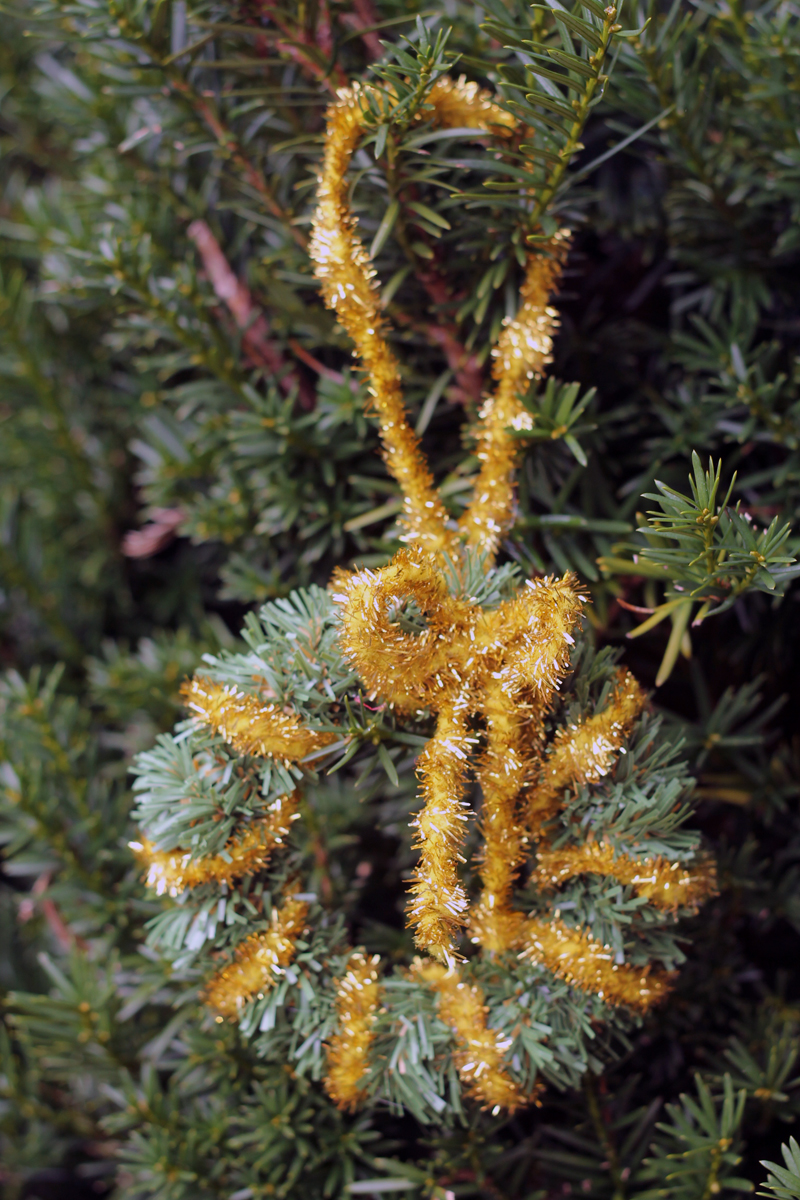
I just love wreaths. They are so pretty and fun to make, I have one for every season and definitely a few options for Christmas. When I found this evergreen chenille in the craft store, I could not pass up the chance to make mini wreaths! How cute right? This mini wreath Christmas ornament is an easy way to show off your love of wreaths and add a little shimmer to your green. Bonus if you have a white or colorful Christmas tree. add a little touch of classic charm to your modern tree with these mini wreaths!
This DIY Christmas ornament is another great kids craft idea! It’s so simple to make, you better set a limit or you’ll end up with 400 mini wreaths. Unless that’s what you want, then go for it! Making ornaments and other holiday crafts is a great way to create lasting memories without breaking the bank. Plus you get great ornaments to hang on the tree. A few minutes of crafting time and maybe a cup of hot cocoa are all you need for a family afternoon that will be long remembered.
Mini Wreath Christmas Ornament Tutorial

Supplies:
- Evergreen chenille
- Gold chenille
Instructions:
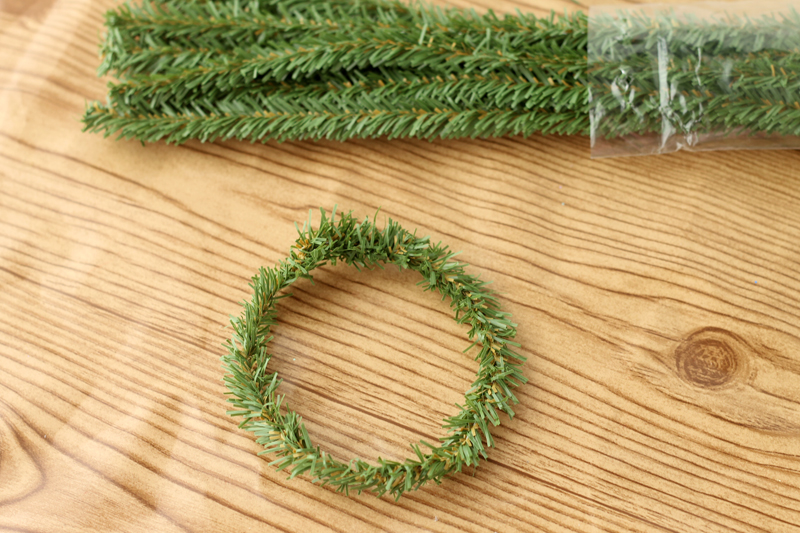
- Start with one evergreen chenille stem and form it into a circle as shown. Just wrap the ends around each other to secure.
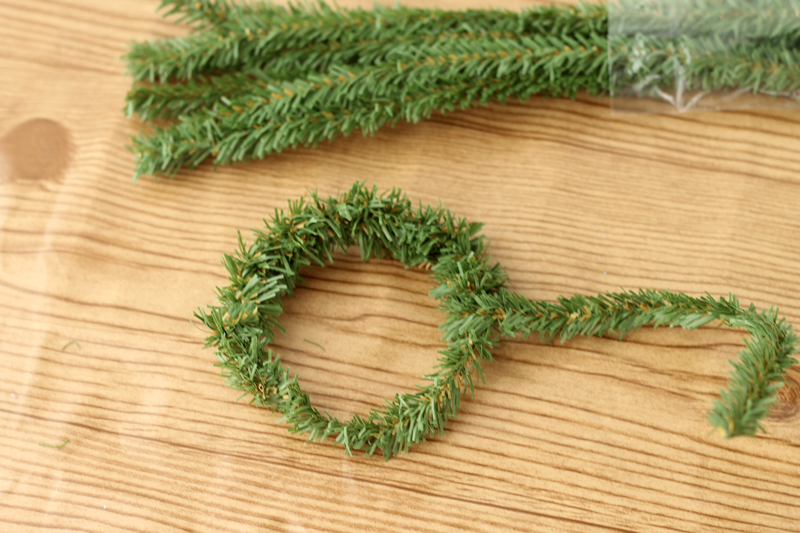
- Take additional evergreen stems and wrap them around the first tightly. To get a fuller wreath, I went around my wreath twice.
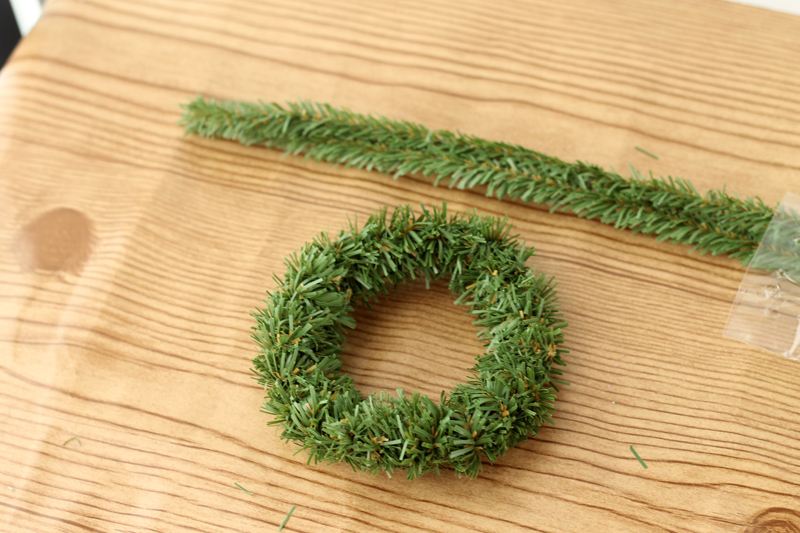
- No glue is needed for these steps just wrap to secure. One package of the evergreen stems is more than enough for one wreath ornament.
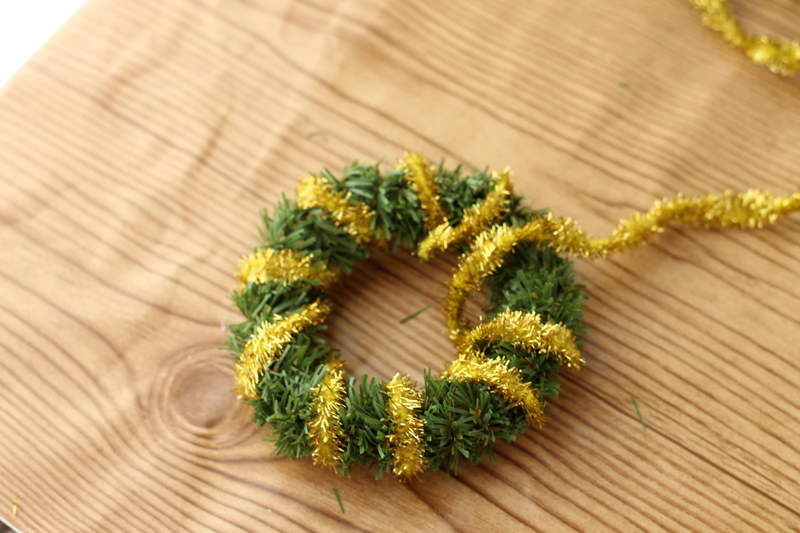
- Wrap the gold chenille around the wreath. This will have to be secured with glue.
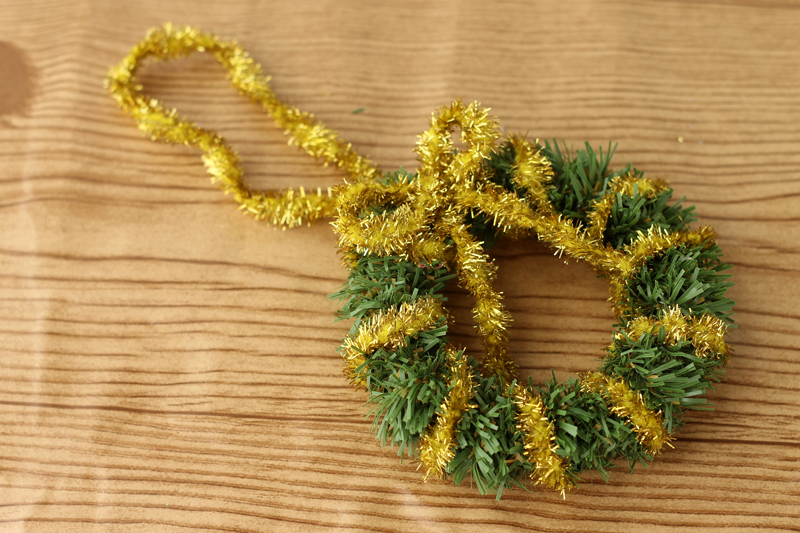
- Add a bow and a loop to hang. Secure these with glue as well.Glue
Make too many? Since these are so light they make a cute addition to your gift wrapping too! You could even tape one to the box and write the person’s name inside the wreath. So many cute ideas!