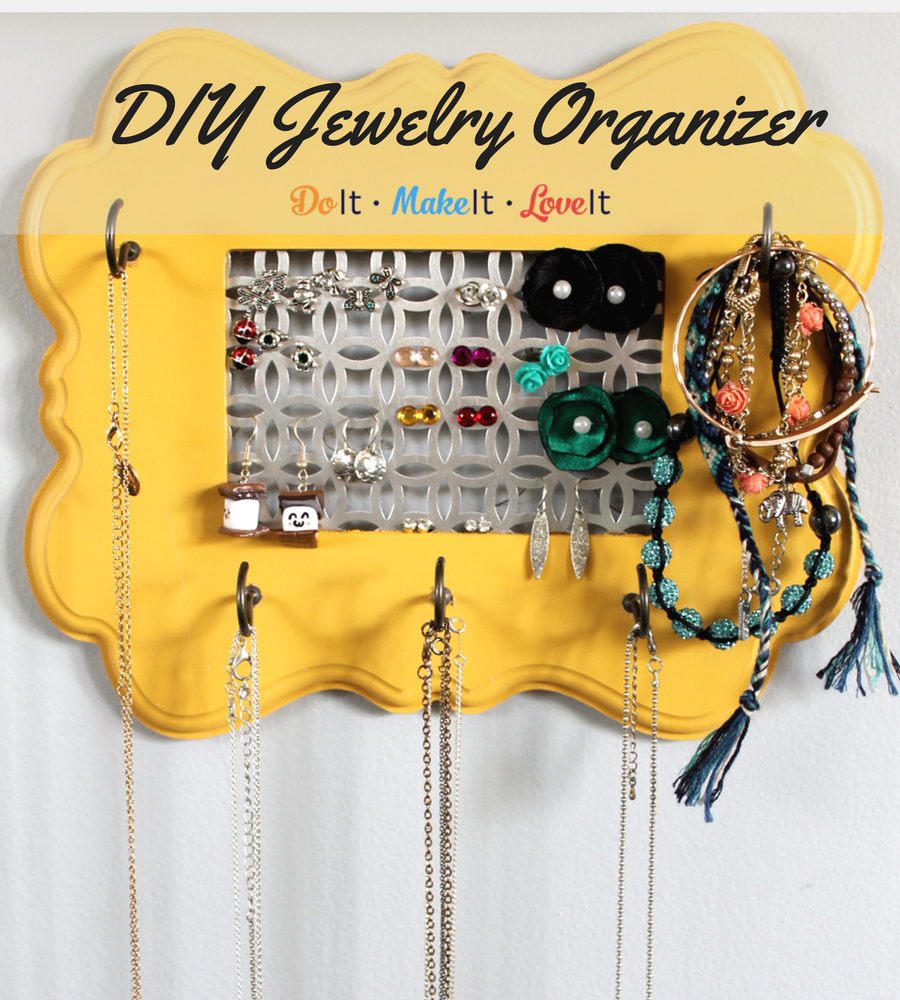
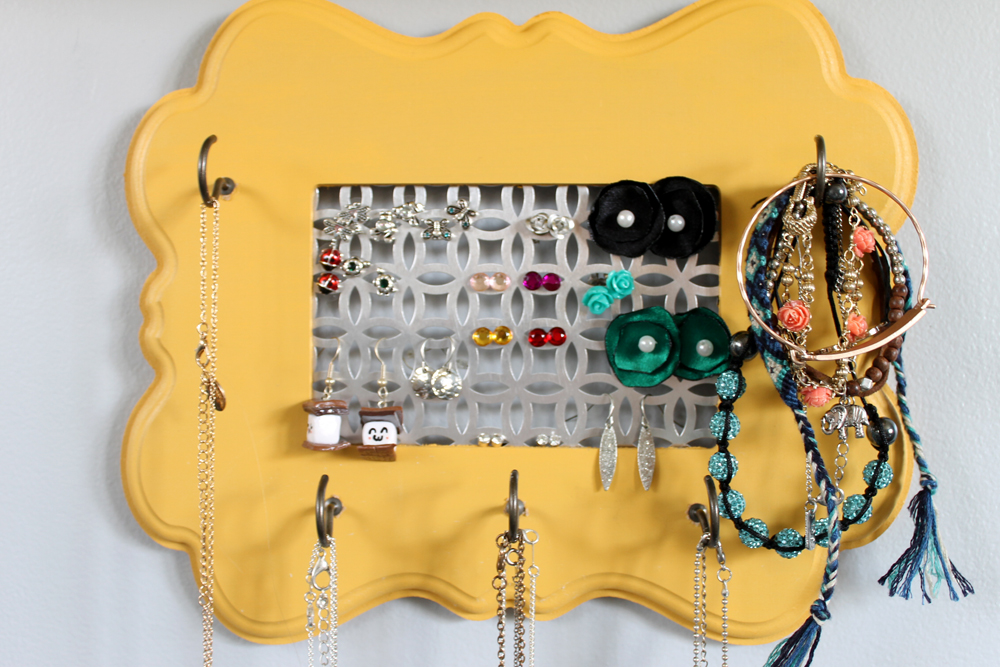
I have to admit, I’m a sucker for little trinket dishes to hold jewelry, but those things are really only good for rings or a couple of earrings. If you have a bigger collection than that or hate untangling your necklaces, then they just aren’t the best option for storing your accessories. I found a lot of cute jewelry organizer options online but I thought I could make my own. I think my DIY jewelry organizer turned out great! It’s just the right size for me, but you can always make a bigger handmade jewelry organizer by buying a bigger frame – easy! Making your own jewelry organizer means that you can customize it to your style. Pick out the perfect frame and color to compliment your bedroom.
How To Make a Simple Jewelry Organizer
This tutorial for how to make a jewelry organizer will give you something to help get all your necklaces and earrings in one place and make them easier to find all from parts you can find at your local hardware store. No more untangling!
We’ve included affiliate links to our favorite products below! Check out our disclosure and privacy policy.
Supplies:
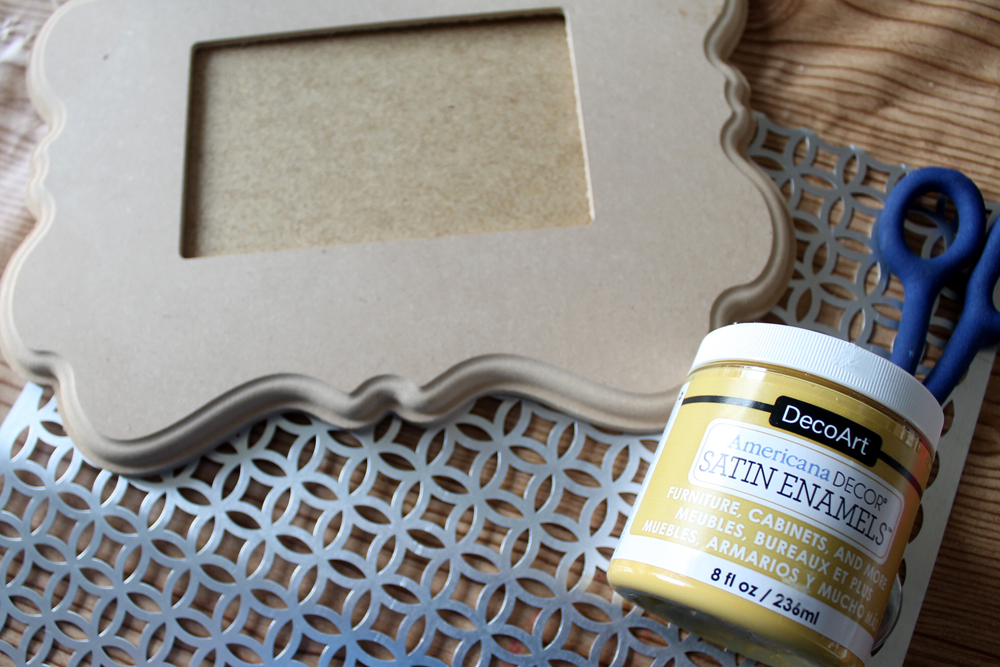
- Wood Frame like one of these options
- Craft Paint – we love Decoart Satin Enamels
- Perforated Metal
- Metal Shears
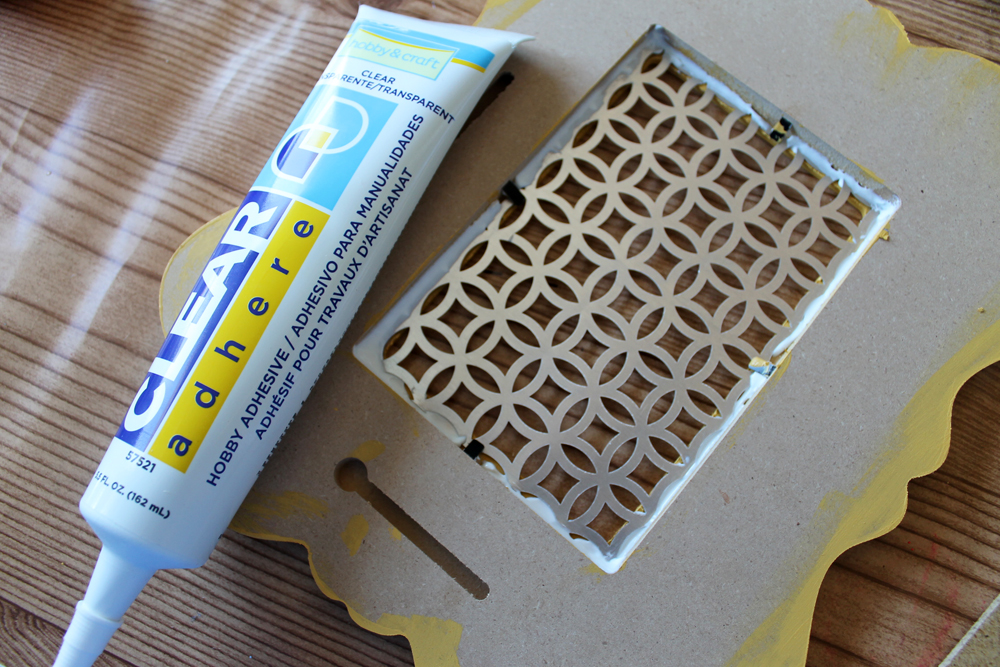
- Strong Adhesive – we like JB Weld for projects like this one, but any clear, strong adhesive will work!
- Paint Brush
- Hammer
- Nail
- Hooks
- Marker
Instructions
- Paint frame with a few coats of craft paint and allow to dry completely. TIP:Use extra bottles of paint to lift your frame from the work surface when painting. This will eliminate excess paint sticking to your surface.

- Trace the insert that comes with the frame onto the perforated metal with a marker.
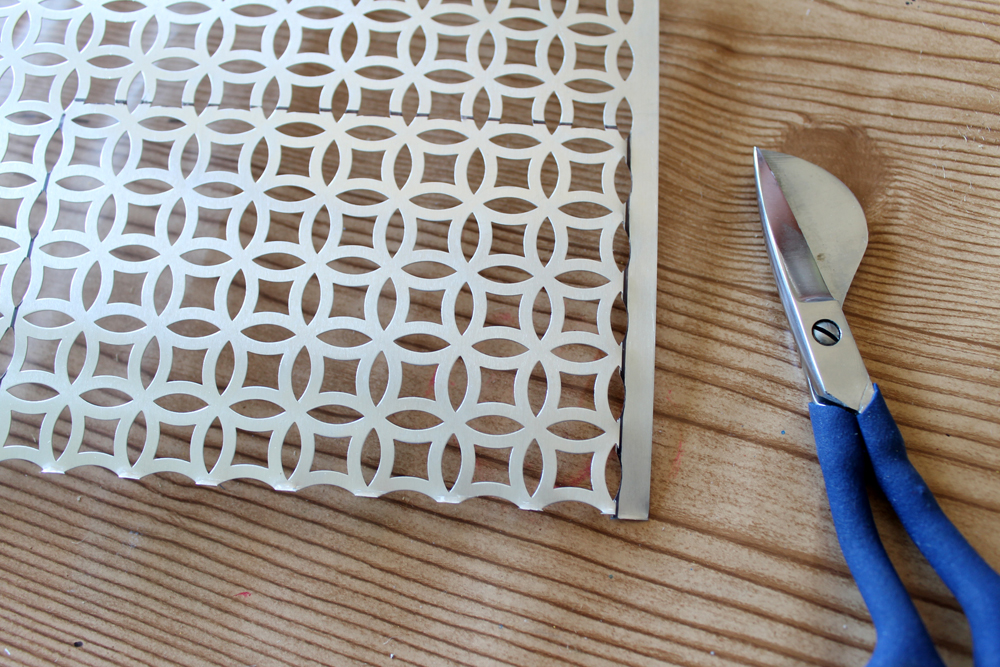
- Use metal shears to cut the metal to size.
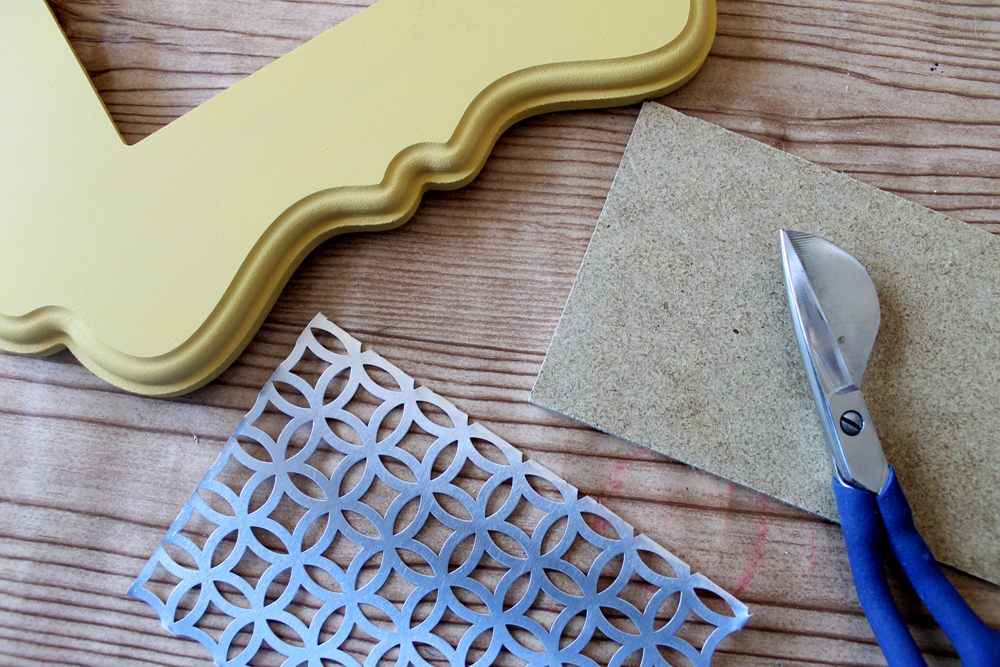
- Add metal to frame and secure with a strong adhesive around all edges as shown below. Allow to dry completely.
- Use a nail and hammer to start a hole anywhere a hook will be placed. The nail should be smaller than your hook.
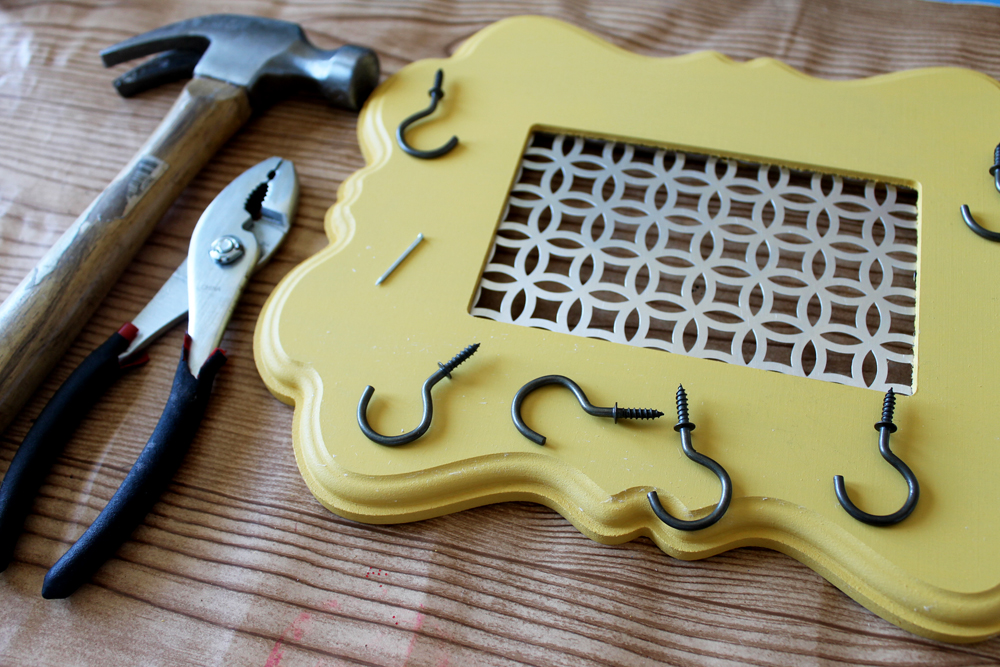
- Screw the hooks into your nail holes in any desired locations.
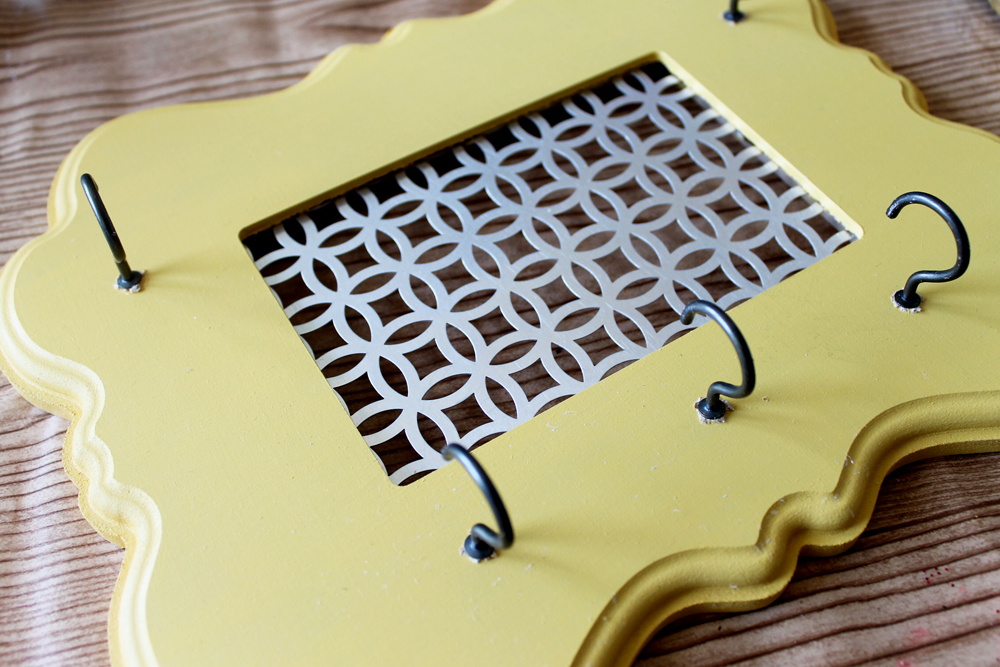
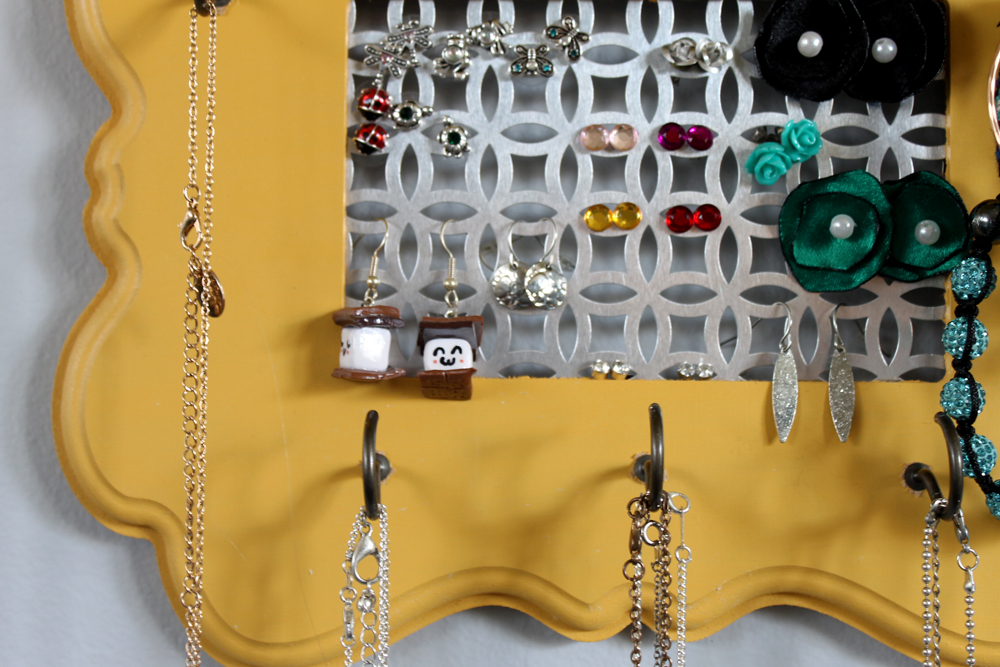
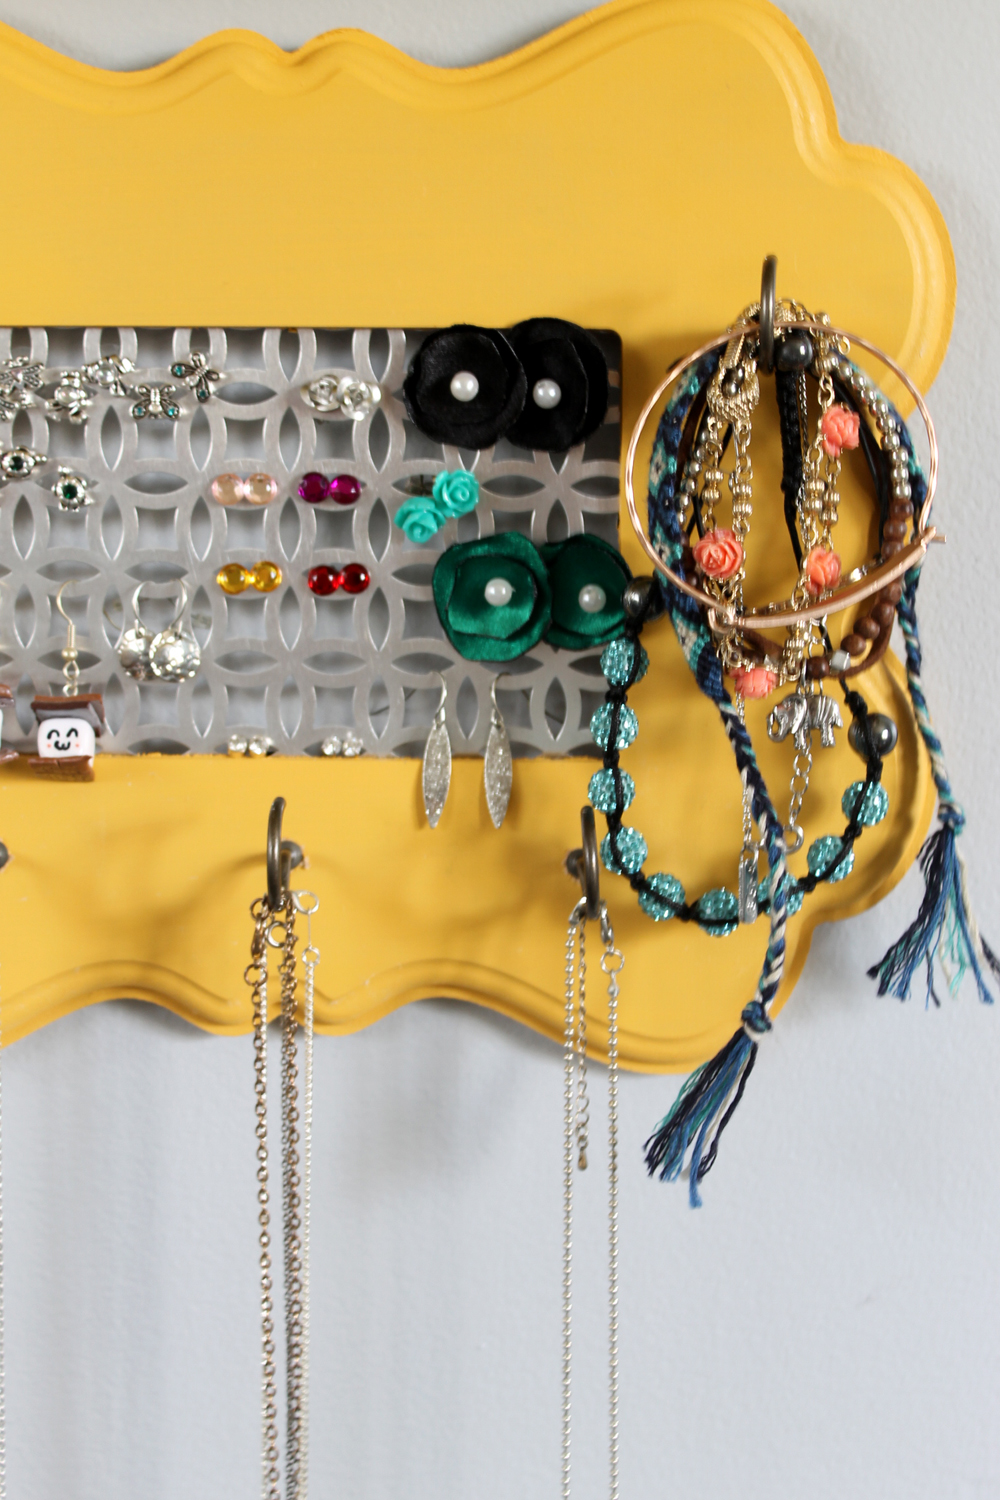
- Add a hanger to the back of your frame if it does not come with one and hang it on the wall. Add necklaces and bracelets to the hooks. Earrings go inside of the perforated metal.
Easier than you thought? Anyone who’s seen it asks me where I bought it. I have to say it’s been so nice being able to see all my favorite pieces in once place.
