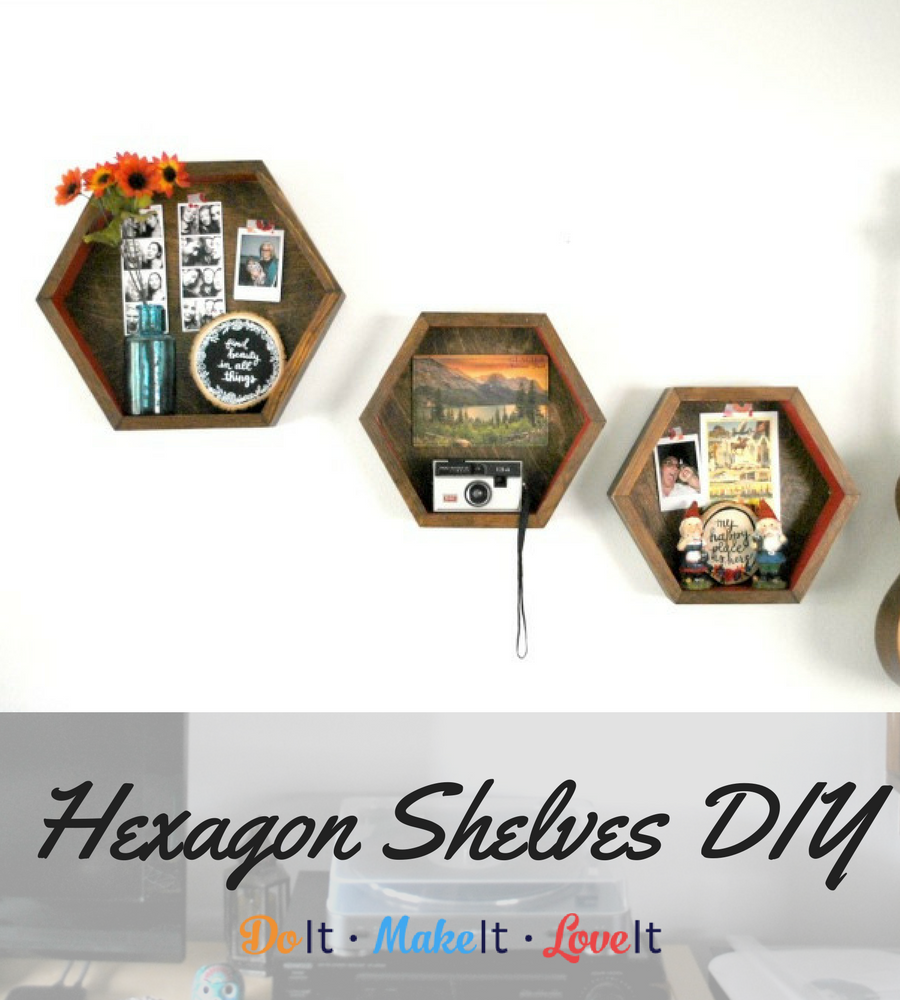
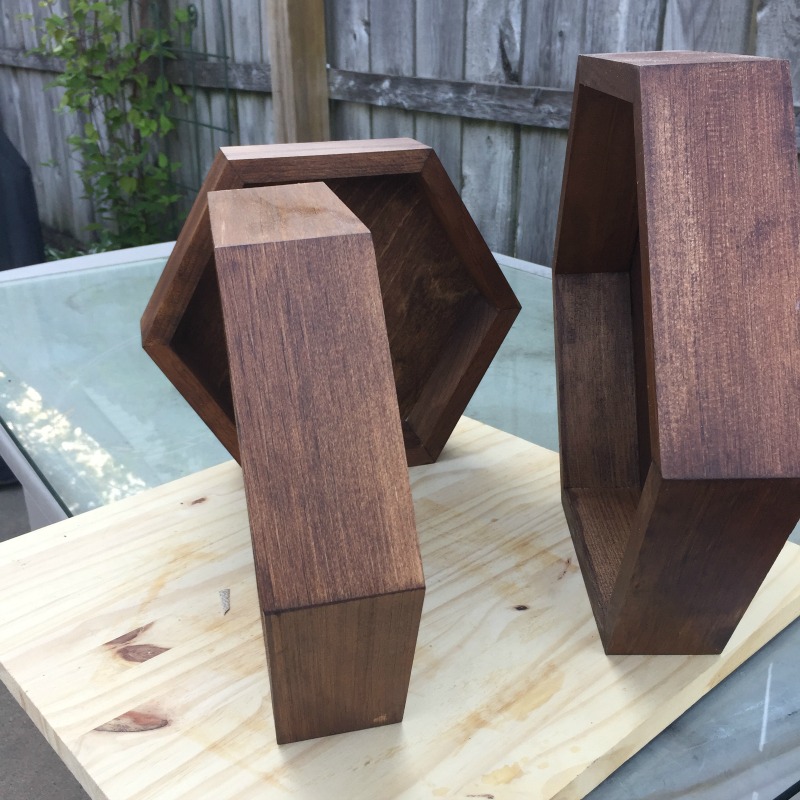
Have you seen the hexagon wall decor trend all over Pinterest too? It got to me big time and all I could think about was making cute little hexagon shelves for my apartment. Since I have a very specific color scheme for my apartment, I really couldn’t find exactly what I had imagined so I decided to make my own hexagon shelves. I found these awesome large and small pine shelves from Walnut Hallow and snagged them up!
They were exactly what I needed – a blank canvas. I wanted something that was either the right wood color or that I could stain and paint, so these are absolutely perfect. They come slightly sanded but unfinished so they are ready to stain as soon as you get them in your hands. I have to say I am obsessed with this stain color. It took to the pine so well.
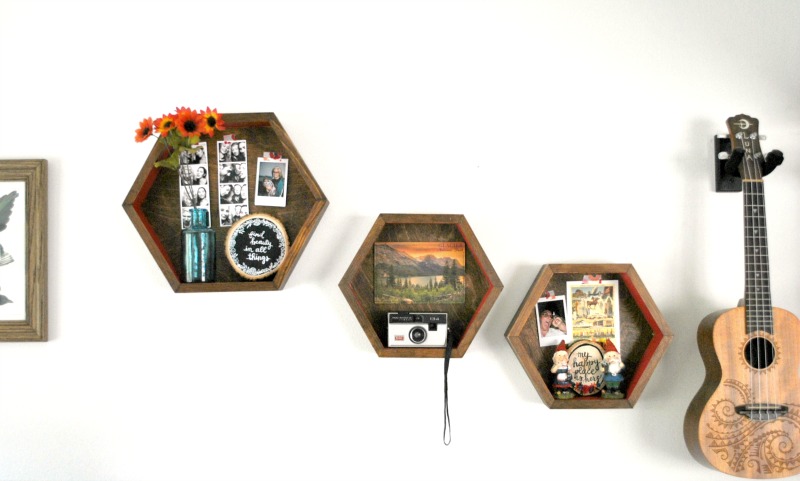
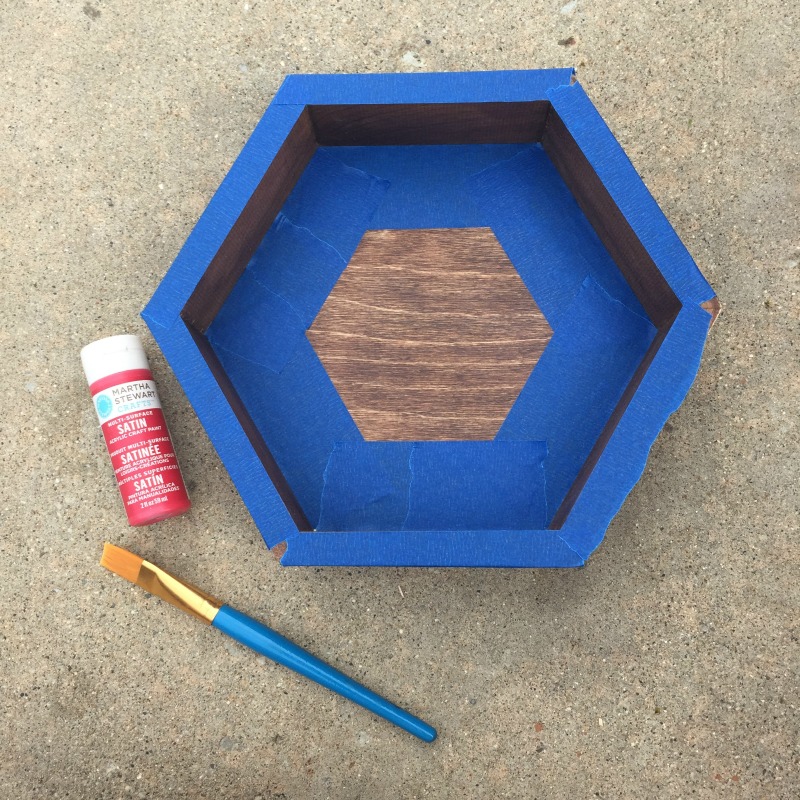
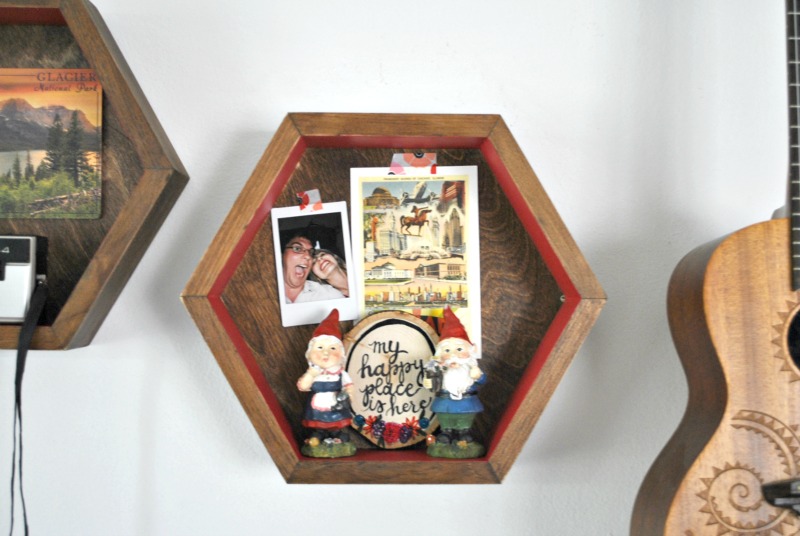
I gave them just a little pop of red on the inside because I didn’t want to the color to be the focus and I love how they turned out!

DIY Hexagon Shelves
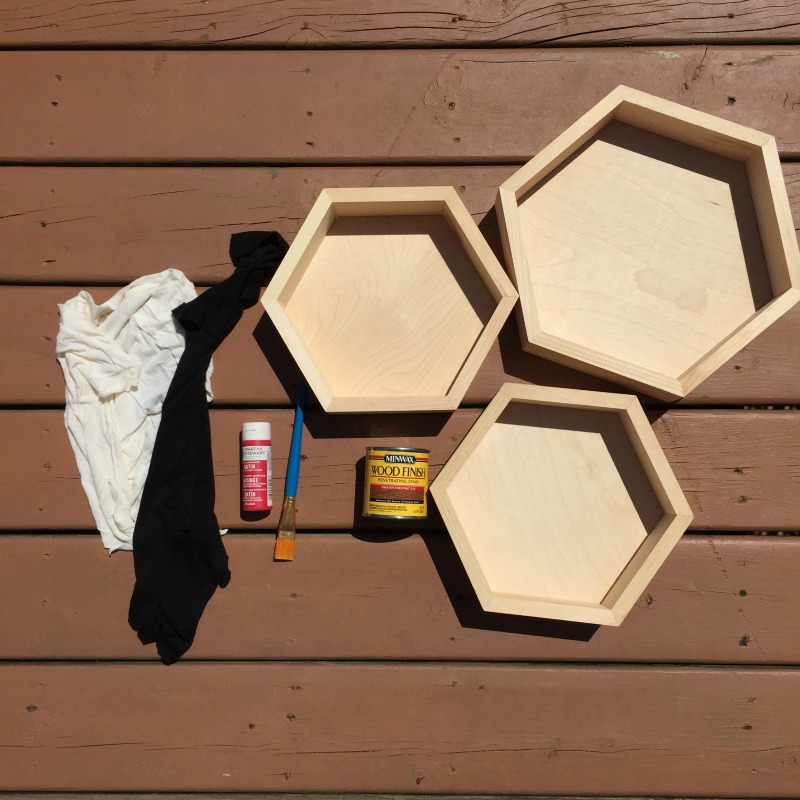
Supplies
We’ve included affiliate links throughout this post to make collecting your supplies easy! If you have any questions, please take a look at our disclosure and privacy policy.
- 1 large hexagon
- 2 small hexagons
- Martha Stewart Craft Paint in Habanero
- Paint brush
- Picture frame hanging kit
- A couple of throw away rags
- Minwax Wood Finish in English Chestnut
- A wood sealer (my favorite, by far, is Minwax Wipe-on Poly but you can use whatever you prefer!)
Instructions
- Time to stain! Grab your stain and your rags and apply the stain to the hexagons as directed. You can also use a brush for this step if you prefer, but I like using a rag because it means I can wipe off as I go too. It’s handy to have a clean rag even if you are using a brush in case you get too much in one spot.
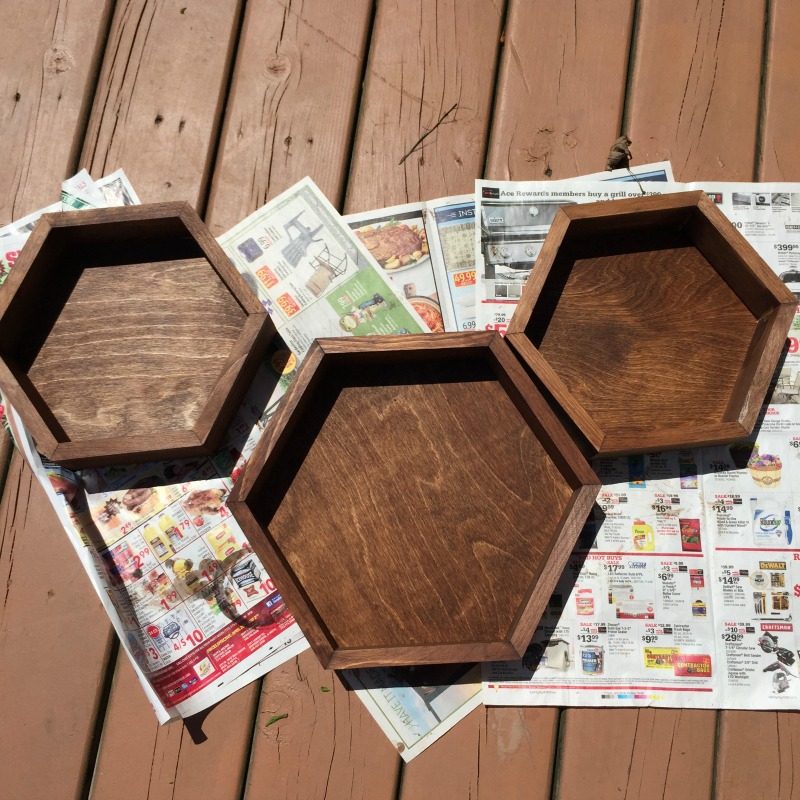
- Let your stain dry overnight and now it’s time to seal. I like the rub on polyurethane, but any sealer will do. Just make sure to avoid sealing the inner edges since we’ll be painting those with craft paint and craft paint doesn’t stick very well to freshly sealed surfaces. Let dry according to your product’s directions.
- Tape up the parts around the edges where you’ll be painting.
- Grab your brush and paint your edges! This is the fun part. You could even tape up some designs on the back panel or paint the front edges if you want the color to pop more.
- Grab the flat piece with teeth from your picture frame hanging kit and hammer it into the very top of your hexagon with the little nails that come in your kit. Make sure you hammer it into the thicker edge and not the thin back.
- Hang up your brand new shelves and have fun decorating!
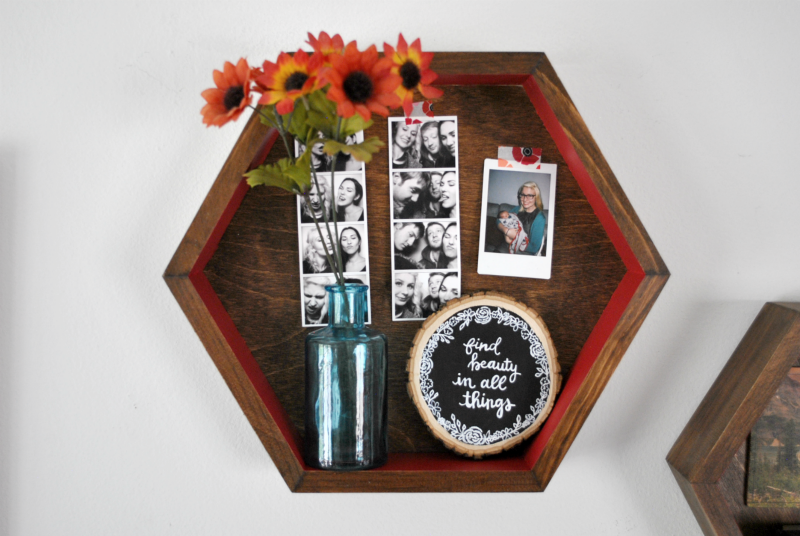
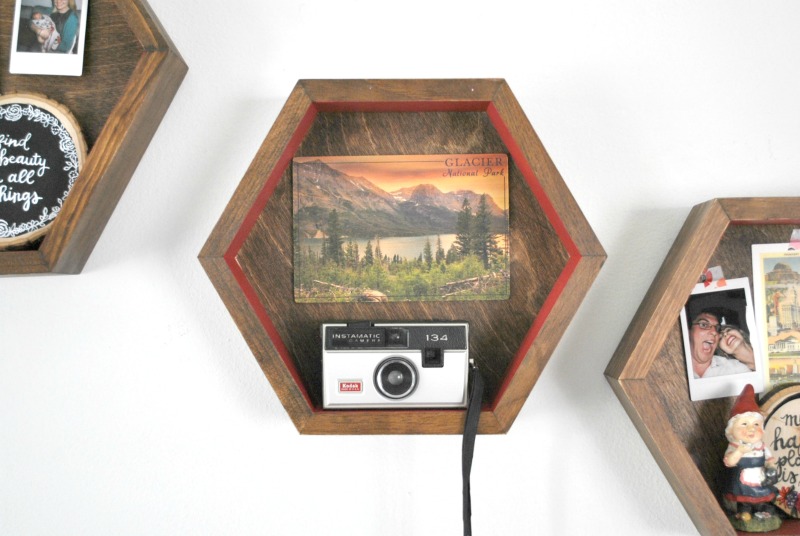
I collected all my odds and ends and just used a little bit of colorful washi tape to hang up some pictures. I am so happy with the way they turned out.
Did you make your own version? We’d love to see them! You can share them on our Facebook page or tag us on Instagram.